
I still remember the frantic, rhythmic thud-thud-thud of my grandmother’s old heavy-duty Singer machine echoing through her sunlit living room, accompanied by that unmistakable scent of warm dust and pressed cotton. Back then, I thought sewing was some sort of mysterious, untouchable magic reserved for people with endless patience and expensive designer scraps. But honestly? After years of tinkering with everything from furniture upholstery to my own wardrobe, I’ve realized that getting started with sewing basics for beginners isn’t about having a studio full of high-end gadgets; it’s just about getting your hands dirty and learning to trust your instincts.
I’m not here to sell you on a complicated, hundred-step masterclass or tell you that you need a professional atelier to make something beautiful. Instead, I’m giving you the straight-up, no-nonsense truth about what actually matters when you’re sitting down at that machine for the first time. We are going to strip away the intimidation and focus on the practical skills you actually need to see real results. Let’s cut through the noise and start building your confidence, one stitch at a time!
Table of Contents
- Building Your Dream Beginner Sewing Kit Essentials
- Mastering the Magic How to Thread a Sewing Machine
- Five Little Secrets to Help You Sew Like a Pro (Even on Day One!)
- Quick Tips to Keep You Sewing with Confidence
- Finding Your Rhythm at the Machine
- You've Got This: Your Sewing Journey Starts Now
- Frequently Asked Questions
Building Your Dream Beginner Sewing Kit Essentials
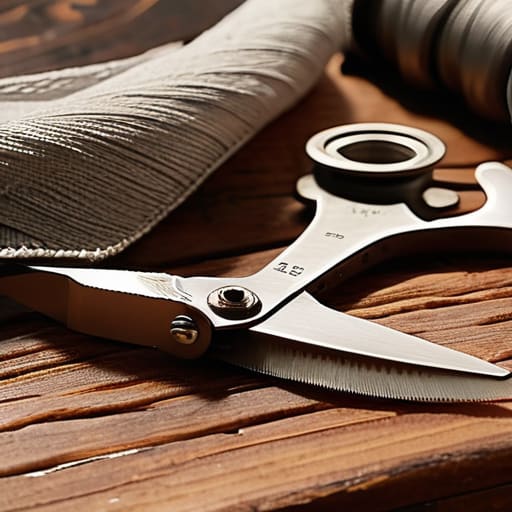
Before we dive into our first project, we need to gather our tools! I remember being so overwhelmed when I first started—staring at the aisles of a craft store felt like trying to read a foreign language. But honestly, you don’t need a professional studio to get started. To build your beginner sewing kit essentials, I recommend focusing on quality over quantity. A good pair of fabric shears (and please, never use them on paper!), a seam ripper—your new best friend when mistakes happen—a few glass-head pins, and a measuring tape are the absolute must-haves.
As you start setting up your workspace, don’t let the machinery intimidate you. While it might look complex, learning how to thread a sewing machine is just a matter of following the little arrows on the machine’s body. Once you’ve got that down, you’ll feel like a total pro! I always tell my readers to keep a small notebook nearby to jot down any little wins or quirks you notice. Having these right at your fingertips will make your creative journey so much smoother and, more importantly, a whole lot more fun!
Mastering the Magic How to Thread a Sewing Machine
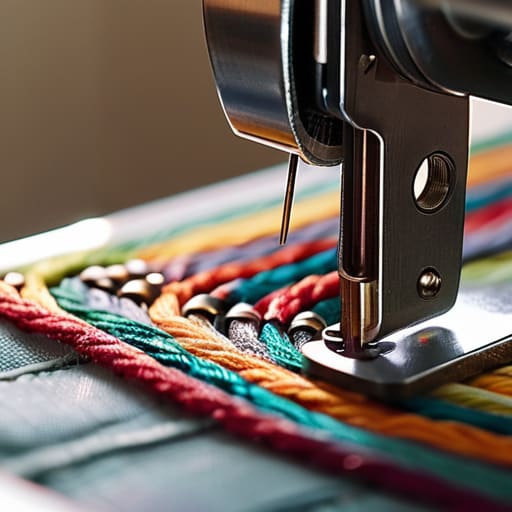
I know, I know—staring at all those little metal loops and levers can feel a bit like trying to solve a Rubik’s Cube for the first time! When I first started out in my family’s hardware store, I thought I could master everything with just a hammer, but sewing has its own special kind of logic. Learning how to thread a sewing machine is truly the “make or break” moment for every new maker. The secret is to slow down and follow the numbered arrows on your machine; they are your best friends! Think of it like a guided tour through your machine’s internal pathways.
Once you’ve got that thread dancing through the tension discs, you’ll want to make sure you’re winding your bobbin correctly. If the tension feels off or the thread keeps bunching up, don’t panic—this is just part of the learning curve. Most of the time, a little bit of sewing machine troubleshooting tips like re-threading everything from scratch will solve the problem instantly. Just take a deep breath, grab a cup of tea, and remember: we’re building your skills one thread at a time!
Five Little Secrets to Help You Sew Like a Pro (Even on Day One!)
- Don’t be afraid to make mistakes! Seriously, even I mess up a seam or two sometimes. The trick is to embrace the “un-sewing”—that’s what seam rippers are for! Think of it as just a little course correction on your creative journey.
- Ironing isn’t just for your clothes; it’s a secret weapon in sewing. Pressing your seams flat as you go makes a world of difference between a project that looks “homemade” and one that looks truly professional. It’s a total game-changer!
- Always, always, always use the right needle for your fabric. Using a heavy denim needle on a delicate silk is a recipe for frustration (and potentially a broken machine). It’s a tiny detail, but it saves so much heartache down the road.
- Slow down just a little bit. I know, I know—we’re all excited to see the finished product! But sewing is a rhythmic, meditative process. If you rush, you might miss a stitch or lose your alignment. Take a breath and enjoy the pace.
- Practice on your scraps first. Before you dive into that beautiful new fabric you just bought, take five minutes to test your tension and stitch length on some leftover scraps. It’s like a little warm-up for your hands and your machine!
Quick Tips to Keep You Sewing with Confidence
Don’t let a tangled thread discourage you! Even the pros have those “oops” moments, so just take a deep breath, unthread, and try again—it’s all part of the learning process.
Quality over quantity goes a long way in your sewing kit; investing in a few good pairs of fabric shears will save you so much frustration (and your fingers!) in the long run.
Always practice your machine threading on a scrap piece of fabric first to make sure your tension is just right before you dive into your actual project.
Finding Your Rhythm at the Machine
“Don’t let a tangled thread or a wonky seam discourage you; sewing isn’t about perfection on the first try, it’s about the magic of watching a simple piece of fabric transform into something you made with your own two hands.”
Emily Carter
You've Got This: Your Sewing Journey Starts Now
We have covered a lot of ground today, from gathering those essential tools for your first kit to finally mastering the rhythmic dance of threading your machine. I know it can feel a little overwhelming when you’re staring at a pile of fabric and a tangle of thread, but remember: every expert maker you admire started exactly where you are right now. You’ve built a solid foundation by learning the fundamental mechanics of your equipment, and that is honestly the hardest part. Once you have those basics down, the real fun begins. Just keep your eyes on your stitches, don’t be afraid to unpick a seam or two, and most importantly, trust the process as you find your rhythm.
As you move forward from this guide, I want you to remember that sewing is so much more than just joining pieces of cloth together; it’s about the incredible feeling of seeing a vision come to life through your own two hands. There will be days when the bobbin runs out or a seam goes wonky, but those little hiccups are just part of the creative magic. Don’t let a single mistake dim your spark! I truly believe that anything is possible when you approach it with patience and a little bit of grit. I am so incredibly proud of you for taking this first step, and I can’t wait to see what you create. Let’s go make something amazing!
Frequently Asked Questions
I'm a little intimidated by the different types of fabric—which ones are the easiest for a total beginner to work with without it becoming a frustrating mess?
Oh, I hear you! I remember feeling totally overwhelmed the first time I stepped into a fabric store—it’s like a rainbow of possibilities, but also a lot of pressure! For your first few projects, stick to stable, “non-slip” fabrics like cotton quilter’s weight or linen blends. They stay put under the needle and don’t stretch or fray wildly. Avoid silks or stretchy knits for now; let’s keep things stress-free and fun!
Is it worth investing in a fancy sewing machine right away, or should I just stick to a basic model while I'm still finding my footing?
Oh, I get this question all the time! Honestly? Save your pennies for now. When I was first starting out, I thought a high-end machine would magically make me a better designer, but it didn’t! Stick to a reliable, basic model that handles straight stitches and simple zig-zags. It’ll help you focus on the fundamentals without the intimidation of a hundred fancy buttons. Once you’ve mastered the basics, then we can talk upgrades!
What should I do if I make a mistake, like sewing a seam crooked or accidentally cutting the fabric too short?
Oh, deep breaths! First off, let me tell you: even with my design background, I still mess up. It’s part of the process! If a seam goes wonky, don’t panic—just use a seam ripper to gently undo it and try again. If you’ve cut fabric too short, don’t scrap the project! We can often pivot that piece into a smaller accessory, like a matching scrunchie or a cute pocket. Mistakes are just unexpected design opportunities!
