
I still remember the first time I tried to craft something for my apartment, standing in my kitchen with wax splattered everywhere and a scent that smelled more like burnt toast than lavender. I used to think that learning how to make candles required a professional laboratory and a mountain of expensive, specialized equipment, but let me tell you—that is a total myth. Growing up in my family’s hardware store, I learned early on that you don’t need fancy gadgets to create something high-quality; you just need the right technique and a little bit of creative grit.
In this guide, I’m stripping away all the complicated jargon and high-end fluff to give you a straightforward, honest roadmap to success. I’ll walk you through everything from choosing the perfect wax to mastering that tricky scent-to-oil ratio, ensuring your first batch looks as good as it smells. Whether you’re looking to cozy up your own living room or want to create the perfect handmade gift, I’m going to show you exactly how to achieve professional results right from your own kitchen counter. Let’s get glowing!
Table of Contents
- Step-by-Step Instructions
- Gathering Your Dreamy Soy Wax Candle Making Supplies
- Finding Your Perfect Scent With Essential Oils for Scented Candles
- Pro Tips from My Craft Room to Yours
- A Few Final Tips Before You Start Pouring
- The Magic in the Making
- The Final Glow: Bringing Your Vision to Life
- Frequently Asked Questions
Guide Overview
Tools & Supplies
- Double boiler or heat-safe pitcher to melt wax
- Thermometer to monitor temperature
- Pouring pitcher for controlled pouring
- Wick centering tool or clothespin to hold wicks
- Soy or paraffin wax (1-2 lbs)
- Candle wicks (set of various sizes)
- Fragrance oils (1 oz)
- Candle jars or tins (2-4 units)
- Wick stickers or glue dots
Step-by-Step Instructions
- 1. First things first, let’s get our workspace ready. Since we’re working with melted wax, I always recommend laying down some old newspapers or a silicone mat to protect your counters. Grab your favorite scent oils and your wax flakes, and make sure you have a heat-safe container—a small pitcher or even an old metal measuring cup works perfectly.
- 2. Now, it’s time to melt that wax. We’re going to use a double boiler method to keep things safe and controlled; just place your wax container inside a larger pot filled with a few inches of simmering water. Keep a close eye on it and stir occasionally with a wooden stick until the wax is completely liquid and clear.
- 3. Once your wax is melted, take it off the heat and let it cool down just a tiny bit before adding your fragrance. If you add the oils while the wax is screaming hot, you might actually “burn off” that lovely scent you’re paying for! Aim for a temperature that feels warm but not scalding, then stir in your oils slowly and steadily for about two minutes to ensure they fully bond with the wax.
- 4. While the wax is cooling slightly, let’s prep your vessels. Grab your jars or tins and use a tiny dot of hot glue or a glue dot to secure the wick to the bottom center of the container. I’ve learned the hard way that if that wick isn’t perfectly centered, your candle will burn unevenly and look a little wonky.
- 5. Now for the most satisfying part: the pour! Carefully pour your scented wax into your prepared jars, leaving about half an inch of space at the top. If you find you have a little leftover wax in the bottom of your pitcher, don’t sweat it—you can always save it for a mini-tealight later on.
- 6. As the wax begins to set, you’ll want to use a wick holder (or even just a couple of clothespins) to keep that wick standing straight up and tight against the center. This prevents the wick from leaning to one side as the wax hardens. Let your beautiful creations sit undisturbed in a warm, draft-free spot for at least 24 hours.
- 7. Finally, once the candles are completely solid, trim your wicks to about a quarter-inch above the wax surface. I like to give my finished candles a little “test burn” after a day or two, but honestly, even before then, the scent in your room is going to be absolutely heavenly!
Gathering Your Dreamy Soy Wax Candle Making Supplies
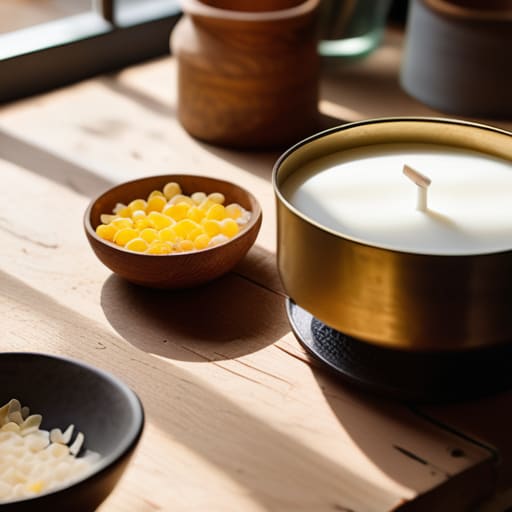
Before we dive into the fun part, let’s talk about the “ingredients” for success! When you’re starting out with candle making for beginners, it’s easy to feel a little overwhelmed by the sheer amount of gear available online. I always tell my readers: don’t feel like you need to buy every gadget in the shop right away. For me, growing up in my dad’s hardware store taught me that the quality of your base materials matters more than how fancy your tools are. I personally swear by soy wax because of its clean burn, but if you’re looking for something different, there are plenty of natural wax alternatives like coconut or beeswax to play with!
One thing I’ve learned through years of trial and error (and a few messy kitchen mishaps!) is that your scent and wick are the real MVPs. If you want that cozy, spa-like vibe, investing in high-quality essential oils for scented candles will make a world of difference compared to synthetic fragrances. Also, pay close attention to your wick choice; finding the best wick types for candles ensures you get a beautiful, even melt pool rather than a tunnel down the middle. Grab your supplies, and let’s get ready to create!
Finding Your Perfect Scent With Essential Oils for Scented Candles
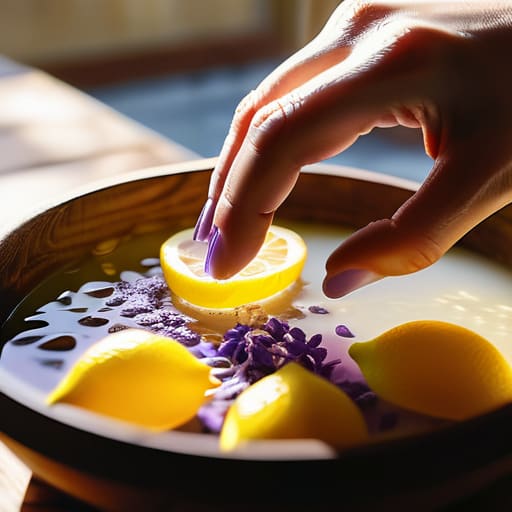
Now for my absolute favorite part: the scent! If you’re just starting out with candle making for beginners, choosing your fragrance can feel a little overwhelming, but it’s actually where the magic happens. I personally love using essential oils for scented candles because they bring a sense of calm and connection to nature that synthetic fragrances just can’t replicate. Whether you’re craving the bright, citrusy notes of lemon to wake up your kitchen or the soothing, earthy aroma of lavender for your bedside table, the possibilities are endless.
One little pro-tip from my years of tinkering: don’t be afraid to experiment with blending! I often mix a drop of cedarwood with a hint of sweet orange to create something totally unique to my home. Just remember to stir your oils in slowly once you’ve reached your target temperature to ensure they incorporate beautifully with your wax. It’s all about finding that sweet spot where the scent is present but not overpowering. Trust your nose—it’s your best tool in this process!
Pro Tips from My Craft Room to Yours
- Don’t rush the cooling process! I know it’s tempting to light that candle immediately, but letting your soy wax cure for at least a few days (or even a week!) helps the scent throw become much more consistent and powerful.
- Watch your temperatures like a hawk. Using a thermometer is a total game-changer; adding your essential oils at the wrong temperature can actually cause the fragrance to evaporate before the wax even sets, leaving you with a candle that doesn’t smell like much of anything.
- Centering is everything. There is nothing more frustrating than a wick that leans to one side, causing an uneven burn. I always use a simple wick centering tool—or even just a clothespin if you’re in a pinch—to make sure everything stays perfectly straight while it hardens.
- Keep an eye on your wick size. It’s a bit of a balancing act—if the wick is too small, you’ll get a “tunnel” down the middle, but if it’s too large, you’ll get a flame that’s way too aggressive. Always do a little test burn with your first batch to see how it behaves!
- Embrace the imperfections. Sometimes the surface of a hand-poured candle looks a little bumpy or uneven. Don’t sweat it! If it bothers you, you can always use a hair dryer on a low setting to gently melt the top layer and smooth it out for that professional, polished finish.
A Few Final Tips Before You Start Pouring
Don’t be afraid to experiment with your scent blends; finding that perfect balance of essential oils is a journey, not a race!
Patience is your best friend when it comes to temperature—letting your wax cool just right is the secret to a smooth, beautiful finish.
Remember, every candle you make is a unique creation, so embrace the little imperfections and celebrate the joy of making something with your own two hands!
The Magic in the Making
“There is something so incredibly grounding about pouring your own wax and watching a simple scent transform a room; it’s not just about making a candle, it’s about crafting a little piece of warmth and intention that you can actually hold in your hands.”
Emily Carter
The Final Glow: Bringing Your Vision to Life
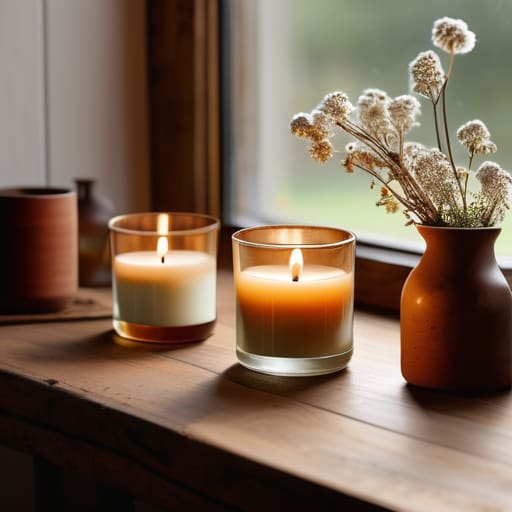
And just like that, you’ve gone from a pile of raw soy wax to a collection of stunning, custom-scented candles! We’ve covered a lot of ground together, from selecting the right wick to mastering that perfect essential oil blend. Remember, the secret to a truly professional-looking candle is all in the patience during the curing process. Don’t be tempted to light them too early; letting those scents settle is what makes the fragrance bloom when you finally strike a match. Whether you’re using minimalist glass jars or something a bit more vintage, you’ve now mastered the fundamental skills to keep creating endlessly.
As you look at your finished creations sitting on your workbench, I hope you feel that same rush of pride I get every single time I finish a project. There is something so incredibly special about filling your home with a scent that you designed from scratch. Don’t be afraid to experiment, make a mess, or even try a “failed” batch—that’s honestly how I learned the most when I was first starting out in my family’s hardware store! You have the tools, the talent, and the vision. Now, go ahead and light that first candle and enjoy the beautiful atmosphere you’ve built with your own two hands.
Frequently Asked Questions
Is it safe to use essential oils with any kind of wax, or do I need to stick to soy specifically?
That is such a fantastic question! While it’s tempting to grab any wax you see, I always recommend sticking with soy when you’re working with essential oils. Soy wax has a lower melting point, which helps preserve those delicate, natural scents without them “burning off” too quickly. Other waxes, like paraffin, can sometimes get a bit finicky with the oil’s chemistry. For the best, most fragrant results, soy is definitely my go-to!
How do I know if my wick is the right size for my container so it doesn't tunnel down the middle?
Ugh, the dreaded “tunneling” effect—I’ve been there, and it is so frustrating! To avoid it, you want a wick that creates a melt pool reaching all the way to the edges of your container. A good rule of thumb is to test a small sample first. If the wax stays stuck to the sides, your wick is too small. Don’t be afraid to size up; a wider pool means a cleaner, beautiful burn!
I’m worried about making a mess—what’s the best way to clean up spilled wax without ruining my workspace?
Oh, I hear you! Trust me, between my hardware store upbringing and years of DIYing, I’ve spilled more wax than I care to admit. Don’t panic! For small drips on hard surfaces, let the wax harden completely, then gently pop it off with a spatula or even a credit card. If it’s stubborn, a hair dryer on low heat can soften it just enough to wipe away. Just avoid using harsh chemicals—keep it simple and gentle!
