Have you ever stared at a stunning piece of art, only to end up with a wall full of tiny, crooked holes and a mounting bracket that just won’t stay put? I’ve been there more times than I’d like to admit! Growing up in my family’s hardware store, I thought I knew everything, but even I had my fair share of “oops” moments when learning how to hang a picture perfectly straight. It’s incredibly frustrating when you have a vision for your space, but the actual execution feels like a battle against gravity and drywall. Trust me, it’s not about having a professional contractor on speed dial; it’s just about having the right approach.
In this guide, I’m stripping away all the complicated jargon to give you the honest, no-nonsense steps you actually need. We’re going to walk through everything from choosing the right hardware to mastering that tricky leveling act, so you can hang your favorite memories with total confidence. Whether you’re working with a heavy vintage mirror or a lightweight print, I’ll make sure you walk away feeling like a pro. Let’s get those walls looking absolutely beautiful together!
Table of Contents
Guide Overview
Tools & Supplies
- Hammer for driving nails or hooks
- Pencil for marking placement
- Tape measure for spacing and height
- Level to ensure the frame is straight
- Picture hanging hardware (nails, hooks, or wire) 1 pack
- Picture frame 1 unit
Step-by-Step Instructions
- 1. First things first, we need to gather our supplies so you aren’t running back and forth to the garage halfway through! Grab a hammer (maybe pick one of my favorites from the collection!), a level, a pencil, a measuring tape, and of course, your hardware. If you’re dealing with a heavy piece, don’t skip the anchors; they are absolute lifesavers for keeping your art from taking an unexpected dive toward the floor.
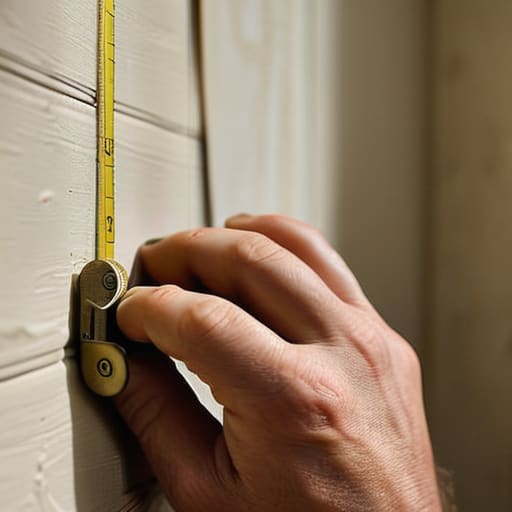
- 2. Next, let’s decide exactly where this beauty is going to live. I always find it helpful to hold the frame up against the wall to get a feel for the height and lighting. Once you’ve found “the spot,” use your measuring tape to find the center point and mark it lightly with a pencil. Pro tip: aim for eye level—usually about 57 to 60 inches from the floor—to give it that professional gallery feel!
- 3. Now, let’s figure out where the nail actually needs to go. This is where most people get tripped up, but don’t sweat it! Turn your frame over and look at the hanging hardware on the back. Measure the distance from the top of the frame to the hanging wire or bracket, and then transfer that measurement to your wall marking. This ensures your picture won’t sit way too high or awkwardly low.
- 4. Time to get a little hands-on! Hold your hammer steady and gently tap your nail into that pencil mark. If you’re working with drywall, I highly recommend using a plastic wall anchor first to give that nail some real muscle to lean on. You want the nail to be at a slight downward angle; this helps the weight of the frame pull against the nail rather than sliding right off.
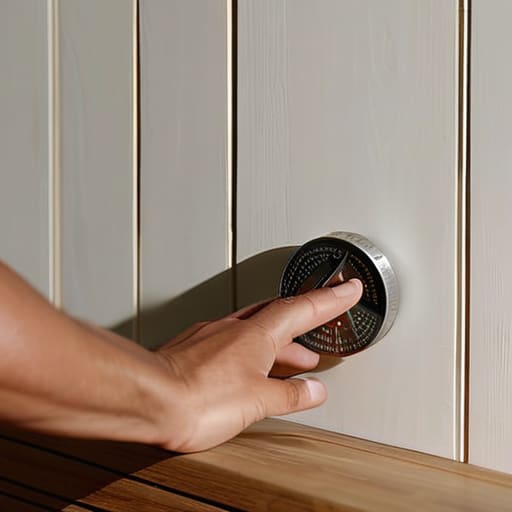
- 5. Before you let go of that frame, we need to check our work. Rest the wire or bracket onto the nail, then grab your level and place it across the top of the frame. If the bubble is centered between the lines, you are golden and ready to go! If it’s a little tilted, just give it a tiny nudge until it’s perfectly straight.
- 6. Finally, take a step back (literally!) and look at your masterpiece from across the room. Sometimes we get so caught up in the tiny details that we forget to see the big picture. If it looks balanced and makes you smile, then you’ve officially nailed it—pun absolutely intended!
Choosing the Right Wall Mounting Hardware Types
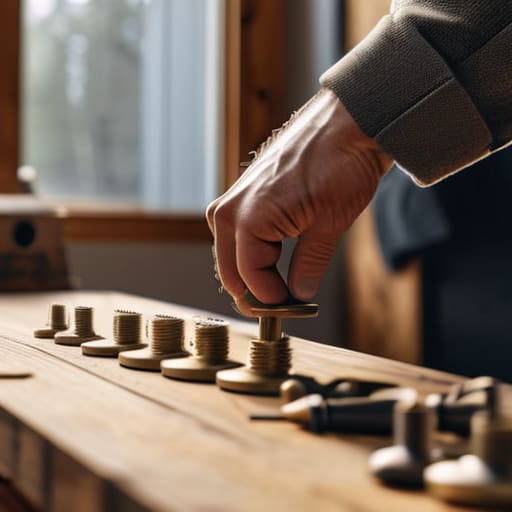
Before you grab that hammer (maybe one of my favorites from my collection!), we need to talk about the actual gear. Choosing between different wall mounting hardware types really comes down to two things: what your wall is made of and how much that beautiful piece weighs. If you’re working with drywall and just hanging a lightweight print, a simple adhesive strip or a small finishing nail will do the trick. However, if you’re hanging heavy frames—think those chunky vintage wooden pieces I love to restore—you’ll definitely want to invest in some sturdy picture hooks or even screw anchors to ensure everything stays put and secure.
I’ve made my fair share of mistakes, especially when I was first starting out in my parents’ hardware store, so take this piece of advice to heart: always match the hardware to the load. There is nothing more heartbreaking than seeing a masterpiece slide down the wall because the hook wasn’t up to the task! If you’re feeling a bit unsure, don’t be afraid to use a bit of extra reinforcement. Taking a moment to select the right hardware is the best way to ensure your hard work stays exactly where you intended it to be.
Measuring for Picture Placement With Confidence
Now, before you go grabbing that hammer (or one of my many favorites from the collection!), we need to talk about the most important part: getting the position just right. I know, I know—measuring feels like the “boring” part, but trust me, it’s the secret to a professional look. A good rule of thumb I learned back in my design days is to aim for eye level, which is usually about 57 to 60 inches from the floor to the center of the piece. If you’re working with a large piece of furniture, like a sideboard or a sofa, you’ll want to leave a little breathing room—about 6 to 10 inches—between the top of the furniture and the bottom of the frame.
When you’re measuring for picture placement, I highly recommend using a pencil to lightly mark your spots. If you’re planning a larger project, like exploring different gallery wall layout ideas, it’s a total lifesaver to trace your frames onto kraft paper and tape them to the wall first. This lets you visualize the whole setup without any accidental holes! It’s all about testing the flow before you make a single mark.
My Secret Sauce for a Flawless Gallery Wall
- Trust your eyes, not just the level! While a bubble level is a total lifesaver, sometimes a piece can look just a tiny bit “off” even when it’s technically straight. If it looks right to you, it probably is!
- Don’t be afraid to use painter’s tape to map it out. I always grab a roll of blue tape and stick little markers on the wall where I think the corners should go. It saves so much heartache (and extra holes in the drywall!) before you ever touch a hammer.
- Mind the “eye level” rule, but keep it flexible. A good rule of thumb is to have the center of the piece about 57 to 60 inches from the floor, but if you’re hanging something over a low sofa, feel free to adjust so it feels connected to the furniture.
- Group your smaller pieces together to create a “moment.” Instead of scattering tiny frames all over the room, try clustering them. It makes them feel intentional and curated rather than just accidental clutter.
- Check your lighting before you commit. I love to turn on my floor lamps and overhead lights to see how the shadows fall across the glass. You don’t want a beautiful piece to be hidden by a nasty glare from a nearby window!
Quick Tips to Remember Before You Hammer
Don’t rush the prep work! Taking those extra few minutes to double-check your measurements and pick the right hardware will save you from the headache of extra holes in your beautiful walls.
Trust your eye, but use a level. While we all want that “perfect” look, a quick check with a level ensures your hard work actually stays straight and doesn’t end up looking a little wonky.
Remember, it’s okay to make mistakes. If a nail goes in a bit crooked, don’t panic—we’ve all been there! Just patch it up, grab a new one, and keep going. You’ve got this!
A Little Piece of Heart
“At the end of the day, hanging a picture isn’t just about finding the perfect spot on a wall; it’s about finally giving your memories a place to live and turning a house into a home that truly feels like you.”
Emily Carter
You’ve Got This: Final Thoughts
Before you grab that hammer and get to work, let’s just take a quick second to recap what we’ve covered. We talked about how crucial it is to pick the perfect hardware for your specific wall type—whether that’s a sturdy screw for drywall or a specialized anchor for masonry. We also walked through the importance of measuring twice (seriously, don’t skip this!) to make sure your art sits exactly where your heart wants it to. By taking these small, intentional steps, you’ve already done the hardest part of the job. You’ve moved past the intimidation factor and transitioned into the role of a true home creator, ready to turn a blank wall into a curated gallery.
I know that staring at a pile of tools and a beautiful piece of art can feel a little overwhelming at first, but I promise you, the feeling of stepping back and seeing your vision come to life is absolutely worth it. There is a special kind of magic that happens when you stop just living in a house and start truly making it your own. Every nail driven and every level adjusted is a step toward a space that reflects who you are. So, take a deep breath, trust your hands, and go ahead—let’s make something beautiful together!
Frequently Asked Questions
What should I do if I accidentally end up with a tiny hole in my wall after hanging the frame?
Oh, don’t panic! We’ve all been there—I once accidentally hammered a nail slightly crooked and felt my heart sink. The good news is that tiny holes are super easy to fix. Just grab a small tub of lightweight spackle and a putty knife. Fill the hole, smooth it out, and let it dry. Once it’s set, a quick sand with fine-grit sandpaper makes it disappear. You’ve got this!
How do I keep a large, heavy mirror from tilting or hanging crookedly over time?
Oh, I have been there! There is nothing more frustrating than a beautiful mirror slowly doing a slow-motion tilt. For those heavy pieces, please skip the basic nails. I always recommend using heavy-duty picture wire combined with two sturdy wall anchors, or better yet, mounting brackets. Pro tip: if you can, use two separate hanging points rather than one center wire. It distributes the weight more evenly and keeps everything perfectly level for years!
Is there a trick to hanging a gallery wall so all the pieces look intentional instead of messy?
Oh, I hear you! Gallery walls can go from “chic boutique” to “cluttered mess” real fast if you aren’t careful. My absolute favorite trick? Lay everything out on the floor first. It’s a total game-changer! Arrange your pieces until the spacing feels balanced, then trace them onto kraft paper. Tape those templates to the wall instead of hammering holes blindly. It takes a little extra patience, but I promise, the result is stunning!