
I remember standing in my parents’ hardware store back in Ohio, watching my dad explain that you don’t need a fancy, expensive setup to turn waste into gold; you just need a little bit of grit and the right materials. For the longest time, I thought I needed some high-tech, industrial-grade system to start composting, but I was totally wrong. Honestly, learning how to make a compost bin is way less about buying expensive gadgets and way more about working with what you’ve got. Whether it’s a few leftover wooden pallets or some simple wire mesh, you can create something incredibly effective without breaking the bank or needing a degree in soil science.
In this guide, I’m stripping away all the complicated jargon and getting straight to the good stuff. I’m going to walk you through a few different, budget-friendly methods so you can choose the one that fits your backyard perfectly. We’ll cover everything from choosing your location to the essential balance of greens and browns, ensuring your new bin stays fresh and functional. Let’s roll up our sleeves and build something amazing together!
Table of Contents
- Step-by-Step Instructions
- Choosing Your Perfect Compost Bin Materials List
- Finding Ideal Compost Bin Dimensions for Beginners
- Pro Tips for Compost Success: My Secret Sauce for Happy Soil
- Quick Tips for Composting Success
- A Little Dirt Never Hurt
- You’re All Set to Start Composting!
- Frequently Asked Questions
Guide Overview
Tools & Supplies
- Drill with spade bit for aeration holes
- Handsaw for cutting wood or plastic
- Plastic storage bin (approx. 18-30 gallons)
- Drill bits for ventilation
- Hardware cloth or wire mesh for base drainage
Step-by-Step Instructions
- 1. First things first, let’s gather our supplies! Since I grew up in a hardware store, I can tell you that having everything ready before you dive in makes the whole process so much smoother. You’re going to need some untreated cedar planks (it holds up beautifully against moisture!), a few long wood screws, a drill, a saw, and some heavy-duty landscape staples. If you have an old hammer tucked away in your tool kit, grab that too—you might need it for a quick adjustment!
- 2. Once you’ve got your materials, it’s time to cut your wood. You’ll want to create four side panels, but here’s my little pro-tip: don’t make them solid. I like to leave small gaps between the boards, about a half-inch or so. This is super important because your compost needs to breathe to stay healthy and avoid getting that funky, unpleasant smell.
- 3. Now, let’s start the assembly by building the base and the first two sides. Lay your bottom boards down and screw the side panels into them to create a sturdy “U” shape. I always recommend using a bit of pre-drilled pilot holes first; this prevents the wood from splitting, which is a mistake I definitely made a few times back when I was first starting out!
- 4. Next, we’re going to attach the final side panel. I actually prefer making this last side a bit different—maybe use some hinges if you want to be able to swing it open like a gate. This makes it so much easier to turn your compost pile later on without having to dig through everything with a pitchfork.
- 5. To keep everything anchored in your garden, grab those landscape staples we talked about earlier. Push them deep into the ground around the perimeter of your new bin. This prevents the structure from shifting or tipping over when the compost gets heavy and damp, ensuring your hard work stays perfectly in place.
- 6. Finally, it’s time to fill it up and let nature do its thing! Start with a layer of “browns” like dried leaves or shredded cardboard, and then add your “greens” like vegetable scraps and coffee grounds. Just remember to keep a healthy balance of both, and don’t be afraid to get your hands a little dirty—that’s where the magic happens!
Choosing Your Perfect Compost Bin Materials List
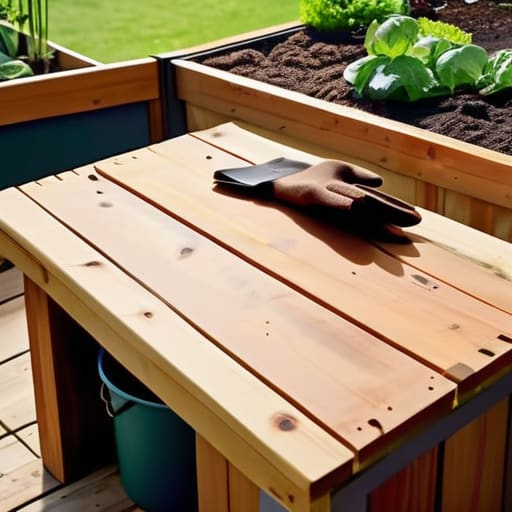
Before you head down to the local hardware store—or even peek around your own garage—it’s super important to get your head around what you actually need. When I’m putting together a compost bin materials list, I always tell my readers to think about their specific space first. If you have a sprawling backyard, you might want something larger and more robust, but if you’re working with a tiny patio, you’ll need to scale down. A common mistake is picking something too massive right out of the gate; I always recommend sticking to smaller compost bin dimensions for beginners so you don’t feel overwhelmed by the sheer volume of scraps!
Also, don’t forget that the “ingredients” of your bin are just as important as the structure itself. You’ll want a good mix of “greens” (like veggie scraps) and “browns” (like dried leaves) to keep that organic waste decomposition process running smoothly. If you’re feeling a bit more adventurous, you might even look into a vermicomposting setup guide if you want to use worms to do the heavy lifting for you. Whatever you choose, just make sure your materials allow for plenty of airflow!
Finding Ideal Compost Bin Dimensions for Beginners
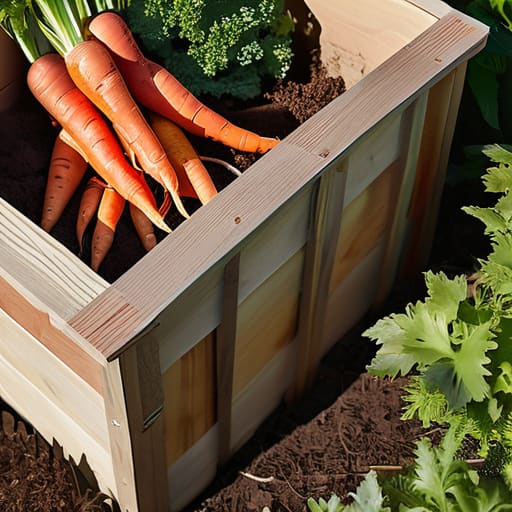
Now, I know what you’re thinking—how big is too big, or too small? It’s a question I get asked all the time! When you’re looking at compost bin dimensions for beginners, you want to find that “Goldilocks” sweet spot. If your bin is too tiny, it won’t hold enough heat to truly kickstart the organic waste decomposition process. On the flip side, a massive bin can be totally overwhelming to turn and manage if you’re just starting out. I usually recommend aiming for something around 3 feet by 3 feet by 3 feet. This size is perfect because it’s large enough to maintain a healthy internal temperature but small enough that you won’t feel like you’re working out at the gym every time you need to stir it!
One thing my dad used to tell me back at the hardware store was that airflow is your best friend. Regardless of the size you choose, make sure your design allows for plenty of aeration for compost bins. Without those little pockets of oxygen, your pile might start to smell a bit funky, and we definitely want to avoid that in our beautiful backyards!
Pro Tips for Compost Success: My Secret Sauce for Happy Soil
- Keep an eye on your “greens” and “browns” balance—think of it like a recipe! You’ll want a good mix of nitrogen-rich scraps (like veggie peels) and carbon-rich materials (like dried leaves) to keep things smelling fresh and prevent that dreaded funk.
- Don’t be afraid to get a little hands-on with a pitchfork! Aeration is your best friend; giving your pile a good toss every week or so lets the oxygen in, which keeps the beneficial microbes working overtime to break everything down.
- Moisture is key, but don’t turn your bin into a swamp! You’re aiming for that “wrung-out sponge” consistency. If it looks too soggy, toss in some extra shredded cardboard or dry leaves to soak up the excess.
- Size matters when it comes to chopping! To speed up the whole process, try to break your kitchen scraps into smaller pieces before they go into the bin. The more surface area the microbes have to work with, the faster you’ll get that “black gold.”
- Location, location, location! I always recommend placing your bin in a spot that gets a mix of sun and shade. A little warmth from the sun helps kickstart the decomposition process, but too much direct heat can dry things out way too fast.
Quick Tips for Composting Success
Don’t sweat the small stuff—the most important thing is finding a balance between “greens” (like veggie scraps) and “browns” (like dried leaves) to keep your bin happy and smell-free!
Start small and scale up as you get more comfortable; you don’t need a massive setup to start making “black gold” for your garden.
Remember that patience is your best friend in this process, so just keep an eye on your moisture levels and let nature do its magic!
A Little Dirt Never Hurt
“Building a compost bin isn’t just about managing kitchen scraps; it’s about building a tiny, living ecosystem right in your backyard. It’s one of those projects where you realize that with a few simple tools and a little bit of patience, you aren’t just cleaning up—you’re actually helping the earth bloom.”
Emily Carter
You’re All Set to Start Composting!
Now that we’ve walked through everything from selecting your materials to nailing down those perfect dimensions, you are officially ready to break ground! Remember, the most important part of this project isn’t having a professional-grade setup; it’s about creating a functional space where your organic scraps can slowly transform into garden gold. Whether you went with a simple wooden crate or a more robust bin design, the key is to keep your ratios balanced and your airflow consistent. Don’t get too hung up on perfection right out of the gate—the beauty of DIY is that you can always tweak and adjust your bin as you learn more about how your specific scraps behave over time.
I know that starting a new project can feel a little intimidating, especially when you’re working with things like soil and decomposition, but I promise you, the payoff is so worth it. There is something incredibly grounding about knowing you are closing the loop in your own backyard and giving back to the earth. Every time you turn that pile, you aren’t just managing waste; you are nurturing new life for your future garden. So, grab your favorite hammer, head out to the yard, and let’s get those hands a little dirty. I can’t wait to see how your little composting journey turns out!
Frequently Asked Questions
How do I know if my compost pile is actually working or if it's just sitting there?
That is such a great question! I used to stare at my pile for weeks wondering if I was just staring at a heap of trash. The easiest way to tell? Grab a garden fork and check the heat! If it feels warm in the center, your microbes are hard at work. You should also see some breakdown—if things are getting mushy or darker, you’re golden. If it’s just sitting there cold and smelly, we might need to tweak your recipe!
Will building my own bin attract any unwanted critters or pests to my garden?
That is such a common worry, and honestly, I used to be terrified of a backyard scavenger party too! The secret is all in what you put inside. If you stick to “green” scraps like veggie peels and “brown” materials like dried leaves—and skip the meat, dairy, or oily leftovers—you won’t attract much of anything. Just keep it balanced and covered, and your bin will stay a happy, pest-free little ecosystem!
What kind of kitchen scraps should I definitely avoid tossing into my new bin?
Now, this is where things can get a little messy if we aren’t careful! To keep your new bin smelling fresh and avoid attracting unwanted critters, steer clear of meat, dairy, and oily foods—they just don’t break down well in a backyard setup. Also, skip the pet waste and any cooked scraps with heavy salt or fats. Stick to those plant-based goodies, and your garden will absolutely thank you!
