
I was halfway through a cup of coffee yesterday when I saw it—a jagged, ugly gouge right across the surface of my favorite mid-century modern coffee table. My heart sank, and for a split second, I actually thought the piece was ruined. But if there is one thing I learned growing up in my family’s hardware store in Ohio, it’s that a little surface damage doesn’t have to mean the end of a beautiful piece of furniture. Most people think they need to sand everything down to the raw grain and start over, but I’m here to tell you that’s just not true. Learning how to fix scratched wood is often much simpler—and much less intimidating—than those scary professional tutorials make it seem.
I’ve spent years tinkering with everything from heirloom dining tables to thrifted finds, and I’ve learned that the secret is all in the right approach. In this guide, I’m stripping away the fluff to give you my honest, no-nonsense methods for erasing those unsightly marks. Whether you’re dealing with a tiny hairline scratch or a deeper scuff, I’ll walk you through my favorite practical fixes so you can restore the beauty of your home with confidence. Let’s get to work!
Table of Contents
- Step-by-Step Instructions
- Mastering Wood Filler Application Techniques for a Seamless Finish
- Restoring Wood Finish With Confidence and Care
- My Secret Sauce: 5 Pro Tips for a Flawless Wood Repair
- Quick Reminders Before You Start Your Next Project
- A Little Perspective on Imperfections
- You Did It: Bringing Your Woodwork Back to Life
- Frequently Asked Questions
Guide Overview
Tools & Supplies
- Sandpaper (various grits for smoothing)
- Microfiber cloth (for cleaning dust)
- Soft brush (for applying stain or wax)
- Wood filler (small container for deep scratches)
- Wood stain marker or wax stick (1-2 colors for matching)
- Furniture polish or wax (small amount for finishing)
Step-by-Step Instructions
- 1. First things first, we need to get a clear picture of what we’re working with. Grab a soft, lint-free cloth and wipe down the area to remove any dust or old wax. Once it’s clean, run your fingernail gently across the scratch; if your nail catches in the groove, we’re looking at a deeper fix, but if it slides right over, it’s likely just a surface scuff that we can tackle with a bit of polish or a wood marker.
- 2. If the scratch is a bit more stubborn, let’s try the “walnut trick”—it sounds like an old wives’ tale, but I swear by it! Take a raw, unsalted walnut and rub the meat of the nut directly into the scratch. The natural oils in the walnut will seep into the wood fibers and help camouflage the damage almost instantly. It’s one of those little hardware store secrets my dad used to teach me back in Ohio.
- 3. For those deeper gouges that need a little more muscle, it’s time to reach for your wood filler. Pick a color that is just a tiny bit darker than your current finish, as wood filler tends to dry a little lighter than you might expect. Use a small putty knife to press the filler firmly into the scratch, making sure you pack it in tight so there are no air pockets left behind.
- 4. Once the filler has had plenty of time to dry (don’t rush this part, patience is key!), you’ll want to level it out. Take a fine-grit sandpaper—I usually recommend around 220 grit—and lightly sand the area until the filler is perfectly flush with the surrounding wood. Just be careful not to sand too aggressively, or you might accidentally round off the edges of your beautiful piece.
- 5. Now that the surface is smooth, we need to bring back that gorgeous luster. If you used a filler, you’ll likely need to dab a little bit of stain or a furniture touch-up pen over the spot to match the grain. Once that’s dry, apply a thin layer of wax or a specialized wood polish to the entire area. This won’t just hide our hard work; it will seal the repair and make the whole surface look seamless again.
- 6. Finally, give everything one last buff with a clean microfiber cloth to remove any excess residue. Step back, take a breath, and admire what you’ve done! You didn’t just “fix” a piece of furniture; you restored its soul, and that is exactly why I love DIY so much.
Mastering Wood Filler Application Techniques for a Seamless Finish
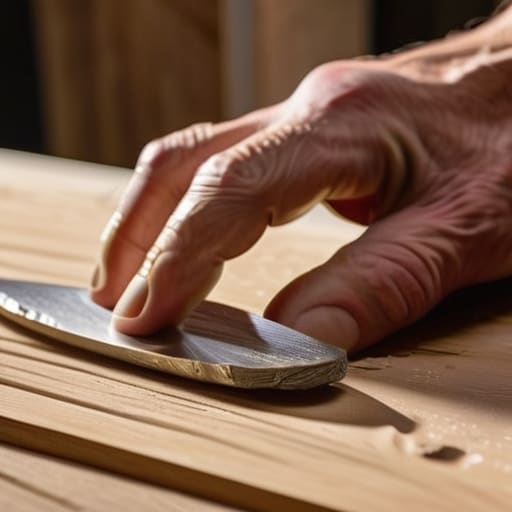
Now, I know what you’re thinking—applying filler can feel a little intimidating, like you’re one wrong move away from a mess. But trust me, once you nail down a few wood filler application techniques, it becomes second nature! The biggest secret I’ve learned from years of tinkering is to work in thin, manageable layers rather than trying to glob it all on at once. When you’re filling a deep gouge, it’s tempting to overfill, but leaving it just a tiny bit proud of the surface is actually much easier to sand down later.
While you’re at it, don’t forget that your choice of tools matters just as much as the filler itself. I always keep a few different sized putty knives handy in my kit—sometimes a tiny spatula is much better for precision work than a large blade. As you move toward buffing out wood imperfections, remember that patience is your best friend. If you rush the sanding process, you might end up with uneven textures that make the repair obvious. Take your time, stay steady, and we’ll get that surface looking smooth and professional!
Restoring Wood Finish With Confidence and Care
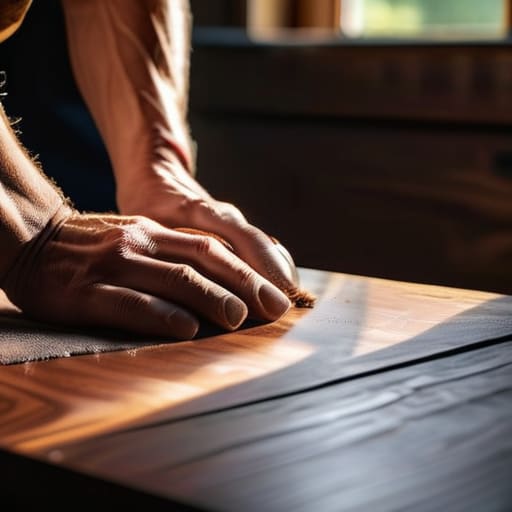
Once you’ve got that filler smoothed out, it’s time for the part that always gets me a little nervous, but I promise you’ve got this: restoring wood finish to its former glory. This is where the magic really happens! When you’re working on matching wood stain colors, I always suggest starting with a sample piece or a hidden spot, like the underside of a table. It’s so much easier to adjust your approach on a scrap bit of wood than on your heirloom dining table. Take your time, layer the color lightly, and remember that patience is your best friend here.
After you’ve nailed the color, the final touch is all about texture. If you’re seeing any slight haziness or unevenness, don’t panic—you can always achieve a professional look by buffing out wood imperfections with a soft cloth and a bit of fine-grit sandpaper or a specialized polishing compound. It’s incredibly satisfying to see that dull, repaired spot transform into a smooth, luminous surface. You’re not just fixing a scratch; you’re bringing life back to a piece of history!
My Secret Sauce: 5 Pro Tips for a Flawless Wood Repair
- Always test your color match on a hidden spot first! I know it’s tempting to dive right in, but even the best-looking stain can look a little “off” once it hits your actual piece. Grab a scrap piece of the same wood if you can—it’s a total lifesaver.
- Don’t rush the sanding process. It’s so easy to want to breeze through to the fun part, but if you don’t sand between steps, you’ll end up with ridges that catch the light. Think of it like building a foundation; a smooth surface is everything!
- Match your filler to the depth of the scratch. For those tiny, superficial scuffs, a little bit of wax or a furniture marker works wonders. But if you’re dealing with a deep gouge that’s actually dented the wood, you’re definitely going to need that wood filler we talked about earlier.
- Work with the grain, never against it. This is one of those things my dad used to yell at me about back at the hardware store, and he was right! Sanding in the direction of the wood grain keeps those tiny scratches from becoming even bigger problems.
- Patience is your best tool in the kit. Whether you’re waiting for wood filler to dry completely or letting a new coat of finish cure, give it the time it needs. Rushing the drying process is the quickest way to end up with a sticky, messy finish that ruins all your hard work!
Quick Reminders Before You Start Your Next Project
Don’t rush the prep work! Taking that extra moment to clean the surface and sand down the edges makes all the difference when you’re trying to get a smooth, professional-looking finish.
Remember that patience is your best tool. Whether you’re waiting for wood filler to dry or letting a new finish cure, giving it the time it needs ensures your hard work actually lasts.
Trust your instincts and embrace the learning curve. If a scratch looks a little tricky, don’t sweat it—just take it one small step at a time, and you’ll be amazed at how much you can transform!
A Little Perspective on Imperfections
“I like to think of every scratch on a wooden surface as a little story of a life well-lived; our job isn’t just to erase those marks, but to lovingly restore the piece so it can keep making beautiful memories in your home.”
Emily Carter
You Did It: Bringing Your Woodwork Back to Life
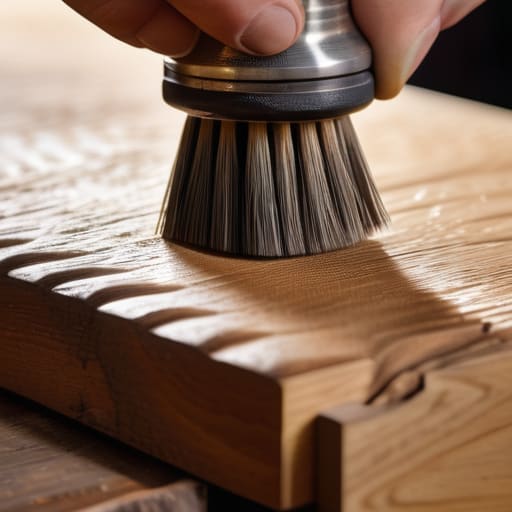
I know that seeing those deep gouges or surface scuffs can feel a little overwhelming at first, but look at what you’ve accomplished! We’ve walked through everything from choosing the right wood filler to the delicate art of restoring that original finish without making it look like a patch job. By taking the time to sand carefully and matching your stains with precision, you haven’t just covered up a mistake; you’ve actually preserved the integrity of your furniture. Remember, the secret to a professional-looking result always comes down to patience and the right tools, so never feel rushed when you’re working on those fine details.
At the end of the day, these little projects are about so much more than just fixing a scratch on a coffee table or a dining chair. Every time you pick up a sander or a brush, you are reclaiming your space and building a skill set that stays with you forever. There is something incredibly soulful about knowing you had the grit to fix something yourself instead of just tossing it out. So, take a moment to step back, admire your handiwork, and feel proud of what you’ve achieved. I can’t wait to see what you tackle next—let’s keep building something amazing together!
Frequently Asked Questions
I've tried using a wood marker before, but it always looks a little blotchy—is there a better way to blend the color so it actually looks natural?
Oh, I have been there! Those markers can be so finicky and often leave those telltale dark spots that just scream “I tried to hide this.” If you want a more natural blend, try using a set of professional wood touch-up stains or even some high-quality colored pencils. You can layer the color very lightly, almost like shading a drawing, to mimic the natural grain. It takes a little more patience, but the results are so much smoother!
What should I do if the scratch is actually a deep gouge that goes all the way through the wood veneer?
Oh, I’ve been there! It’s that sinking feeling when you realize a scratch is actually a deep gouge through the veneer. Don’t panic, though—we can still save it! Since the wood is actually missing, standard filler won’t cut it. You’ll want to use a high-quality wood epoxy or even a specialized veneer repair kit to rebuild that lost volume. It takes a little more patience, but we’ll get that surface smooth and beautiful again!
Do I really need to sand the entire surface, or can I just focus on the area around the scratch to avoid ruining the rest of the finish?
Oh, I hear you! I’ve definitely been there, staring at a beautiful tabletop and thinking, “Please don’t let me ruin this whole thing!” The short answer is: you don’t have to sand the entire surface, but you do need to be careful. You can focus on “spot sanding” just around the scratch, but make sure to feather those edges outward so the repair blends in seamlessly. Just take it slow!
