
I still remember the first time I tried to hang a floating shelf in my tiny Ohio bedroom, only to watch in horror as the drill slipped, leaving a jagged, ugly gouge in my favorite wood paneling. I felt like such a fraud, convinced that you needed some innate, magical talent to handle power tools without causing a disaster. But here is the truth: knowing how to use a drill isn’t about having “natural” skill; it’s simply about understanding the tool and having the right technique. Once I stopped treating my drill like a scary mystery and started seeing it as just another extension of my hands, everything changed for my DIY projects.
In this guide, I’m stripping away all the intimidating technical jargon and getting straight to the heart of what actually matters. I’m going to walk you through everything from choosing the right bit to mastering that steady, confident grip so you can stop feeling nervous and start feeling capable. We’ll cover the essential movements and safety tips you need to transform your space with precision and ease. Let’s grab our gear and start building something amazing together!
Table of Contents
- Step-by-Step Instructions
- Mastering the Basics Proper Drill Grip Technique and Safety
- Choosing Your Tools Drill Bit Types and Uses for Success
- Pro-Tips from My Toolbox: Little Secrets for a Flawless Finish
- Quick Tips to Keep in Your Tool Belt
- Finding Your Rhythm with the Drill
- You've Got This!
- Frequently Asked Questions
Guide Overview
Tools & Supplies
- Power Drill (Cordless or corded drill)
- Drill Bits (Set of wood, metal, or masonry bits)
- Workpiece (Wood, metal, or plastic)
- Safety Glasses (1 pair)
Step-by-Step Instructions
- 1. First things first, let’s get your bits ready! Grab the specific drill bit you need for your project—if you’re drilling into wood, you’ll want a standard twist bit, but if you’re tackling a wall, you’ll need a masonry bit. Slide the bit into the chuck (that’s the adjustable part at the very front) and use the chuck key or your hand to tighten it snugly. You want it to be really secure so it doesn’t wobble once you start working.
- 2. Next, we need to pick the right speed and direction. Most of my drills have a little switch on top for “Forward” and “Reverse.” For almost every project we’ll do, you’ll want it set to forward (usually clockwise). If you’re driving a screw and it feels like it’s getting stuck, flipping it to reverse is a lifesaver for backing it right out.
- 3. Before you even touch the surface, grab a pencil and mark your spot. I know it’s tempting to just wing it, but trust me, a tiny mistake here can lead to a lot of frustration later! I like to use a little piece of painter’s tape over my mark if I’m working on something delicate; it helps prevent the bit from slipping when you first start.
- 4. Now, let’s get into position. Hold the drill firmly with both hands—one on the main handle and the other on the back of the drill for extra stability. This is where my childhood in the hardware store really kicks in; balance is everything! Lean your body weight slightly into the tool to ensure you’re applying steady, even pressure against the material.
- 5. It’s time to pull the trigger, but let’s do it gently. Don’t just slam it to full speed right away! Instead, squeeze the trigger slowly to let the bit “bite” into the surface. Once you feel like you’ve established a groove, you can gradually increase the speed. It’s all about patience and control rather than raw power.
- 6. As you’re drilling, keep a close eye on the depth. If you’re working on a piece of vintage furniture I’m helping you restore, you definitely don’t want to go too deep! You can use a piece of masking tape on the drill bit as a depth gauge. This is a super simple trick that makes you look like a total pro and ensures you never go past your limit.
- 7. Finally, once you’ve reached the desired depth, don’t just yank the drill out. Slowly release the trigger to let the bit come to a complete stop, and then pull it straight back out of the hole. This prevents the bit from catching and tearing the material, leaving you with a perfectly clean finish every single time.
Mastering the Basics Proper Drill Grip Technique and Safety
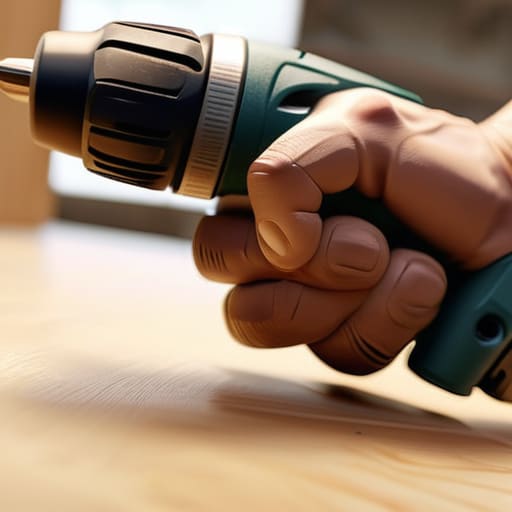
Before we get into the heavy lifting, let’s talk about how you actually hold that tool. I remember when I first started helping my dad at the hardware store, I used to grip the drill so tightly my knuckles turned white! But you don’t want to do that. Using a proper drill grip technique means wrapping your fingers firmly around the handle while using your other hand to steady the back of the drill. This gives you much better control and prevents the tool from “jumping” when you first touch the surface. Think of it as being a partner to the machine rather than fighting against it.
Safety is also super important, especially when you’re working with different materials. One of my favorite cordless drill safety precautions is always making sure your workpiece is clamped down tight; you don’t want it sliding around while you’re mid-project! Also, keep a close eye on your surroundings—tuck in any loose hair or baggy sleeves before you power up. If you stay mindful of these little details, you’ll feel so much more confident as you move from simple holes to more complex builds. You’ve got this!
Choosing Your Tools Drill Bit Types and Uses for Success
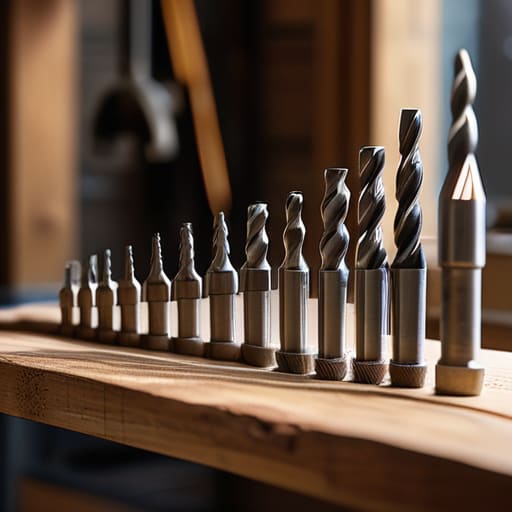
Now, let’s talk about the real magic makers: the bits! Honestly, walking into a hardware store can feel a little overwhelming, especially with all those tiny metal pieces staring back at you. But don’t let it intimidate you. Understanding the different drill bit types and uses is really the secret sauce to a professional finish. If you’re working on a beautiful vintage dresser, you’ll want a twist bit for clean holes in wood. However, if you’re tackling a metal bracket for a floating shelf, you’ll need a HSS (high-speed steel) bit. Using the wrong one is a quick way to frustrate yourself, and we definitely want to avoid that!
Another thing I always tell my readers is that your drill is only as good as the settings you choose. It’s not just about pulling the trigger; you really need to understand drilling into wood vs metal to keep your materials from splintering or overheating. For instance, metal requires a slower, more controlled pace, while wood can handle a bit more pep. Take your time to match the bit to your project, and I promise your results will look absolutely stunning.
Pro-Tips from My Toolbox: Little Secrets for a Flawless Finish
- Mark your spot twice, drill once! I always grab a pencil and make a tiny little “X” where I want the hole to go. It sounds simple, but it keeps you from drifting and ruining your beautiful wood grain.
- Let the tool do the heavy lifting. It’s so tempting to push as hard as you can, but I’ve learned that if you lean too hard, you actually lose control. Just apply steady, gentle pressure and let that motor do its thing.
- Mind the “exit wound.” When you’re drilling all the way through a piece of furniture, the wood tends to splinter on the back side right as the bit pops out. To prevent this, place a scrap piece of wood underneath your project to act as a support.
- Speed is everything (but not always fast!). For big, chunky drill bits, slow your trigger squeeze down. If you go too fast, you’ll create way too much heat, and trust me, nobody wants scorched wood or a burnt-smelling workshop!
- Keep your eyes on the prize—and the bit. It’s easy to get distracted, but always make sure your drill bit is perfectly perpendicular to the surface before you start. If you’re even slightly tilted, your hole is going to be wonky, and we want everything to be straight and true!
Quick Tips to Keep in Your Tool Belt
Remember that patience is your best friend—it’s much better to take it slow and steady than to rush and end up with a wonky hole or a stripped screw!
Always double-check that you’ve matched the right drill bit to your material, because using the wrong one is the quickest way to a frustrating afternoon.
Don’t be afraid to make mistakes; every little slip-up is just a stepping stone toward becoming more confident and skilled in your DIY journey!
Finding Your Rhythm with the Drill
“I know that first time you pull the trigger, your heart might race just a little bit, but honestly? That’s where the magic starts. Once you find that steady rhythm and feel the tool becoming an extension of your own hands, you’ll realize you aren’t just making holes in wood—you’re literally building the foundation of your home.”
Emily Carter
You've Got This!
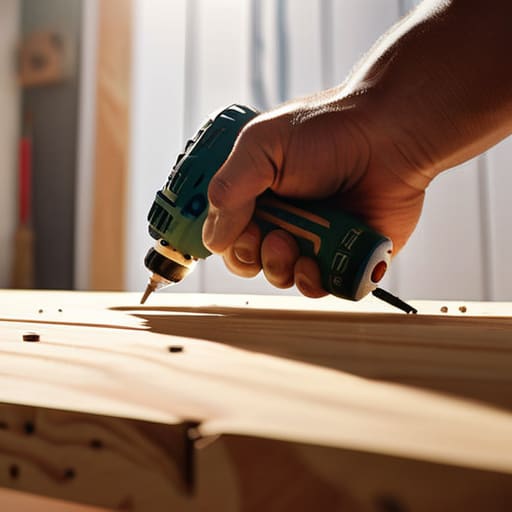
We have covered a lot of ground today, from finding that perfect grip to selecting the right bit for the job. I know it can feel a little overwhelming when you first look at all those different settings and attachments, but remember that mastering a drill is all about consistent practice. Once you understand how to balance your pressure and respect the safety basics we talked about, you’ll find that the tool becomes almost like an extension of your own hand. Don’t be discouraged if your first few holes aren’t perfectly straight—even my dad, who grew up in a hardware store, had to learn the hard way! Just take your time, trust your instincts, and keep refining your technique.
At the end of the day, the drill is just a tool, but the magic is in what you decide to create with it. Whether you are hanging a single piece of art to make a house feel like a home or tackling a massive furniture restoration project, you are building more than just physical objects; you are building your own confidence. I truly believe that there is nothing quite like the feeling of stepping back and saying, “I made this.” So, grab your gear, clear off your workspace, and let’s get to work. I can’t wait to see the amazing things you’ll build!
Frequently Asked Questions
I'm a little worried about the noise—is there a way to keep things quieter when I'm working in my apartment?
Oh, I totally hear you! When I first started DIYing in my tiny apartment, the sound of a drill felt like a megaphone to my neighbors. To keep things a bit more low-key, try working during “mid-day” hours rather than early morning or late at night. Also, using a drill with a variable speed trigger helps prevent that harsh, sudden jarring noise. A little bit of patience goes a long way in keeping the peace!
How do I know if I'm applying too much pressure and about to slip or damage my project?
Oh, I have been there! That moment of panic when you feel the drill start to wander is so real. If you feel the drill body vibrating intensely or notice the bit “skating” across your surface, stop right there! That’s your sign you’re pushing too hard. Instead of forcing it, let the tool do the heavy lifting. If you’re working with delicate wood, think of it like a gentle nudge rather than a shove.
What's the best way to make sure my drill bit doesn't wander or slip when I'm trying to start a hole in a hard surface?
Oh, I have been there! There is nothing more frustrating than seeing a bit skate across your beautiful wood or tile. My favorite trick is to use a center punch or even a sharp nail to create a tiny “dimple” where you want the hole to start. If you’re working on something super delicate, you can also use a piece of painter’s tape to give the bit a little extra grip. You’ve got this!
