
I remember standing in my first tiny apartment, staring at a beautiful piece of reclaimed wood and a pile of hardware, feeling absolutely paralyzed by the fear of drilling a hole in the wrong spot. I used to think that knowing how to install a shelf required some secret, advanced engineering degree or a professional contractor on speed dial, but that couldn’t be further from the truth. Growing up in my family’s hardware store, I learned early on that most “scary” home projects are really just a series of small, manageable steps. You don’t need to be a master carpenter; you just need to trust your tools and follow a solid plan.
In this guide, I’m stripping away all the intimidating jargon to give you the real, no-nonsense steps to getting those brackets perfectly level and secure. We’re going to walk through everything from finding your studs to choosing the right anchors, so you can stop staring at empty walls and start creating a space you love. I promise, by the time we’re done, you’ll be feeling more confident than ever to tackle your next big project!
Table of Contents
- Step-by-Step Instructions
- Mastering the Art of Measuring for Wall Shelves
- Choosing the Perfect Shelf Bracket Types for Your Style
- My Little Secrets for a Shelf That Actually Stays Put
- Quick Tips to Keep in Mind Before You Start
- My Philosophy on Making Your House a Home
- You Did It! Time to Celebrate
- Frequently Asked Questions
Guide Overview
Tools & Supplies
- Drill/Driver for creating holes and driving screws
- Level to ensure the shelf is straight
- Pencil for marking drill points
- Stud finder to locate wall supports
- Measuring tape for accurate placement
- Shelf unit (1)
- Shelf brackets (2-4)
- Wall anchors (if no studs are present)
- Screws (appropriate for bracket and anchor type)
Step-by-Step Instructions
- 1. First things first, we need to gather our supplies so we aren’t running back and forth to the garage halfway through. You’ll want your shelf, your brackets, a level (this is non-negotiable if you want things straight!), a drill, some sturdy wall anchors, and a pencil. If you’re lucky enough to have a stud finder like I do, grab that too—it’s going to be your best friend in this process.
- 2. Once you have your gear, it’s time to find the perfect spot. I always like to hold the shelf up against the wall to see how it catches the light in the room. Once you’ve found “the one,” use your pencil to mark exactly where you want the brackets to go. If you can find a wall stud, try to line your brackets up with it; it makes the shelf incredibly sturdy and gives you that extra peace of mind.
- 3. Now, let’s get to the slightly messy part: drilling. If you aren’t hitting a stud, you’ll need to use those wall anchors I mentioned earlier. Drill your pilot holes into the marks you made, and if you’re using anchors, gently tap them into the holes with a hammer until they are flush with the wall. It might feel a little intimidating at first, but just take a deep breath—you’ve got this!
- 4. Next, we’re going to mount the brackets. Position your first bracket over the holes you just drilled and secure it with your screws. But here is my golden rule: don’t tighten the screws all the way just yet! Leave them a tiny bit loose so you have some wiggle room to adjust the position if things look a little wonky.
- 5. This is the moment of truth where we bring in the level. Place your level on top of the bracket (or on the shelf itself if it’s already resting there) to make sure everything is perfectly horizontal. Once you see that little bubble sitting right in the middle, go ahead and tighten those screws firmly. There is honestly no better feeling than seeing that perfect, straight line!
- 6. Finally, let’s lay the shelf on top of the brackets and secure it. Most shelves have small pre-drilled holes on the underside that allow you to screw the wood directly into the bracket. This prevents the shelf from sliding around or tipping if you accidentally bump into it. Give it a little gentle wiggle test to make sure everything feels solid and secure.
- 7. Now for the best part: the styling! Since we’ve done the hard work of making sure it’s safe and straight, you can finally add your favorite books, a trailing pothos plant, or those vintage trinkets you’ve been collecting. I love adding a mix of textures to make a shelf feel lived-in and cozy, so don’t be afraid to get creative!
Mastering the Art of Measuring for Wall Shelves
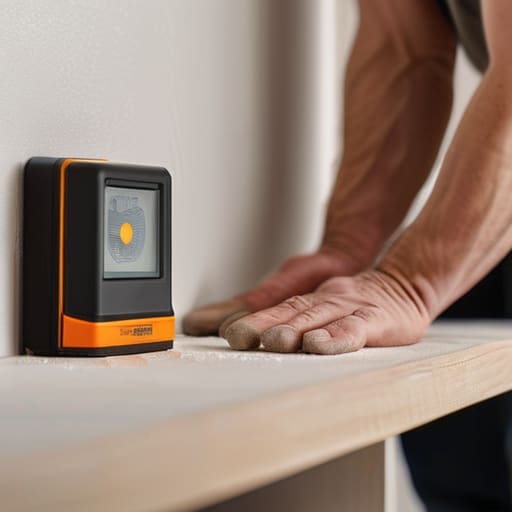
Now, I know what you’re thinking—measuring sounds like the easiest part, right? But trust me, this is where the magic (or the heartbreak) happens! Before you even touch a drill, you need to decide if you’re drilling into drywall vs studs. If you’re planning to display a collection of heavy vintage ceramics or those chunky art books I love so much, you absolutely want to find those wooden studs. I always keep my trusty stud finder nearby; a little bit of extra effort here ensures your beautiful new shelf doesn’t end up on the floor halfway through the night!
When you’re actually measuring for wall shelves, don’t just eyeball it. Grab a tape measure and a pencil, and mark your points twice. I also highly recommend checking your different shelf bracket types against your measurements to make sure the spacing looks intentional and balanced. If you’re going for that sleek, seamless look with a floating shelf, precision is your best friend. Take a deep breath, double-check those marks, and remember: measure twice, drill once! You’ve got this!
Choosing the Perfect Shelf Bracket Types for Your Style
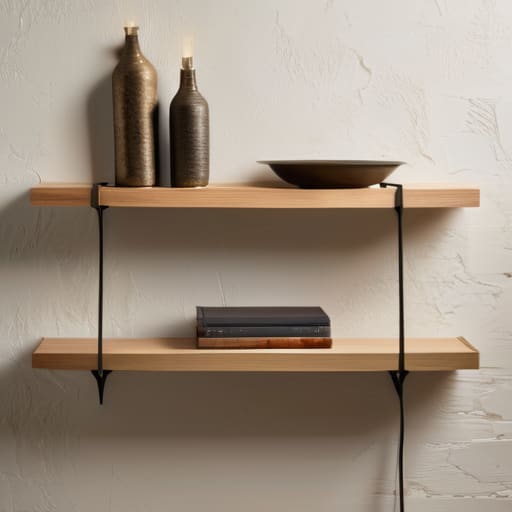
Now that we’ve nailed down those measurements, it’s time for the fun part: picking out the hardware that actually matches your vibe! When you’re looking at the different shelf bracket types, I always tell my readers to think about the “personality” of the room. If you’re going for that cozy, farmhouse look I love so much, ornate wrought iron brackets are stunning. But, if you’re aiming for something more modern or minimalist, you might want to look into hidden supports for a cleaner aesthetic.
The most important thing to remember, though, is that style has to meet substance. If you’re planning to display a heavy collection of vintage cookbooks or those chunky ceramic vases we all adore, you absolutely need to invest in some heavy duty shelf mounting hardware. I’ve made the mistake of using flimsy brackets on a beautiful piece of reclaimed wood, and let me tell you, it’s not a look anyone wants! Always check the weight capacity on the packaging so your hard work stays exactly where you put it.
My Little Secrets for a Shelf That Actually Stays Put
- Always, always hunt for those studs! I know it’s tempting to just grab a drill and go, but if you aren’t hitting a stud, you’re going to be relying entirely on drywall anchors. Even then, if you’re planning on displaying anything heavier than a single succulent, hitting that solid wood is a total game-changer for peace of mind.
- Don’t skip the level check—seriously! There is nothing more heartbreaking than spending an hour perfectly positioning your beautiful new shelf only to realize it’s leaning slightly to the left. I always keep my bubble level handy (it’s practically an extension of my hand at this point) to make sure everything is perfectly straight before I drive those screws home.
- Mind your “landing zone.” Before you start drilling holes in your lovely walls, take a quick peek at what’s behind them. I’ve learned the hard way that you don’t want to accidentally drill straight into a light switch box or a water pipe. Using a stud finder with a voltage detector is a lifesaver and keeps your DIY day from turning into a plumbing nightmare!
- Test the weight before you celebrate. Once the shelf is up, don’t go immediately for that heavy stack of vintage cookbooks. Start with something light, make sure it feels rock-solid, and then slowly add your decor. It’s all about building confidence in your work—and your shelf!
- Keep a “mistake kit” nearby. Let’s be real: sometimes a hole ends up in the wrong spot or a screw goes in a little crooked. Having some high-quality spackle and a tiny bit of matching paint on hand means you can fix those little hiccups in minutes, making your project look professional and polished.
Quick Tips to Keep in Mind Before You Start
Don’t skip the prep work—measure twice, mark your spots clearly, and always double-check for those pesky wall studs to make sure your shelf stays exactly where you want it!
Match your hardware to your vibe, but remember that function always comes first; make sure your brackets are strong enough to handle whatever treasures you’re planning to display.
Be patient with yourself and enjoy the process; even if things don’t look perfect on the first try, every little tweak is just part of the learning curve that makes your home uniquely yours!
My Philosophy on Making Your House a Home
“Installing a shelf is about so much more than just securing a piece of wood to a wall; it’s about claiming your space and finally having a place for those little things that make a house feel like a home. Don’t let the fear of a crooked level stop you—every little imperfection is just a mark of something you built with your own two hands!”
Emily Carter
You Did It! Time to Celebrate
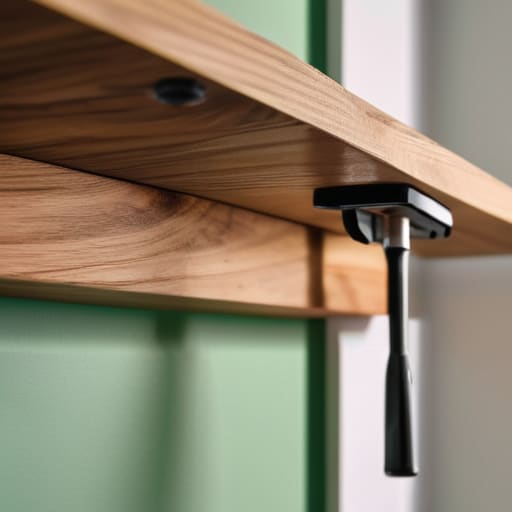
And just like that, you’ve gone from a pile of wood and hardware to a stunning new addition to your home! We’ve covered a lot of ground together, from the precision of mastering your measurements to selecting those perfect brackets that really pull your aesthetic together. Remember, the secret to a successful installation isn’t just about having the right tools—though my collection of hammers would tell you otherwise—it’s about taking your time and being intentional with every screw and level check. If things didn’t go perfectly on the first try, don’t sweat it; even the pros have to patch a hole or re-drill a pilot hole every once in a while. You’ve done the hard part, and now you get to enjoy the results.
As you step back to admire your handiwork, I want you to take a second to really soak in that feeling of accomplishment. There is something so incredibly special about looking at a piece of your home and knowing, you built this. It’s more than just extra storage space or a place to display your favorite trinkets; it’s a testament to your growing skills and your willingness to try something new. Every project, no matter how small, is a stepping stone toward becoming the confident creator I know you can be. So, grab a cup of coffee, lean back, and celebrate your progress—you’ve truly earned it!
Frequently Asked Questions
What should I do if I can't find a stud exactly where I want my shelf to go?
Don’t panic! Honestly, this happens to the best of us—I’ve definitely stared at a blank wall wishing a stud would just magically appear right where I wanted it. If you’re stuck, your best friend is a high-quality wall anchor. Depending on your shelf’s weight, I’d recommend heavy-duty toggle bolts; they grip the drywall from the inside and are incredibly sturdy. Just make sure you grab the right ones for your specific wall type!
How much weight can my shelf actually hold before I have to worry about it sagging or pulling out of the wall?
This is such a great question, and honestly, it’s the one that kept me up at night when I first started! It really depends on two things: what you’re actually putting on the shelf and, more importantly, what’s behind the wall. If you’re hitting a stud, you’re golden for heavy books. But if you’re just using drywall anchors, keep it light—think small decor or plants. When in doubt, always aim for a little extra strength!
Is it better to use drywall anchors or should I always be aiming for a stud to keep things secure?
Oh, that is such a great question! If I had to give you my golden rule, it’s this: always aim for a stud whenever you can. There is nothing quite like the peace of mind that comes from knowing your shelf is anchored directly into the wood. However, don’t let a lack of studs discourage you! High-quality drywall anchors are absolute lifesavers for lighter decor, so just match the anchor to your shelf’s weight.
