
I remember standing in my first tiny apartment, staring at a pile of mismatched paperbacks on the floor and feeling completely defeated because I couldn’t afford that high-end designer shelving I saw in magazines. I used to think you needed a professional workshop and a massive budget to create custom storage, but let me tell you: that is a total myth. Learning how to build a bookshelf isn’t about having the fanciest power tools or a degree in carpentry; it’s really just about having a little bit of patience and the right plan. Growing up in my family’s hardware store, I learned early on that the best pieces are the ones you assemble with your own two hands.
In this guide, I’m stripping away all the intimidating jargon and fancy fluff to give you a straight-shooting, step-by-step roadmap. I’ll show you how to select the right wood, avoid those pesky measurement mistakes that drive me crazy, and finish your piece so it looks like a high-end heirloom rather than a weekend project. We are going to tackle this together, and I promise that by the time we’re done, you’ll feel completely empowered to transform your space!
Table of Contents
- Step-by-Step Instructions
- Choosing Your Perfect Custom Shelving Unit Plans
- Essential Woodworking Tools for Beginners to Start Your Journey
- Pro Tips from My Workshop to Yours: Avoiding Those "Oops" Moments
- Quick Wins to Remember Before You Start Sawing
- The Heart of the Project
- You Did It: From Raw Wood to Your New Favorite Feature
- Frequently Asked Questions
Guide Overview
Tools & Supplies
- Circular saw or hand saw for cutting wood to size
- Power drill for driving screws
- Measuring tape for precise dimensions
- Sandpaper for smoothing surfaces
- 1×4 or 1×6 lumber (approx. 4-5 boards)
- Wood screws (1 box)
- Wood glue (1 bottle)
- Sandpaper (various grits)
Step-by-Step Instructions
- 1. First things first, we need to get our materials together. Head over to your local lumber yard and grab some high-quality plywood or solid pine boards—I personally love using pine because it’s so forgiving if you’re a beginner. You’ll also need a circular saw (or have them cut it for you if you’re feeling nervous!), some wood glue, sandpaper, and a handful of 1.5-inch finish nails. Trust me, having everything laid out on your workbench before you make that first cut makes the whole process so much more relaxing.
- 2. Once you have your wood, it’s time to measure and mark your pieces. We’re going to need two long side panels, a top piece, a bottom piece, and several smaller boards for your shelves. Grab your measuring tape and a carpenter’s pencil—and please, measure twice and cut once! I know it sounds like a cliché, but after years of tinkering in my dad’s hardware store, I can tell you that a tiny mistake at the start can turn into a massive headache by the end.
- 3. Now, let’s start the assembly. Apply a thin, even bead of wood glue along the edges of your bottom piece and press it against the side panels. This is where my collection of hammers comes in handy! Use your hammer and some finish nails to secure the pieces together, making sure everything is perfectly square. If you don’t have a square handy, you can use the corner of a piece of paper to check that your joints aren’t leaning at a wonky angle.
- 4. With the outer frame looking solid, it’s time to add those shelves. I like to decide on the spacing first so I can fit my favorite oversized art books without any issues. Mark where you want each shelf to sit on the inside of the side panels, then slide your shelf boards into place. Secure them with glue and nails just like you did with the frame; just be careful to keep your nails straight so they don’t pop out through the side of the wood!
- 5. Next up is the sanding phase, which is honestly my favorite part because you can see the grain really start to sing. Start with a coarser grit sandpaper to smooth out any rough edges or uneven joints, and then move to a finer grit for that silky-smooth finish. Take your time here; a little extra elbow grease during the sanding stage is what separates a “DIY project” from a professional-looking piece of furniture.
- 6. Finally, it’s time to give your bookshelf its personality! You can leave the wood natural for a rustic, farmhouse vibe, or you can dive into a fun paint color or a rich wood stain. I’m currently obsessed with deep, moody blues, but you can’t go wrong with a classic clear sealant to show off the natural beauty of the wood. Once it’s dry, find that perfect spot in your home, load it up with your treasures, and take a moment to celebrate what you just built!
Choosing Your Perfect Custom Shelving Unit Plans
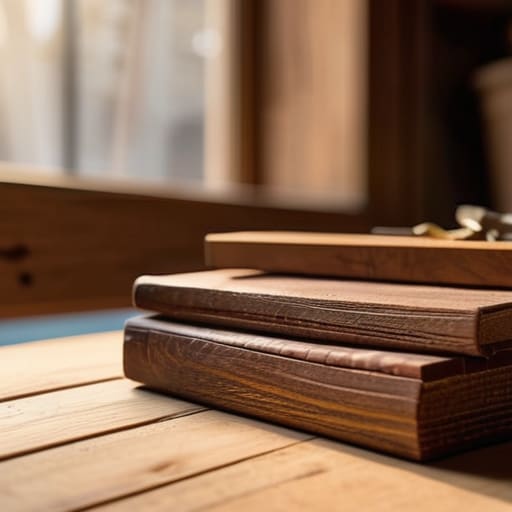
Before you even pick up a saw, I want you to take a second to dream a little. When you’re looking through different custom shelving unit plans, it’s so easy to get overwhelmed by all the options online. My best advice? Think about what’s actually going on your shelves. Are you planning to display heavy, leather-bound vintage books, or just a few lightweight succulents and trinkets? This makes a huge difference when you’re deciding on the depth and thickness of your wood. I always tell my readers to prioritize functionality over flair—a beautiful shelf isn’t much use if it sags under the weight of your favorite novels!
Once you’ve picked a design that speaks to your soul, start thinking about your space. If you’re a bit nervous about the technical side, don’t sweat it! You don’t need a professional workshop; just a few essential woodworking tools for beginners will get you through most of the heavy lifting. I remember when I first started tinkering in my parents’ hardware store, I was terrified of making a wrong cut. But honestly, once you get the hang of measuring and cutting wood with intention, that nervous energy turns into pure creative excitement.
Essential Woodworking Tools for Beginners to Start Your Journey
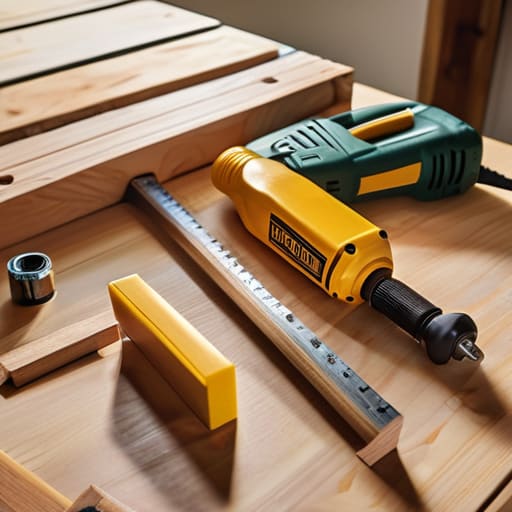
Before you dive into those custom shelving unit plans, let’s talk about your toolkit. I know it can feel a little overwhelming when you walk into a hardware store—trust me, I grew up in one, and even I used to get lost in the aisles! But you don’t need a massive workshop to make something beautiful. For this project, the absolute essentials are a reliable drill, a level, and a good saw. When it comes to woodworking tools for beginners, I always say that quality matters more than quantity. Investing in a decent tape measure and a speed square will save you so much heartache when you’re measuring and cutting wood to size.
One little pro-tip from my years of tinkering: don’t overlook the importance of clamps. They are like having a second pair of hands, especially when you’re trying to keep everything square while driving screws. Also, if you want your piece to look professional, grab some sandpaper and a tack cloth. Proper finishing wood surfaces is what truly separates a “DIY project” from a piece of furniture you’d be proud to display in a showroom. Let’s make sure you’re set up for success!
Pro Tips from My Workshop to Yours: Avoiding Those "Oops" Moments
- Measure twice, cut once, and then measure a third time! I know it sounds like a cliché, but trust me, there is nothing more heartbreaking than realizing your beautiful piece of oak is an inch too short after you’ve already made the cut.
- Don’t skip the sanding phase! It might feel tedious when you just want to see the finished product, but a smooth, buttery surface is the secret to making a DIY shelf look like a high-end designer piece rather than a weekend project.
- Think about the weight you’ll be holding. If you’re planning to display heavy hardcovers or those massive art books I love so much, make sure you space your supports closer together so the shelves don’t start to sag over time.
- Always pre-drill your pilot holes. This was a huge lesson for me growing up in my dad’s hardware store—if you try to drive a screw straight into the wood without a pilot hole, you’re almost guaranteed to split the grain, and that’s a headache you don’t need.
- Level your workspace before you start. It’s tempting to just clear off the kitchen table and dive in, but if your surface isn’t flat, your bookshelf will end up wonky, and nothing ruins the vibe of a cozy reading nook like a leaning tower of books!
Quick Wins to Remember Before You Start Sawing
Don’t rush the planning phase—taking that extra hour to map out your dimensions and pick the right wood type will save you so much frustration (and trips back to the hardware store!) later on.
Focus on the “measure twice, cut once” mantra like it’s your job; even with my background, I still find that a little extra patience during the measuring stage is the secret sauce to a professional-looking finish.
Remember that this is about your unique space, so don’t be afraid to let your personality shine through in your design choices, whether it’s a bold paint color or a rustic, reclaimed wood look!
The Heart of the Project
“Building a bookshelf isn’t just about joining pieces of wood together; it’s about creating a home for your favorite stories and memories. Every time you tighten a screw or sand down a rough edge, you’re not just making furniture—you’re building a piece of your own history.”
Emily Carter
You Did It: From Raw Wood to Your New Favorite Feature
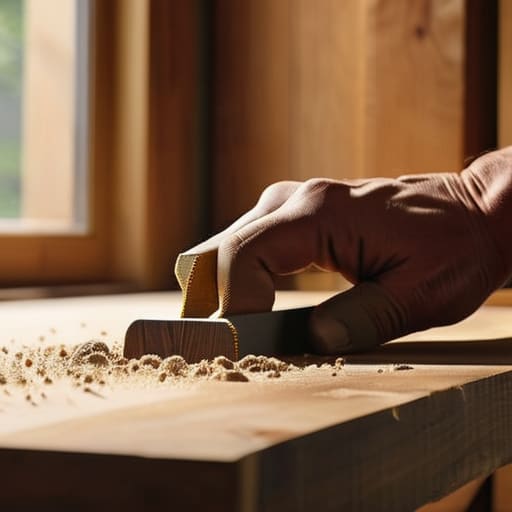
And just like that, you’ve gone from staring at a pile of lumber to standing next to a custom piece of furniture that you built with your own two hands! We’ve covered everything from selecting the right plans that fit your specific style to gathering that essential toolkit to get the job done. Whether you opted for a simple floating design or a sturdy, floor-to-ceiling unit, the most important part was the process itself. Remember, it’s totally normal if your first few cuts weren’t absolutely perfect—that’s just part of the character of a handmade piece. Taking the time to sand those edges smooth and choosing a finish that speaks to your personality is what truly turns a basic project into a functional work of art that fits your home perfectly.
As you clear away the sawdust and start arranging your favorite novels and keepsakes on those new shelves, I want you to take a second to really soak in that feeling of accomplishment. There is something so incredibly special about looking at a corner of your room and knowing, “I made this.” Building a bookshelf is about so much more than just storage; it’s about investing in your own confidence and transforming your living space into a true sanctuary. Don’t let this be your last project! Keep that momentum going, keep tinkering, and most importantly, keep creating. I can’t wait to see what you build next!
Frequently Asked Questions
I'm a bit nervous about the wood—should I stick to something soft like pine, or is it worth the extra money to go with something more durable like oak?
Oh, I totally get those nerves! I remember my first project in my dad’s hardware store—I was so worried about picking the “wrong” wood. Honestly, if you’re just starting out, pine is a dream because it’s forgiving and budget-friendly. But, if you want this bookshelf to be a family heirloom that survives toddlers and heavy decor, spending a little extra on oak is a total game-changer. Trust your gut; you’ve got this!
What’s the best way to make sure my shelves don't sag over time if I'm planning on loading them up with heavy hardcover books?
Oh, I am so glad you asked! There is nothing more heartbreaking than spending hours on a beautiful project only to see it bow under the weight of your favorite novels. To prevent that dreaded sag, my best tip is to use thicker lumber—aim for at least 3/4 inch—and keep your shelf spans shorter. If you want longer shelves, consider adding a solid wood “lip” or a support cleat along the back wall. It makes a world of difference!
If I don't have a professional workshop, can I actually get decent results using just a few basic hand tools and a small garage space?
Oh my goodness, absolutely! I actually started my very first furniture restoration in my parents’ tiny garage back in Ohio, so I know exactly how that feels. You don’t need a massive, professional studio to make magic happen. As long as you have a little bit of cleared floor space and some basic hand tools, you can absolutely achieve beautiful, professional-looking results. It’s all about patience and a steady hand—you’ve totally got this!
