
I remember standing in my dad’s hardware store back in Ohio, surrounded by the scent of sawdust and oil, thinking that anything truly “handmade” had to be incredibly complex or even a little bit dangerous. For the longest time, I avoided the craft because I thought you needed a chemistry degree and a professional laboratory to get it right. But honestly? That is one of the biggest myths out there. Learning how to make soap isn’t about mastering complex equations; it’s about understanding how simple, raw ingredients can transform into something utterly beautiful for your home.
I’m not here to overwhelm you with intimidating jargon or expensive equipment you’ll only use once. Instead, I want to walk you through this process just like I would if we were working on a furniture restoration project together in my studio. I’ll be sharing my no-nonsense, step-by-step approach to crafting your very first batch, focusing on the practical basics that actually work. We’re going to tackle the science together, one small step at a time, so you can stop buying store-bought bars and start creating something truly special with your own two hands.
Table of Contents
- Step-by-Step Instructions
- Mastering Cold Process Soap Making Methods for Beginners
- Choosing Natural Soap Ingredients for Skin and Soul
- Pro-Tips from My Workbench: Avoiding Common Soap-Making Pitfalls
- My Top Tips for Your Soap-Making Success
- ## The Heart of the Craft
- From Lather to Legacy
- Frequently Asked Questions
Guide Overview
Tools & Supplies
- Digital scale for precise measurements
- Stick blender for emulsifying oils and lye
- Heat-resistant glass beaker or stainless steel pot
- Infrared thermometer to monitor temperatures
- Silicone molds for shaping the soap
- Coconut oil (approx. 16 oz)
- Olive oil (approx. 16 oz)
- Sodium hydroxide/Lye (approx. 7 oz)
- Distilled water (approx. 12 oz)
- Essential oils (approx. 1 oz)
Step-by-Step Instructions
- 1. First things first, we need to get our workspace ready and prioritize safety. Since we’re working with lye, which can be a bit intimidating if you’ve never handled it before, please make sure you have your safety goggles and gloves on before we even touch a single ingredient. I always like to clear off my workbench and lay down some old newspapers or silicone mats—it makes the cleanup so much easier later on!
- 2. Next, let’s tackle the lye solution. Carefully weigh out your distilled water and your lye in separate containers using a digital scale (precision is everything in soap making!). Slowly pour the lye into the water—never the other way around, or you might get a nasty splash—and give it a gentle stir. You’ll notice it gets quite warm, almost like it’s alive, so just let it sit in a safe spot to cool down to a comfortable temperature.
- 3. Now, it’s time to prep our oils. I love using a blend of olive oil for moisture and coconut oil for that lovely, bubbly lather. Melt your solid fats like coconut oil or shea butter in a large stainless steel pot over low heat, then stir in your liquid oils. Once your oils and your lye water are both in that “sweet spot” temperature range—roughly between 90°F and 110°F—you’re ready for the magic moment where everything comes together.
- 4. This is where the real transformation happens! Slowly pour your lye water into your pot of oils and grab your immersion blender. Start by stirring manually with a spatula, and then use the blender in short bursts. You’re looking for something called “trace,” which is when the mixture reaches a consistency similar to thick pudding. Once it coats the back of your spoon, you know you’ve nailed it.
- 5. If you’re feeling extra creative (and I know you are!), this is the perfect time to fold in your essential oils or natural clays for color. I’m currently obsessed with using lavender essential oil for a calming scent, but honestly, the possibilities are endless. Just stir them in gently with a silicone spatula until they are completely incorporated into the batter.
- 6. Now, let’s get that beautiful mixture into its final home. Pour the soap batter into your silicone molds, tapping them firmly on the counter a few times to help any trapped air bubbles escape to the surface. Smooth out the top with a spatula so it looks absolutely professional, then cover the mold with a piece of parchment paper and a towel to keep the heat in while it cures.
- 7. Finally, the hardest part of all: the waiting game! Let your soap sit undisturbed in a cool, dry place for about 24 to 48 hours. Once it feels firm to the touch, pop it out of the mold and slice it into your desired bar shapes using a sharp knife. Remember, these bars need to cure for 4 to 6 weeks to ensure they are hard, long-lasting, and gentle on your skin. It takes a little patience, but I promise, the results are so worth it!
Mastering Cold Process Soap Making Methods for Beginners
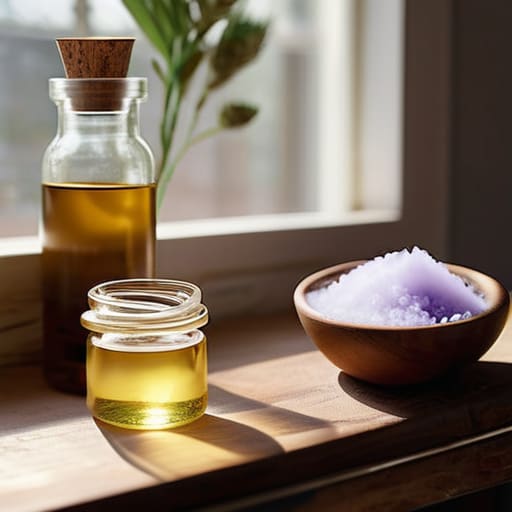
Now, I know that diving into the world of cold process soap making methods can feel a little intimidating at first. It’s a bit different from the quick-fix melt and pour soap techniques I used to play around with back in college! When you’re working with real chemistry, precision is your best friend. I always tell my readers to invest in a reliable lye and oils ratio calculator before you even think about mixing. Getting those measurements exactly right isn’t just about a perfect bar; it’s about ensuring your soap is gentle and safe for everyone in your family to use.
Speaking of safety, please don’t skip on your soap making safety equipment. I grew up in a hardware store, so I can tell you firsthand: goggles and gloves are non-negotiable when handling lye! Once you’ve mastered the safety side, the real magic happens with your scents. I love experimenting with high-quality essential oils for natural soap to create those calming, spa-like vibes in my own bathroom. It’s all about finding that perfect balance between science and soul.
Choosing Natural Soap Ingredients for Skin and Soul
One of my absolute favorite parts of this process is getting to play chemist with all the incredible botanical goodies available to us. When you’re selecting your natural soap ingredients for skin, I always recommend thinking about more than just the bubbles. I love incorporating rich, nourishing fats like shea butter or sweet almond oil to give the bars that luxurious, creamy lather we all crave. It’s like designing a room; you want a balance of textures that feels both functional and indulgent.
To really elevate your creations, I can’t stress enough how much a few drops of high-quality essential oils for natural soap can transform the entire experience. Instead of using synthetic fragrances that can sometimes feel a bit overwhelming, try blending lavender with a hint of cedarwood for something that truly soothes the soul. Just remember to keep a little notebook handy to track your blends! It might feel a bit daunting at first, but finding your signature scent is such a rewarding part of the journey. Let’s make something that smells as beautiful as it looks!
Pro-Tips from My Workbench: Avoiding Common Soap-Making Pitfalls
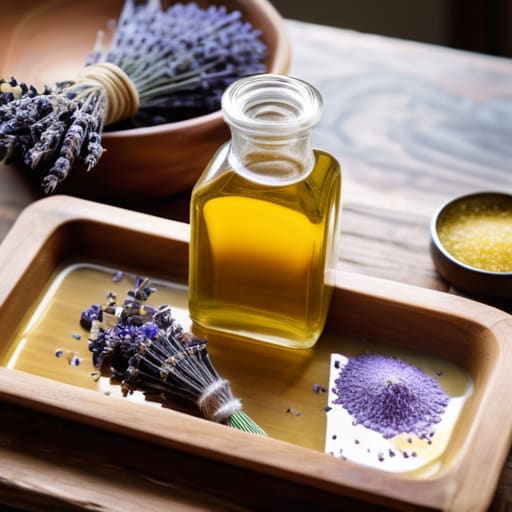
- Safety first, always! I know it feels a bit intimidating to work with lye at first, but as long as you wear your goggles and gloves and work in a well-ventilated space, you’ll be just fine. Think of it like handling any powerful tool in the workshop—respect it, and it’ll reward you!
- Precision is your new best friend. When it comes to soap, “eyeballing it” is a recipe for disaster. I always use a digital scale to weigh my ingredients in grams rather than using measuring cups. Even a tiny deviation can change how your soap feels on your skin.
- Don’t get too carried away with the scent. It is so tempting to pour in half the bottle of essential oils because it smells amazing in the beaker, but remember that scents can change during the saponification process. Start small, and you can always add a little more to your next batch!
- Patience is a virtue (and a necessity for beautiful bars). Once your soap is poured into the mold, resist the urge to slice into it too early! I’ve definitely learned the hard way that cutting into a soft bar results in a crumbly mess. Give it that full 24 to 48 hours to set properly.
- Keep a “mistake log” nearby. One of the best things I learned growing up in my family’s hardware store was that every mistake is just a lesson in disguise. If a batch comes out a little too soft or the color isn’t quite right, write down what you did differently. It’s the fastest way to level up your craftsmanship!
My Top Tips for Your Soap-Making Success
Don’t be afraid of a little mess—embrace the process, stay patient with your curing times, and remember that every imperfect bar is just a beautiful part of your learning journey!
Prioritize high-quality, natural ingredients to ensure your creations are as kind to your skin as they are lovely to look at.
Safety first, always! Keep your workspace organized and your protective gear handy so you can focus on the creative joy of crafting something truly special.
## The Heart of the Craft
“Soap making is so much more than just mixing oils and lye; it’s about slowing down and pouring a little piece of your soul into something that nourishes your skin and your home. There is nothing quite like the magic of watching raw ingredients transform into something beautiful right before your eyes!”
Emily Carter
From Lather to Legacy
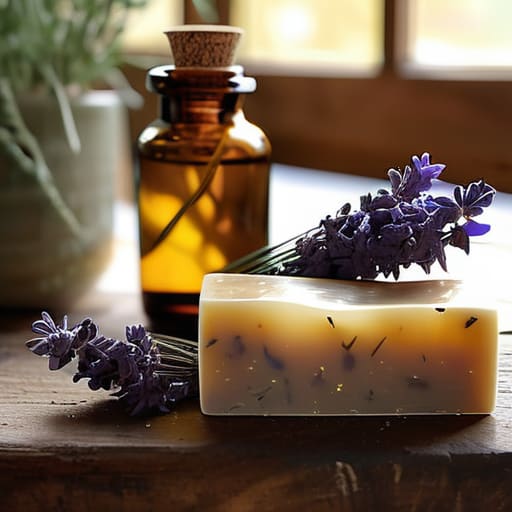
We have covered so much ground today, from mastering the nuances of the cold process method to selecting those incredible, skin-loving natural ingredients that make each bar special. I know it can feel a little overwhelming when you’re staring at a pile of oils and lye for the first time, but remember that every expert started with their very first batch. Whether you’re focusing on the precision of your measurements or the artistry of your scent blends, the most important thing is that you’ve laid the foundation for a lifelong hobby. Once you get the hang of the chemistry, you’ll find that soap making becomes a rhythmic, almost meditative part of your creative routine.
As you clean up your workspace and wait for those first bars to cure, I want you to take a moment to realize just how much you’ve accomplished. You didn’t just follow a recipe; you took a raw concept and turned it into something tangible and beautiful that can actually be used to nourish your skin. Don’t be afraid to experiment, make a mess, or even have a batch that doesn’t turn out quite like the pictures—that’s where the real learning happens! I am so incredibly proud of you for stepping outside your comfort zone. Now, go grab your favorite molds and let’s keep building something amazing together!
Frequently Asked Questions
How long do I actually need to wait before I can use my first batch of soap?
Oh, I know that feeling! You’ve put in all that hard work, and now you just want to lather up. But here’s the golden rule: patience is your best friend here. For cold process soap, you really need to let your bars cure for at least four to six weeks. I know, it feels like forever! But this resting period lets the water evaporate, making your soap harder, longer-lasting, and much gentler on your skin.
Is it safe to use essential oils, or should I stick to fragrance oils when I'm just starting out?
That is such a great question! Honestly, it’s a bit of a balancing act. Essential oils are wonderful because they’re natural, but they can be a little finicky with scent throw and skin sensitivity when you’re first starting. Fragrance oils are often more “user-friendly” for beginners because they’re designed to hold up well in soap. If you’re feeling adventurous, go for the oils, but don’t be afraid to start with fragrance oils to build your confidence!
What should I do if my soap batter seems to be thickening too quickly during the mixing process?
Oh no, the dreaded “false trace”! Don’t panic—this happens to the best of us, even with my years of tinkering. If your batter starts thickening before you’re ready, try gently warming your container in a warm water bath. The heat can help loosen those oils back up. If that doesn’t work, work quickly! Pour it into your molds immediately so you can capture those beautiful swirls before it sets completely. You’ve got this!
