
I was standing in the middle of my tiny apartment three years ago, staring at a wobbly, particle-board desk that felt more like a glorified coaster than a workspace. I remember thinking that unless I had a professional workshop and a degree in carpentry, there was simply no way I could tackle a project this big. But here’s the truth: you don’t need a massive studio or a garage full of expensive machinery to create something high-end. Learning how to build a desk isn’t about having every gadget in the catalog; it’s really just about having the right plan and a little bit of grit.
I’ve spent years refining my process—from my days studying design at SCAD to tinkering around my family’s old hardware store—and I’m stripping away all the fluff to give you the real deal. In this guide, I’m walking you through every single step, from selecting the perfect wood to that satisfying final sand. I promise to share the honest, no-nonsense methods I use to ensure your furniture looks like a designer piece rather than a weekend experiment. Grab your favorite hammer and let’s get to work!
Table of Contents
- Step-by-Step Instructions
- Finding Inspiration Through Minimalist Desk Design Ideas
- Choosing the Best Wood for Office Desks and Longevity
- Pro Tips from My Workbench to Yours
- Quick Tips to Keep Your Project on Track
- A Little Piece of Advice From My Workshop
- You Did It: Your New Workspace Awaits
- Frequently Asked Questions
Guide Overview
Tools & Supplies
- Drill/Driver for assembly
- Measuring tape for accuracy
- Sandpaper for smoothing edges
- Level to ensure flat surface
- Wood desktop (1 unit)
- Wooden legs (4 units)
- Wood screws (1 pack)
- Wood glue (1 bottle)
Step-by-Step Instructions
- 1. First things first, let’s get our materials together. You’re going to need a solid piece of wood for your desktop (I’m a huge fan of thick pine or even a reclaimed butcher block if you want that vintage charm), some sturdy legs, wood glue, screws, and your favorite drill. Before we dive in, make sure you have a clear, flat workspace—trust me, trying to build a desk on a cluttered floor is a recipe for a headache!
- 2. Once you have your wood, it’s time to prep that beautiful surface. Grab your sander and start with a medium grit, moving up to a fine grit once you feel the wood getting smoother. You want that top to feel absolutely buttery under your hands when you’re typing or writing later on. Don’t skip this part; a smooth finish makes all the difference between a DIY project and a professional-looking piece.
- 3. Now, let’s get those legs attached. If you’re using pre-made metal hairpin legs (which I love for that mid-century vibe), flip your desktop upside down on a soft surface like a towel so you don’t scratch it. Line up the legs with the corners, making sure they are perfectly square, and mark your pilot holes with a pencil.
- 4. It’s time to break out the drill! Drill your pilot holes carefully to prevent the wood from splitting—this is one of those little tips my dad used to yell at me about back at the hardware store. Once the holes are ready, screw the legs in firmly. If you’re using wooden legs that you’ve built yourself, this is where you’ll use your wood glue and clamps to ensure everything is rock solid before the glue sets.
- 5. With the structure complete, we need to give it some love with a finish. I personally love using a matte polyurethane or a natural oil to really bring out the grain of the wood without making it look overly shiny. Apply your first coat in long, even strokes following the direction of the wood grain, and let it dry completely before adding a second coat.
- 6. While you wait for that final coat to dry, take a moment to do a quick “wobble test.” Set your desk on its feet and see if it rocks. If it does, you might need to add some felt pads to the bottom of the legs to even things out. It might seem like a tiny detail, but having a perfectly stable workspace is a total game-changer for your productivity.
- 7. Finally, once everything is dry and sturdy, clear off the dust, set up your computer or your favorite notebook, and take a deep breath. You didn’t just buy a desk; you built a piece of furniture that you can actually be proud of. I can’t wait to see how yours turns out!
Finding Inspiration Through Minimalist Desk Design Ideas

Before you pick up your saw, I always recommend spending a little time scrolling through some visual inspiration. When I’m looking for minimalist desk design ideas, I tend to gravitate toward clean lines and a “less is more” philosophy. You don’t need a massive, ornate piece to make a statement; sometimes, a simple slab of beautiful timber paired with sleek metal legs is all it takes to transform a corner of your room. Think about the negative space around the desk—a minimalist design helps keep your workspace feeling airy and calm rather than cluttered and overwhelming.
As you browse, try to visualize how different textures might play with the light in your specific room. For instance, if you’re looking for something truly timeless, choosing the best wood for office desks—like a warm oak or a smooth walnut—can add a natural elegance that requires almost no extra styling. Don’t feel like you have to reinvent the wheel, either! There are so many easy woodworking desk projects out there that focus on simplicity, allowing you to prioritize high-quality materials over complex joinery. Just find a look that speaks to your soul and makes you excited to sit down and create every morning.
Choosing the Best Wood for Office Desks and Longevity
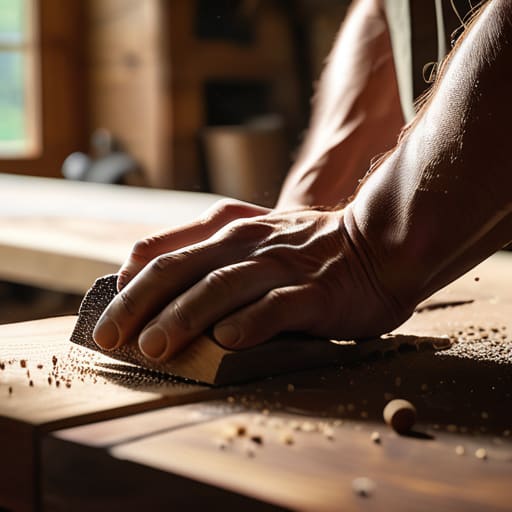
Now, let’s talk about the heart of your project: the wood. Choosing the right material is honestly where the magic starts to happen, but it can feel a little overwhelming when you’re standing in the lumber aisle. If you’re looking for the best wood for office desks that will actually stand the test of time, I always recommend starting with hardwoods like oak, walnut, or maple. They are incredibly durable and can handle the daily hustle of a laptop, coffee mugs, and heavy books without showing much wear. If you’re on a tighter budget, don’t fret! You can still achieve a high-end look using pine or even high-quality plywood, provided you’re willing to put a little extra love into the sanding and finishing stages.
Since I grew up in my family’s hardware store, I learned early on that the longevity of your piece depends heavily on how well the wood handles your specific environment. If you’re planning one of my favorite easy woodworking desk projects, remember that softer woods might dent more easily if you’re a heavy-handed typer. Take a moment to feel the grain and consider how the texture will fit your personal style before you commit!
Pro Tips from My Workbench to Yours
- Don’t skip the sanding phase! I know, I know—it’s the part of the project that feels like it’ll take forever, but trust me, a smooth surface is the secret to a professional finish. Start with a coarser grit and work your way up to a fine one; your future self will thank you when you’re gliding your hands across that wood.
- Measure twice, cut once—it’s a cliché for a reason! Growing up in my family’s hardware store, I saw so many beautiful pieces of lumber go to waste because someone was in a rush. Take a deep breath, double-check your markings, and make sure your measurements are spot on before you even touch the saw.
- Think about your “workday ergonomics” while you’re still in the planning stages. A desk that looks gorgeous but leaves you with a sore neck after two hours isn’t a win. Make sure you’re calculating the right height for your chair and your monitor so your new creation actually supports your lifestyle.
- Invest in some decent clamps. Seriously! Even with my collection of hammers, I’ve learned that sometimes you just need a steady hand to hold things in place while the glue sets. Having a few high-quality clamps will make your assembly process so much less stressful and way more precise.
- Plan for cable management from the very beginning. There is nothing that ruins the vibe of a beautiful, handcrafted desk faster than a tangled web of charging cords. Whether you decide to drill a grommet hole or add a small tray underneath, building a “home” for your wires now will save you a massive headache later.
Quick Tips to Keep Your Project on Track
Don’t sweat the small stuff—focus on choosing a wood species that matches your lifestyle and a design that actually fits your daily workflow!
Remember that patience is your best tool; taking that extra moment to sand smoothly or double-check your measurements will pay off in a professional finish.
Most importantly, trust your instincts and have fun with it—your desk is a reflection of your hard work, so make it something you’re truly proud to sit at every morning!
A Little Piece of Advice From My Workshop
“Building a desk is about so much more than just joining wood together; it’s about creating a dedicated space where your best ideas can finally take root and grow.”
Emily Carter
You Did It: Your New Workspace Awaits
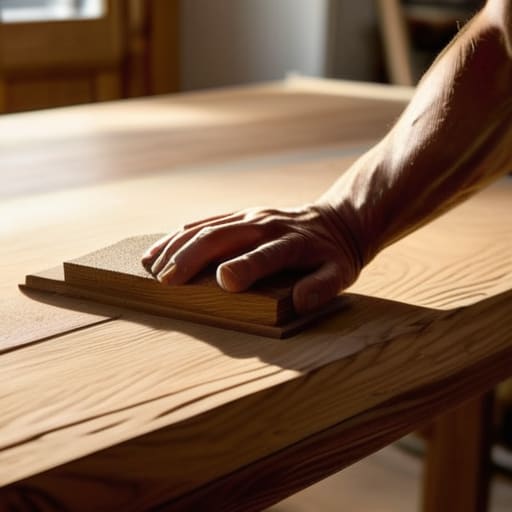
We’ve covered a lot of ground together, from selecting that perfect, long-lasting wood species to finding a minimalist design that won’t clutter your mind while you work. Building a desk is about more than just following a set of instructions; it’s about understanding how your materials interact and making sure your workspace serves your lifestyle. Whether you went with a heavy oak slab or a sleek, modern build, remember that the secret to longevity lies in those small details—like a smooth sanding process and a high-quality finish. You’ve taken all the technical guesswork out of the equation, and now you’re left with something much more valuable than a piece of furniture: a custom piece of craftsmanship that you built from the ground up.
As you clear away the sawdust and take that first look at your finished creation, I want you to really soak in that feeling of accomplishment. There is something so incredibly special about sitting down at a desk and knowing that you are the one who made it happen. There will always be a little bit of dust on the floor or a tiny imperfection in the grain, but those are the marks of a real, handmade life. Don’t be afraid to keep experimenting and refining your skills with every new project you tackle. You’ve officially proven that you have what it takes to transform a vision into reality, so go ahead—set up your coffee, open your laptop, and start creating!
Frequently Asked Questions
I’m a total beginner—do I really need a professional workshop, or can I get this done in my garage with just a few basic tools?
Oh, goodness, don’t you worry for one second! I started my very first project on a tiny folding table in my parents’ old garage, so I totally get the nerves. You absolutely do not need a professional workshop to build something beautiful. As long as you have a little bit of floor space, some decent lighting, and a few basic tools, you are more than ready to dive in. Let’s make it happen!
How do I make sure my desk is actually sturdy and won't wobble every time I type or lean on it?
Oh, the dreaded wobble! Trust me, I’ve been there—nothing ruins your focus like a desk that dances every time you type. To keep things rock-solid, focus on the joinery. If you’re using screws, pre-drill your holes to prevent splitting, and I highly recommend using wood glue at every connection point; it’s a total game-changer for stability. Also, don’t skimp on the bracing! Adding a cross-brace or a sturdy apron under the tabletop will keep everything perfectly steady.
What’s the best way to finish the wood so it looks professional but is still easy enough for me to do myself?
Honestly, if you want that professional look without the headache, go with a wipe-on polyurethane! It’s much more forgiving than a brush—which can leave those annoying streaks we all dread—and it builds up a beautiful, durable layer of protection. Just grab a lint-free cloth, follow the grain, and take your time with a few thin coats. It’s super satisfying to see that wood grain really pop as you work!
