I still remember being a kid in my parents’ hardware store, watching my dad mix up solutions for customers, and I can tell you right now: you do not need to spend a fortune on those neon-colored, hyper-scented bottles under the kitchen sink. Honestly, it drives me a little crazy how much we’re conditioned to believe that “clean” has to smell like a chemical factory to actually work. Most of those expensive, store-bought sprays are just overpriced water and marketing hype, when the real magic of diy cleaning products is actually sitting right in your pantry.
I’m not here to give you a list of complicated, twenty-step recipes that require a chemistry degree to master. Instead, I want to share the no-nonsense methods I’ve perfected over years of renovating homes and living in my own beautiful, messy spaces. I promise to guide you through simple, effective ways to tackle every corner of your house using basic ingredients you likely already own. Let’s ditch the toxic clutter and build a cleaner home together, one simple step at a time!
Table of Contents
Mastering the Power of Vinegar and Baking Soda Cleaning
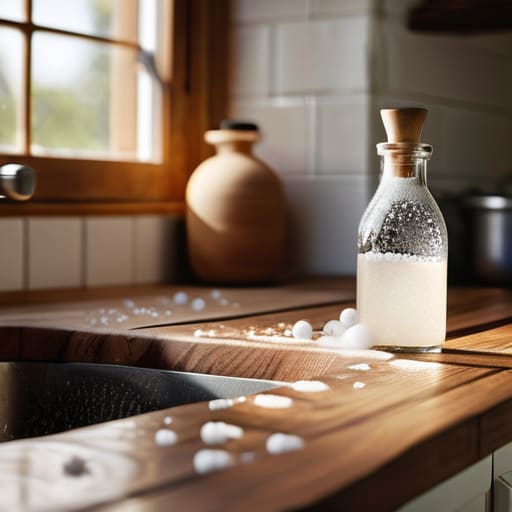
If you were to peek into my pantry right now, you’d see the real MVPs of my cleaning routine: white vinegar and baking soda. Growing up in my family’s hardware store, I learned early on that you don’t always need a fancy, expensive chemical to get the job done. These two are the ultimate duo for vinegar and baking soda cleaning, working together to tackle everything from stubborn stovetop grease to those pesky soap scum buildup in the shower. It’s one of my favorite cost-effective cleaning solutions because it saves so much money without sacrificing any power.
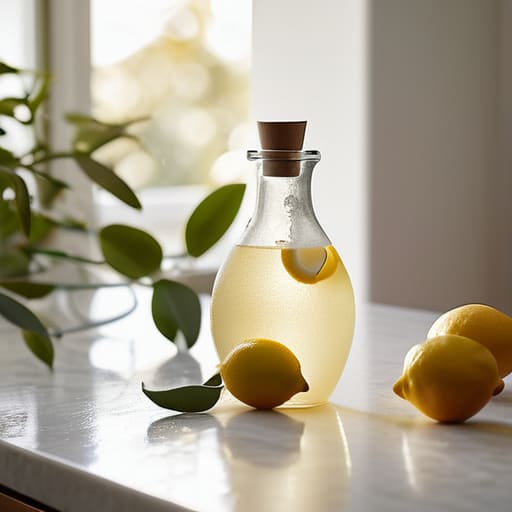
The real magic happens when you lean into the science of the fizz! When you combine the acidity of vinegar with the abrasive, alkaline nature of baking soda, you get a reaction that physically lifts dirt away from surfaces. Plus, it’s incredibly important to me that we use safe cleaning for pets and kids; I never want to worry about my little furry friends or the kiddos stepping on a freshly mopped floor that’s covered in harsh residues. If the scent of vinegar is a bit too sharp for your liking, just add a few drops of essential oils for cleaning, like lemon or lavender, to make your home smell like a spa!
Discovering Cost Effective Cleaning Solutions for Every Room
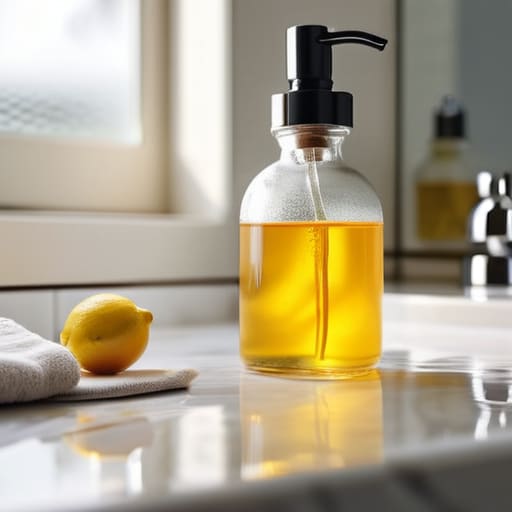
Once you’ve mastered the basics of vinegar and baking soda, the real fun begins! I love how you can take those same simple staples and tailor them to every nook and cranny of your home without breaking the bank. For instance, when I’m tackling the bathroom, I usually whip up a quick spray using diluted white vinegar and a few drops of lemon essential oils for cleaning. It smells like a sunny morning in Ohio rather than a harsh chemical factory, and it leaves my tiles looking absolutely pristine.
Moving into the kitchen or living areas, I always lean toward non-toxic household cleaners to keep things breezy and bright. If you have little ones crawling on the floor or furry friends snoozing in the sunbeams, you’ll definitely appreciate the peace of mind that comes with using ingredients you can actually pronounce. It’s all about finding those smart, budget-friendly swaps that work just as well as the pricey bottles under the sink. Trust me, once you see how much you save, you’ll never want to go back to the store-bought stuff again!
My Secret Sauce: 5 Pro-Tips for DIY Cleaning Success
- Don’t skip the scent! Since vinegar can be a bit… pungent, I love adding a few drops of lemon or lavender essential oil to my sprays. It makes the whole house smell like a spa instead of a salad dressing factory.
- Invest in some good glass spray bottles. I know, it sounds extra, but plastic bottles can sometimes degrade when you’re using certain essential oils, and the glass looks so much cuter sitting on your countertop!
- Always do a little “patch test” first. Even with natural ingredients, every surface is different. I always test a tiny, hidden spot on a new piece of wood or stone just to be 100% sure it plays nice with my concoction.
- Label everything! Seriously, don’t be like me and accidentally grab a bottle of citrus cleaner thinking it’s just water. Get some cute chalkboard labels and mark your bottles clearly so you (and anyone else in the house) know exactly what’s inside.
- Keep your supplies in a pretty caddy. I keep mine tucked under the sink or in a small wooden crate, which makes it so much easier to grab everything I need and tackle a cleaning session without running back and forth.
Quick Tips for Your DIY Cleaning Journey
Don’t be afraid to experiment! Start with the basics like vinegar and baking soda, and once you feel comfortable, you can start tweaking your recipes to suit your specific needs.
Keep your supplies organized in pretty glass spray bottles—it makes the whole process feel less like a chore and more like a fun little ritual for your home.
Remember that patience is key; some natural cleaners might need a few extra minutes of “dwell time” to really break down grime, so let them work their magic!
Why I Switched to DIY Cleaning
“There is something so incredibly empowering about swapping out those complicated, chemical-heavy bottles for simple ingredients you already have in your pantry; it’s not just about a cleaner home, it’s about knowing exactly what you’re bringing into your sanctuary.”
Emily Carter
You’ve Got This!
As we wrap up our little cleaning deep dive, I hope you’re feeling a lot more confident about ditching those harsh, expensive store-bought bottles. We’ve covered everything from the heavy-duty magic of vinegar and baking soda to those clever, budget-friendly hacks that work for every single room in your house. Remember, you don’t need a massive chemistry lab or a huge budget to keep your home looking pristine; you just need a few simple ingredients and a little bit of know-how. By making these swaps, you aren’t just saving money, you’re also taking control of what actually goes into your living space.
At the end of the day, DIY isn’t just about the final result—it’s about the empowerment that comes from knowing you can care for your home with your own two hands. Whether you’re tackling a messy kitchen or just giving your bathroom a quick refresh, every small step you take is a win for your space and your peace of mind. Don’t worry if your first batch of homemade spray isn’t absolutely perfect; even my first few attempts were a bit of a disaster! Just keep experimenting, stay patient, and most importantly, have fun with the process. I can’t wait to hear how your DIY cleaning journey turns out!
Frequently Asked Questions
Are there any specific surfaces, like marble or granite, that I should avoid using vinegar on?
Oh, I am so glad you asked that! This is one of those “pro tip” moments where I’ve definitely learned the hard way. Please, keep that vinegar away from your marble, granite, or any natural stone surfaces! Since vinegar is acidic, it can actually etch and dull those beautiful, expensive countertops over time. For those surfaces, stick to a gentle, pH-neutral soap and warm water to keep them looking flawless and shiny!
How long can I store these homemade mixtures before they lose their effectiveness or start to smell?
That is such a great question! Since we aren’t using those harsh synthetic preservatives, timing is everything. For my vinegar-based sprays, I usually aim to use them within two weeks to keep them smelling fresh. If you’re mixing up a big batch of baking soda paste, try to make it right before you use it—once it sits, it can lose its “oomph.” When in doubt, small batches are your best friend!
Can I use these same natural ingredients to tackle tougher grime, like baked-on grease in the oven or soap scum in the shower?
Oh, absolutely! You can definitely level up those same ingredients for the heavy hitters. For that stubborn oven grease, make a thick paste with baking soda and a splash of water; let it sit overnight, and it’ll practically lift right off. For soap scum, try spraying a 50/50 vinegar and water mix on your shower tiles. It’s a little more patience required, but trust me, your surfaces will thank you!