I still remember being a kid in my dad’s hardware store back in Ohio, surrounded by the scent of sawdust and old metal, thinking that if I could master a power drill, I could master anything. But then I moved into my first tiny apartment and realized that some things—like figuring out how to cook beans and lentils—don’t come with a blueprint or a handy instruction manual. I spent way too many nights staring at a pot of mushy, flavorless legumes, feeling like I’d totally failed a basic life project. It’s frustrating when you just want a hearty, nourishing meal but end up with something that feels more like a chore than a triumph.
I’m not here to give you some over-complicated, gourmet lecture that requires a culinary degree and twenty exotic spices. Instead, I’m going to share the real-world techniques I’ve honed through years of trial, error, and plenty of kitchen mishaps. We’re going to strip away the intimidation and focus on the practical, step-by-step methods that actually work. My goal is to give you the confidence to build a delicious foundation in your kitchen, just like we build something beautiful with our hands in a workshop. Let’s get to work!
Table of Contents
Choosing Your Path Soaking Dried Legumes vs No Soak
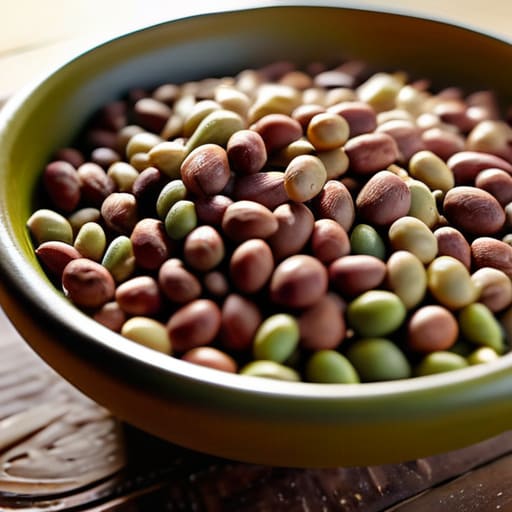
Now, this is where we really get to decide on our “project plan.” When it comes to soaking dried legumes vs no soak, there isn’t a single right answer, but there are definitely different approaches depending on how much time you have in your schedule. Growing up in my dad’s hardware store, I learned that preparation is everything—and the same goes for your kitchen! If you have an overnight window, soaking is your best friend. It helps soften the skins and can actually make them much easier on your digestion, which is a huge win for anyone prone to feeling a bit bloated after a hearty meal.
On the flip side, if you’re in the middle of a busy weeknight and need something fast, you can totally skip the soak. You’ll just need to adjust your expectations regarding cooking times for different bean varieties, as they’ll likely take a bit longer to reach that perfect, creamy texture. I personally love using a slow stovetop method for my favorite dried kidney beans, but if you’re feeling impatient, a pressure cooker is a total game-changer for getting things done in a fraction of the time!
Mastering the Stovetop Bean Cooking Method With Confidence
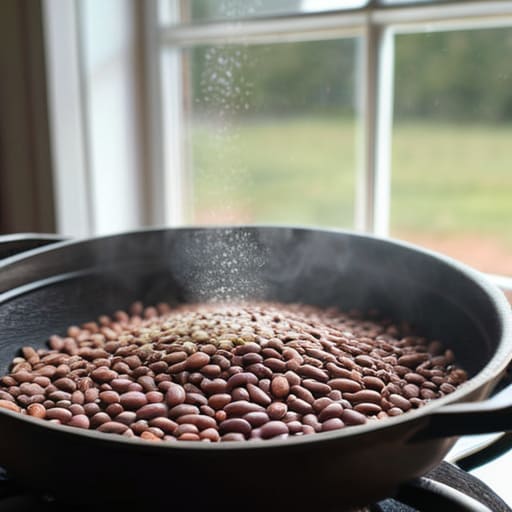
Once you’ve decided whether you’re going the soak or no-soak route, it’s time to roll up our sleeves and get to the stovetop! The stovetop bean cooking method is my absolute favorite because it gives you so much control over the texture. I always start by placing my beans in a heavy-bottomed pot and covering them with a few inches of fresh water. Bring that to a gentle boil, then immediately turn the heat down to a low simmer. You’ll want to keep a lid on it, but leave it slightly ajar—this prevents the pot from boiling over and keeps things from getting too messy.
One thing I learned growing up in my dad’s hardware store is that patience is your best tool. Just like sanding a piece of vintage oak, you can’t rush the process! Keep a close eye on the clock, as cooking times for different bean varieties can vary wildly; a creamy cannellini might be ready in forty minutes, while a hearty chickpea might need over an hour. Don’t be afraid to taste a few as they soften to ensure they’ve reached that perfect, tender consistency you’re looking for.
Pro-Tips from My Kitchen to Yours: Little Tweaks for Big Results
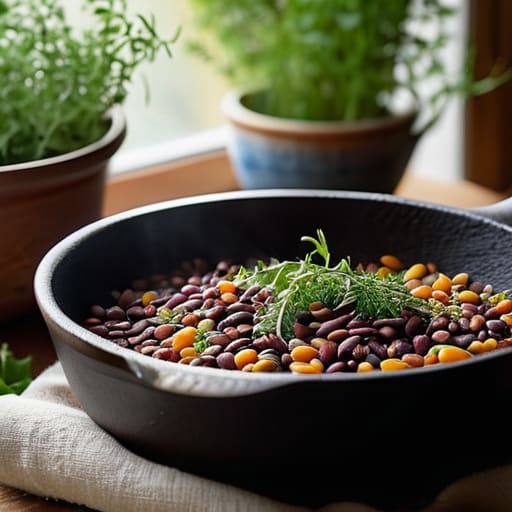
- Don’t be afraid of aromatics! Just like I love adding character to a vintage dresser, you can add depth to your beans by simmering them with a smashed garlic clove, a bay leaf, or even a chunk of onion. It builds a flavor foundation that’s just unbeatable.
- Watch your salt timing. This is a big one! I used to make the mistake of salting too early, which can sometimes toughen up the skins. I’ve found that waiting until the beans are almost tender is the sweet spot for getting that perfect, creamy texture.
- Keep an eye on your liquid levels. There’s nothing more frustrating than getting halfway through a project only to realize you’re running low on supplies. Keep a little extra warm water or veggie broth on standby so you can top off your pot without dropping the temperature too much.
- Use the “pinch and taste” method. Every bean is a little different—some are thirstier or take a bit longer to soften. Don’t just rely on the timer; grab a spoon, taste a few, and trust your instincts. It’s all about that hands-on intuition!
- Don’t toss that cooking liquid! That starchy, flavorful water (often called “aquafaba” if you’re working with chickpeas) is liquid gold. You can use it to thicken up soups or even as a base for a rich, velvety sauce. It’s all about making the most of what you have.
Quick Wins for Your Next Batch of Legumes
Don’t be afraid to experiment with the soak—while skipping it can save time on busy weeknights, giving your beans a good overnight soak is like giving them a head start on being perfectly tender!
Keep a close eye on the pot and trust your intuition; every bean is a little different, so tasting as you go is the best way to find that perfect, creamy texture we’re all aiming for.
Remember that patience is your best tool in the kitchen, just like when I’m stripping old paint off a vintage dresser—taking that extra bit of time ensures a result you’ll be truly proud to serve!
The Heart of the Kitchen
“Just like restoring a beautiful vintage dresser, cooking the perfect batch of beans is all about patience and respecting the process—once you master those fundamentals, you’ll have the creative freedom to build anything delicious from the ground up!”
Emily Carter
Bringing It All Together
As we wrap up our little kitchen workshop, I hope you feel a lot more comfortable stepping up to the stove with those bags of dried legumes. Remember, whether you decide to go the long route with an overnight soak for maximum creaminess or opt for the quicker no-soak method for a bit of a shortcut, the most important thing is to trust your intuition and keep a close eye on the texture. We’ve covered how to choose your path and how to master that stovetop simmer, so now the hard part is actually over! Just keep your seasonings handy, watch your liquid levels, and don’t be afraid to taste as you go to make sure those flavors are really singing.
At the end of the day, cooking from scratch is a lot like restoring a vintage piece of furniture; it takes a little bit of patience and the right tools, but the result is so much more rewarding than anything you could buy off a shelf. There is something truly magical about turning a handful of humble, dry beans into a hearty, soulful meal that nourishes your family. I know it might feel a little intimidating at first, but I promise you, you’ve got this! So, grab your favorite pot, find your rhythm, and let’s build something delicious together. I can’t wait to hear how your first batch turns out!
Frequently Asked Questions
Is it okay to use canned beans if I'm in a rush, or will they ruin the texture of my recipe?
Oh, I totally get it! We’ve all had those days where the clock is ticking and a recipe feels like a mountain we just can’t climb. Honestly? Go for the canned beans! They are a total lifesaver. While they might lack that slightly firmer “bite” you get from scratch-cooked legumes, they won’t ruin your dish. Just give them a quick rinse to wash away that extra salt, and you’re good to go!
How can I tell if my beans are actually cooked through without constantly tasting them?
I totally get it—there’s nothing worse than biting into a bean that’s still a little too firm! Honestly, my favorite trick is the “squish test.” Just take a single bean out with a slotted spoon and press it between your thumb and forefinger. If it yields easily and feels creamy without any gritty center, you’re golden! It’s a quick, hands-on way to check progress without having to keep tasting every single batch.
Can I add salt or acidic ingredients like tomatoes right at the beginning, or will that make my beans stay tough?
This is such a great question, and honestly, it’s one of those little “pro tips” that can make or break your project! I’ve definitely learned the hard way: hold off on the salt and those acidic goodies like tomatoes until the very end. Adding them too early can actually toughen up the skins, leaving you with beans that just won’t soften. Let’s get them tender first, then bring in the flavor!