
Growing up in my family’s hardware store, I learned pretty quickly that you don’t need a fancy, high-tech gadget to get a job done right—you just need the right technique and a little bit of grit. I am so tired of seeing those overly polished cooking influencers act like learning how to cook eggs requires a professional chef’s kitchen or a hundred-dollar non-stick pan. Honestly, most of those “perfect” tutorials are just unnecessary hype that makes a simple staple feel way more intimidating than it actually is.
I’m not here to give you a lecture or a list of expensive ingredients you’ll never use again. Instead, I want to share the practical, hands-on methods I’ve perfected over years of messy breakfasts and early morning DIY sessions. I promise to walk you through the real-world basics so you can master everything from a silky scramble to a perfect sunny-side up, every single time. We’re going to strip away the fluff and build your kitchen confidence from the ground up, one delicious bite at a time. Let’s get to work!
Table of Contents
Finding Your Rhythm With Breakfast Egg Methods
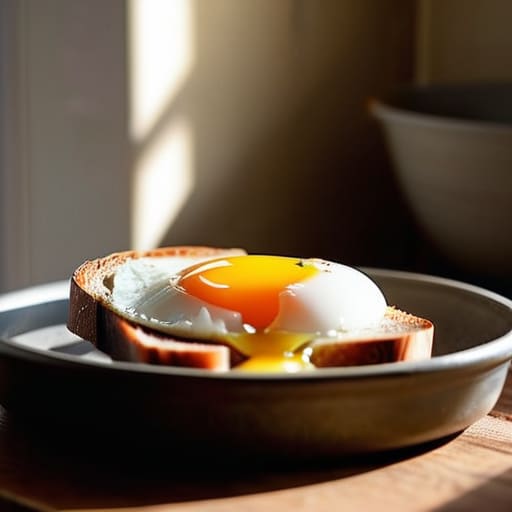
Before we dive into the heat and the pans, I want you to take a deep breath and realize there’s no “wrong” way to do this. Just like when I’m restoring an old mid-century dresser, the secret is all in the process and finding a flow that works for your lifestyle. Some mornings, I’m in a rush and need something quick and reliable, while on slow Sunday mornings, I love the meditative ritual of mastering a delicate poached egg technique. There are so many different breakfast egg methods to explore, and honestly, the goal isn’t perfection on day one—it’s about getting comfortable in your own kitchen.
Think of your stovetop as your workshop. Depending on whether you want something creamy or something with a bit of a bite, you’ll be adjusting your approach constantly. For instance, if you’re craving something velvety, I have some game-changing scrambled egg texture tips I can’t wait to share. Whether you’re aiming for a jammy yolk or a firm scramble, it’s all about experimenting until you find your personal signature style. Let’s find that rhythm together!
Perfecting Egg Cooking Temperatures for Success
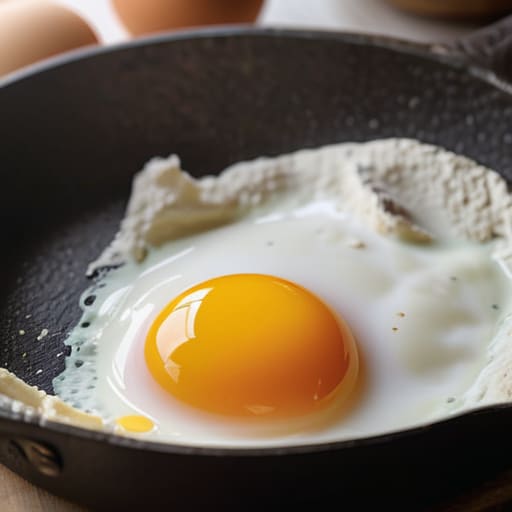
Now, let’s talk about the “secret sauce” that separates a mediocre breakfast from a gourmet experience: heat management. Just like when I’m sanding down a vintage dresser, if you go too heavy-handed too fast, you’re going to end up with a mess! When it comes to egg cooking temperatures, precision is your best friend. If your pan is screaming hot, you’ll end up with rubbery whites and browned edges that just aren’t pleasant. I always recommend starting with a medium-low heat to give yourself that crucial window of control.
If you’re aiming for those silky, cloud-like results, keep these scrambled egg texture tips in mind: pull them off the heat while they still look a little bit “wet.” They’ll continue to cook from their own residual heat once they hit the plate. On the flip side, if you’re diving into a more advanced poached egg technique, you’ll want a gentle simmer—never a rolling boil—to keep those delicate whites from shredding into nothingness. It might feel a little intimidating at first, but I promise, once you master the temperature, you’ll feel like a pro!
My Little Secret Sauce: 5 Pro-Tips for Egg Perfection
- Grab yourself some fresh eggs! Just like finding a solid piece of vintage oak for a furniture restoration, the quality of your raw materials makes all the difference. Fresher eggs have stronger whites that hold their shape beautifully when you’re poaching or frying.
- Don’t be afraid of a little fat. Whether you’re using a knob of salted butter or a drizzle of high-quality olive oil, a little healthy fat acts like the perfect primer before you paint—it ensures your eggs glide right out of the pan without sticking or tearing.
- Master the “low and slow” approach. I know it’s tempting to crank up the heat when you’re hungry, but cooking eggs over medium-low heat is like sanding a delicate surface; if you rush it, you’ll end up with a rough, rubbery texture instead of something silky and smooth.
- Keep a lid handy for those sunny-side ups. If you want those gorgeous, set whites but still crave a liquid gold yolk, just pop a lid over your pan for about 30 seconds. The trapped steam does all the heavy lifting for you!
- Season at the very end. To keep your eggs looking vibrant and prevent them from getting watery, sprinkle your salt and pepper right before they hit the plate. It’s the finishing touch that makes the whole “project” pop!
Making Your Morning Egg Magic Happen
Don’t be afraid to experiment with different methods—whether you love a runny yolk or a firm scramble, finding your own rhythm is all about what makes you happy!
Keep a close eye on your heat; mastering that temperature sweet spot is the secret ingredient to avoiding rubbery eggs and achieving that perfect, silky texture.
Remember, every little mistake is just a step toward becoming a pro, so grab your pan, stay patient, and enjoy the process of creating something delicious!
## The Heart of the Kitchen
“Just like restoring a vintage mid-century dresser, cooking the perfect egg is all about respecting the materials and finding your rhythm—it might feel a little intimidating at first, but once you master the technique, you’ll realize you have the power to create something truly beautiful right on your own plate.”
Emily Carter
Bringing It All Home to Your Kitchen
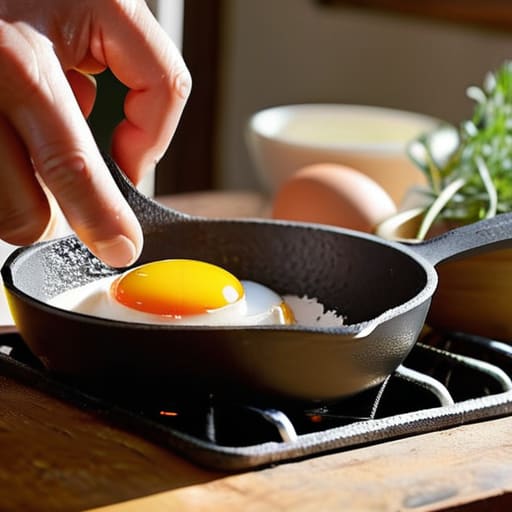
Now that we’ve walked through the different ways to approach your morning eggs, I hope you feel a lot more comfortable standing at that stove. We’ve covered everything from choosing the right method to match your morning vibe to the absolute necessity of mastering your heat control so you don’t end up with rubbery results. Remember, whether you are going for a silky soft scramble or a perfectly set sunny-side up, it all comes down to being mindful of those temperatures we discussed. Just like when I’m restoring an old mid-century dresser, the secret is in the patience and the preparation before you even pick up your spatula.
If your first attempt isn’t quite picture-perfect, please don’t let it discourage you! I still remember the first time I tried to poach an egg in my tiny college apartment—it was a total, messy disaster, but I kept at it. Cooking is a skill, just like woodworking or interior design, and it takes practice to find your groove. I truly believe that once you conquer the humble egg, you’ll find the confidence to tackle even bigger culinary projects. So, grab your favorite pan, turn up the music, and let’s get cooking! You’ve totally got this, and I can’t wait to hear how your breakfast turns out.
Frequently Asked Questions
What's the best way to keep my eggs from sticking to the pan if I'm just starting out?
Oh, I have been there! There is nothing more frustrating than watching your beautiful breakfast turn into a scrambled mess stuck to the pan. If you’re just starting out, my biggest tip is to invest in a good non-stick skillet and, most importantly, don’t be afraid of a little fat! A generous pat of butter or a light coating of oil acts as your protective barrier. Let it melt and get warm before the eggs hit the heat!
I'm always worried about food safety—how do I know if my eggs are cooked through enough?
I totally hear you—safety is everything when you’re experimenting in the kitchen! When I was working in my family’s hardware store, my dad always said, “Measure twice, cut once,” and I think that applies to eggs, too. For most dishes, you’re looking for whites that are completely opaque and set. If you’re worried about runny yolks, just remember that as long as the whites aren’t snotty or translucent, you’re in the clear!
Is there a trick to getting those perfectly runny yolks without overcooking the whites?
Oh, I hear you! That’s the golden question, isn’t it? Honestly, it’s all about the “low and slow” approach. My biggest trick? Use a little extra butter and keep your heat on medium-low. If you’re poaching, try adding a splash of vinegar to the water—it helps those whites stay tucked in tight around that gorgeous, liquid gold yolk. It takes a tiny bit of patience, but trust me, it’s so worth it!
