Drip. Drip. Drip. If you’re reading this, chances are that rhythmic, annoying sound is currently driving you absolutely up the wall while you’re trying to relax on your sofa. I remember back when I was growing up in my parents’ hardware store in Ohio, I used to think a leaky tap meant you needed to call in a professional immediately and spend a small fortune. But here is the truth: most of the time, you don’t need a plumber; you just need a little bit of patience and the right wrench! Learning how to fix a leaky faucet is actually one of the most satisfying “quick wins” you can achieve in your home, and I promise it’s much less intimidating than it looks.
I’m not going to overwhelm you with technical jargon or fancy tools you don’t own. Instead, I’m going to walk you through this process with straightforward, no-nonsense steps that anyone can follow. We’ll tackle the common culprits, identify exactly what’s gone wrong, and get that silence back in your kitchen or bathroom. Let’s roll up our sleeves and turn that drip into a triumph together!
Table of Contents
- Step-by-Step Instructions
- Uncovering the Common Causes of Faucet Leaks
- Mastering the Right Plumbing Tools for Faucet Repair
- Pro-Tips from My Toolbox: Avoiding Those Little DIY Hiccups
- Quick Wins for Your Faucet Fix
- ## A Little Wisdom for Your Next Project
- You Did It! Now Breathe Easy
- Frequently Asked Questions
Guide Overview
Tools & Supplies
- Adjustable wrench for loosening nuts
- Screwdriver (Phillips or Flathead) for removing handles
- Allen wrench for small set screws
- Replacement washers or O-rings (set of various sizes)
- Plumber's grease (small tube)
Step-by-Step Instructions
- 1. First things first, we need to stop the water flow so we aren’t working in a mini indoor pool! Head under your sink and locate the shut-off valves. Turn them clockwise until they’re tight. Once you’ve done that, open the faucet to drain any remaining water left in the lines. It’s a small step, but it’s absolutely crucial to prevent a soggy mess halfway through.
- 2. Now, grab your tools—and if you’re feeling inspired, maybe pick out one of my favorite vintage flat-head screwdrivers from my collection! You’ll need to remove the decorative cap on top of the handle to reveal the screw underneath. Once that’s out, gently lift the handle off. If it feels a bit stuck due to old mineral buildup, don’t force it; just give it a gentle wiggle until it pops free.
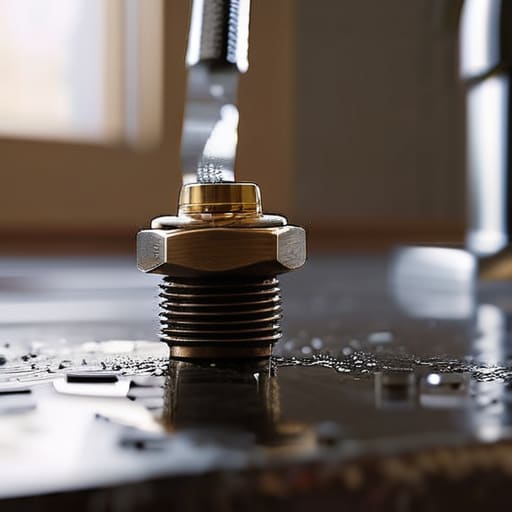
- 3. Next, we need to get to the heart of the problem, which is usually the cartridge or the stem. Use your adjustable wrench to loosen the packing nut. As you unscrew it, you might see some old, crusty debris—don’t let that gross stuff discourage you! Just keep going until you can pull the cartridge out of the faucet body. I always recommend taking a quick photo of how everything looks before you pull it out, just in case you need a visual roadmap later.
- 4. This is where the real magic happens. Take a close look at the O-rings and the washer at the bottom of the part you just removed. If they look cracked, flattened, or worn down, they are definitely the culprits behind that pesky drip. I usually like to soak the parts in a bit of white vinegar for a few minutes to clear off any calcium buildup, which can make a world of difference.
- 5. Head down to your local hardware store (or check your own toolbox!) to grab some replacement washers or a new cartridge. Pro tip: bring the old parts with you to the store. There are so many different models out there, and matching them up exactly is the easiest way to ensure you don’t have to make a second trip.
- 6. Now it’s time for the satisfying part: the reassembly! Slide your new cartridge or washer into place, making sure everything is seated perfectly straight. Screw the packing nut back on, but remember—don’t over-tighten it! You want it snug, but if you crank it down too hard, you might actually damage the new seals you just installed.
- 7. Finally, let’s see if our hard work paid off. Turn your water valves back on slowly and give the handle a few test turns. If that annoying drip is gone, you did it! Take a moment to celebrate your win—you just saved some money and reclaimed the peace and quiet of your home. You’ve got this!
Uncovering the Common Causes of Faucet Leaks
Before we dive into the actual repairs, it’s super helpful to play a little detective. Most of the time, when you hear that rhythmic drip, drip, drip, it isn’t some mysterious house phantom—it’s usually just a tiny part that’s reached its expiration date. One of the most common causes of faucet leaks is a worn-out washer. If you’re working with an older style, you’re likely fixing a compression faucet, where a rubber washer gets squished down every time you turn the handle until it eventually cracks or flattens out.
If your faucet feels a bit more modern, the culprit might be the internal cartridge instead. Unlike the old-school models, these newer versions rely on precise seals to keep things watertight. If you notice the handle getting a little stiff or the leak persisting even after you’ve tightened everything, you might be looking at a cartridge faucet replacement situation. Don’t panic, though! Once you identify whether it’s a simple washer issue or a cartridge that needs swapping, you’ll feel so much more confident heading into the project.
Mastering the Right Plumbing Tools for Faucet Repair
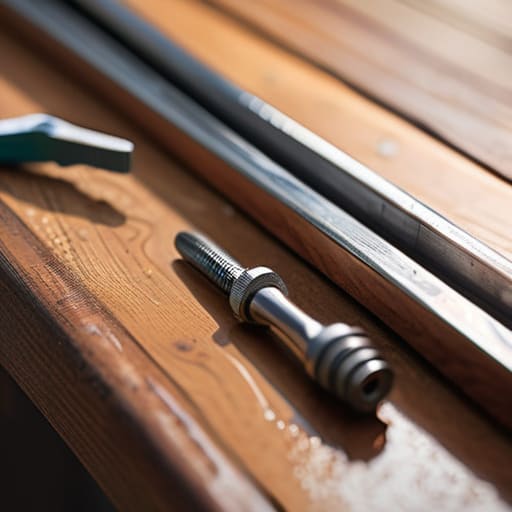
Before you dive headfirst into the sink, let’s talk about your toolkit. Growing up in my dad’s hardware store, I learned early on that having the right gear makes the difference between a quick fix and a total plumbing nightmare. To tackle this, you’ll need a solid set of plumbing tools for faucet repair, specifically an adjustable wrench, needle-nose pliers, and a screwdriver set. If you’re dealing with an older style, you might be fixing a compression faucet, which means you’ll want to be extra careful with your wrench to avoid stripping those delicate metal parts.
One pro tip from my years of tinkering: always grab a small tub of plumber’s grease! When you eventually need to replace faucet washer components or seat a new cartridge, a little lubrication goes a long way in ensuring a watertight seal. I also highly recommend keeping a few assorted rubber washers and O-rings on hand. It’s much more satisfying to finish a project in one go rather than having to make a second trip to the store because you were missing one tiny, crucial piece of the puzzle.
Pro-Tips from My Toolbox: Avoiding Those Little DIY Hiccups
- Don’t skip the shut-off valve! Before you even touch a wrench, make sure the water supply is completely off. There’s nothing quite like the “surprise” of a miniature indoor fountain to ruin a perfectly good afternoon.
- Protect your finishes. I always keep a soft rag or a piece of painter’s tape handy to wrap around your faucet handles. It prevents your tools from leaving those ugly little scratches on your beautiful hardware.
- Take a “before” photo of every single part. When you start pulling apart the internal components, it can get a little confusing. Snap a quick picture with your phone so you know exactly how everything fits back together.
- Inspect more than just the obvious. While you’re in there, take a close look at the O-rings and the washer. Sometimes the leak isn’t the part you think it is, and catching a worn-out seal now can save you a second trip to the hardware store.
- Go slow and listen to the hardware. If something feels like it’s stuck, don’t just force it with all your might! Give it a little wiggle or a tiny bit of penetrating oil first. We want to fix the faucet, not snap the pipes!
Quick Wins for Your Faucet Fix
Don’t sweat the small stuff—most leaks are just a sign of a worn-out washer or O-ring that you can swap out in minutes!
Patience is your best tool; take your time taking things apart so you know exactly how they fit back together.
Always double-check your seals before you call it a day to make sure that annoying drip is gone for good!
## A Little Wisdom for Your Next Project
“Don’t let a tiny drip make you feel like you’re losing control of your home; once you realize that most repairs are just a series of small, manageable steps, you’ll find that fixing a leak is less about plumbing and more about reclaiming your confidence.”
Emily Carter
You Did It! Now Breathe Easy
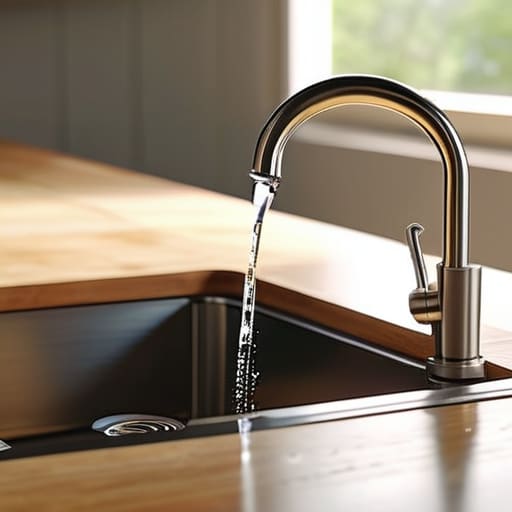
And just like that, the constant drip-drip-drip is a thing of the past! We’ve walked through everything from identifying those pesky worn-out washers and O-rings to making sure you had the exact right tools from your kit to get the job done safely. It might have felt a little intimidating when we first unscrewed that handle, but you stayed focused, followed the steps, and successfully conquered a common household headache. Now that your faucet is flowing smoothly again, you’ve not only saved a bit of money on your water bill, but you’ve also gained some serious peace of mind knowing your home is back in working order.
I know that sometimes, when you’re staring at a disassembled sink, it’s easy to feel a little overwhelmed. But I want you to take a second to really appreciate what you just accomplished. You didn’t just fix a plumbing issue; you proved to yourself that you are completely capable of maintaining your own space. Every small victory like this builds the confidence you need to tackle even bigger projects down the road. So, grab a cup of coffee, admire your handiwork, and remember: there is nothing you can’t handle with a little patience and the right mindset. Let’s keep building something amazing together!
Frequently Asked Questions
I’ve tried tightening the handle but it’s still dripping—could there be something wrong with the actual pipes behind the wall?
I totally get that feeling of panic—when you tighten things down and that drip just keeps mocking you! Honestly, it’s unlikely to be the pipes behind the wall if the leak is coming from the spout or handle. Usually, that means a worn-out washer or O-ring is the real culprit. Let’s breathe easy; it’s probably just a small internal part that needs replacing rather than a major plumbing nightmare!
If I can't find the exact replacement washer or cartridge for my specific faucet model, is there a way to fix it with what I have in my toolbox?
Oh, I’ve been there! It is so frustrating when you’re mid-project and that one specific part seems to have vanished from the face of the earth. While I always recommend getting the exact match for a long-term fix, you can sometimes perform a little “DIY surgery.” If you have a similar-sized washer, you can carefully trim it to fit, or even use a bit of plumber’s tape to create a temporary seal. Just remember, it’s a quick fix to stop the drip, not a permanent solution!
How do I know when a leak is actually a sign that I need to call in a professional plumber instead of tackling it myself?
Now, I know we’re all about that DIY spirit, but I’ll be the first to tell you: knowing when to put down the wrench is just as important as knowing how to use it! If you see water pooling inside your walls, smell something funky, or if the leak is coming from a pipe you can’t reach, please, call a pro. Your home is precious, and sometimes, calling in an expert is the smartest project you can undertake!