Honestly, if I see one more “superfood” recipe that requires a $500 blender and ingredients you can only find in a boutique health shop in Malibu, I might actually lose it. We’ve been led to believe that learning how to make a smoothie has to be this expensive, complicated ritual, but that is just total nonsense. Growing up in my family’s hardware store, I learned early on that you don’t need the flashiest, most expensive tools to get a job done right—you just need the right technique and a little bit of grit.
I’m not here to sell you on some overpriced lifestyle trend; I’m here to show you how to build a delicious, nutritious breakfast using what you actually have in your kitchen. I promise to walk you through my tried-and-true, no-nonsense methods to ensure you get the perfect texture every single time without the waste. We’re going to strip away the hype and focus on the practical basics so you can feel totally confident creating something beautiful and nourishing with your own two hands. Let’s get blending!
Table of Contents
Finding Your Best Blender for Smoothies
Now, before we get our hands dirty (or messy, in this case!), we need to talk about your most important tool. Just like choosing the right hammer for a delicate furniture restoration, picking the best blender for smoothies makes all the difference between a gritty mess and a velvety masterpiece. If you’re someone like me who loves a thick, cafe-style consistency, you’ll want something with high-powered blades that can actually pulverize those tough greens and frozen bits without breaking a sweat.
I’ve learned the hard way that a weak motor can be a total project killer. If you’re planning on using plenty of frozen fruit or even adding protein to smoothies with thick powders, you need a machine that can handle the resistance. I always suggest looking for a blender with variable speeds; it gives you so much more control over your smoothie texture tips as you go. Whether you’re aiming for a light, refreshing drink or something hearty enough to fuel a full afternoon of DIY projects, having the right gear is the foundation of a successful creation!
Choosing the Perfect Smoothie Base Ingredients
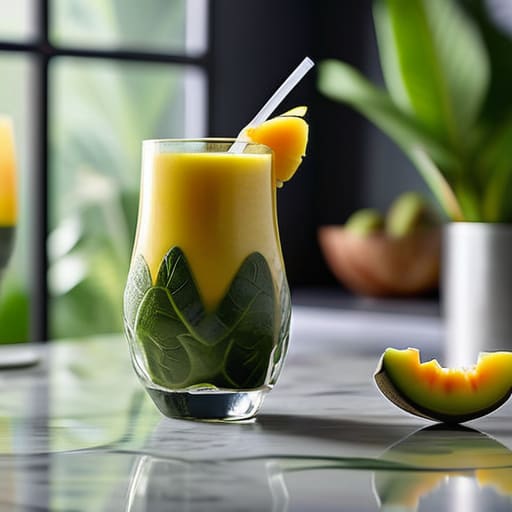
Now that we’ve got our tools ready, it’s time to talk about the heart of the project: your ingredients! Think of your smoothie base like the foundation of a beautiful room; if the base isn’t solid, the rest of the design just won’t hold up. When I’m experimenting in my kitchen, I always start with a liquid to get things moving. Whether you’re a fan of creamy almond milk, coconut water, or just plain old filtered water, this liquid is what dictates the initial flow. To get that cafe-quality consistency, I highly recommend experimenting with smoothie base ingredients that offer a bit of richness, like oat milk or even a splash of Greek yogurt.
One of my favorite little hacks for achieving that velvety, dreamlike consistency is focusing on your frozen elements. I’m a huge advocate for using frozen fruit vs ice in smoothies—whenever possible, go for the frozen fruit! Using ice can sometimes dilute those gorgeous flavors, making your creation taste a bit watered down. Instead, using frozen bananas or berries gives you a thick, luscious texture that feels much more intentional. It’s all about building those layers of flavor and feel, just like we would when layering textures in a well-designed living space!
My Secret Sauce: 5 Pro-Tips for Smoothie Perfection
- Layer your ingredients like you’re building a foundation! Always start with your liquids first, then add your powders or sweeteners, followed by your greens, and save those heavy frozen fruits and ice chunks for the very top. This helps your blender blades catch everything without getting stuck in a “frozen jam.”
- Don’t fear the frozen! If you want that thick, creamy, milkshake-like texture we all crave, swap out some of your ice cubes for frozen fruit. Using frozen bananas or berries creates a much smoother consistency than just diluting everything with plain ice.
- Watch your sugar levels. It’s so easy to go overboard with fruit juices, but I’ve learned that too much liquid sugar can leave you feeling a bit crashed by mid-morning. I love using unsweetened almond milk or even coconut water to keep things refreshing without the sugar spike.
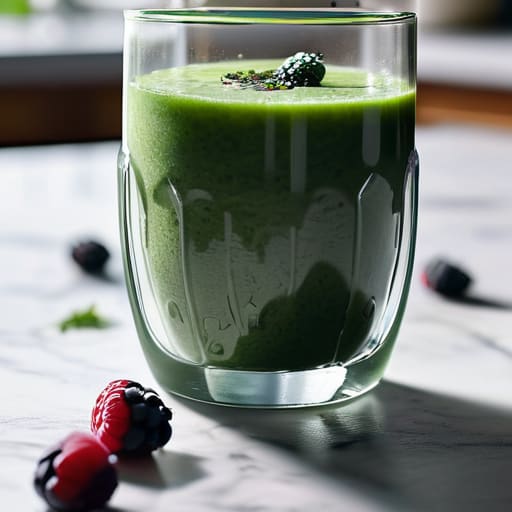
- Give it a little “green” boost. Even if you aren’t a huge veggie fan, tossing in a handful of baby spinach is a total game-changer. It adds so much nutritional goodness, and the best part? You won’t even taste it once it’s blended into your fruit!
- Texture is everything. If you find your smoothie is a bit too thick to sip through a straw, don’t panic—just splash in a little more liquid and pulse it again. On the flip side, if it feels too watery, add a spoonful of chia seeds or some Greek yogurt to thicken things up instantly.
Quick Tips for Your Smoothie Success
Don’t be afraid to experiment with your textures—just like picking the right sandpaper for a furniture project, finding that perfect balance between creamy and icy is all about trial and error!
Always prep your ingredients ahead of time; having your fruits and greens measured out makes the whole process feel less like a chore and more like a creative ritual.
Remember that your smoothie is a canvas, so use your base to build layers of flavor and nutrition that make you feel truly energized for the day ahead.
My Secret to the Perfect Blend
“Think of your smoothie like a home renovation project: you need a solid foundation, a few standout textures, and just enough patience to let all those vibrant flavors really come together into something beautiful!”
Emily Carter
Bringing Your Vision to Life
So, there you have it! We’ve gone from hunting down that perfect, high-powered blender to layering in those vibrant, nutrient-dense bases that make every sip feel like a treat. Remember, making a smoothie isn’t just about following a rigid recipe; it’s about understanding how your tools and your ingredients work together to create something truly special. Whether you’re leaning into a creamy tropical vibe or a punchy green powerhouse, the secret lies in the balance of textures and flavors. Once you’ve mastered these fundamentals, you’ll find that you have the creative freedom to experiment and iterate until you find your signature blend.
I know that stepping into a new routine can sometimes feel a little daunting, but I promise you, the payoff is so worth it. Just like when I first started restoring old furniture in my parents’ hardware store, it’s all about taking that first step and having a little bit of patience with yourself. Don’t worry if your first attempt is a little too thick or a bit too sweet—that’s just part of the learning process. Every mistake is just a stepping stone toward mastery. Now, grab your blender, get a little messy, and let’s start crafting something absolutely beautiful together!
Frequently Asked Questions
How do I stop my smoothies from turning out way too runny or watery?
Oh, I have been there! There is nothing more disappointing than expecting a creamy, dreamlike smoothie and getting something that feels more like juice. To fix that, try swapping your water or milk for something thicker, like Greek yogurt or even a scoop of chia seeds—they act like a little magic wand for texture! Also, pro tip: use frozen fruit instead of ice. It keeps everything thick and luscious without watering down the flavor.
Are there any tricks to making a smoothie super creamy without using a ton of dairy?
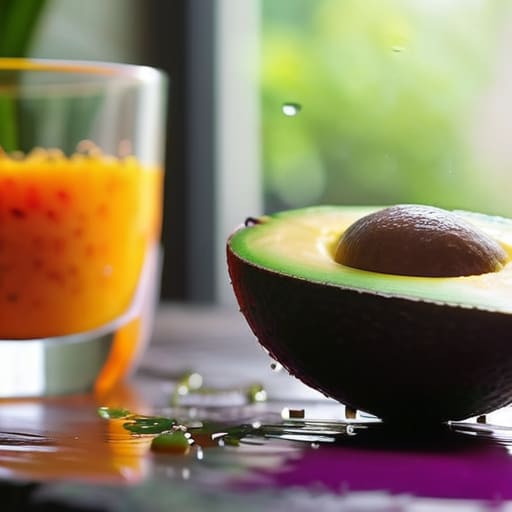
Oh, I love this question! When I was designing spaces, I always looked for ways to add texture without being overwhelming, and smoothies are no different. To get that luscious, velvety texture without a heavy dairy load, try frozen bananas—they are absolute magic! If you’re avoiding bananas, avocado or even a spoonful of cashew butter works wonders. Just a little bit of healthy fat goes a long way in creating that dreamily creamy finish!
I'm always left with a massive mess—what's the easiest way to clean my blender without a struggle?
Ugh, I feel your pain! There is nothing that kills my DIY momentum faster than a crusty, sticky blender sitting in the sink. My favorite “hack”? As soon as you’re done pouring, fill the blender halfway with warm water and a single drop of dish soap. Pop it back on the base and blend on high for thirty seconds. It’s like magic! Rinse it out, and you’re done—no scrubbing required!