
Growing up in my family’s hardware store in Ohio, I learned pretty quickly that you don’t need a fancy, expensive tool kit to build something great—and the same goes for your kitchen. I am so tired of seeing these overly complicated, “gourmet” recipes that act like you need a culinary degree just to get a decent meal on the table. Honestly, if you think you need twenty exotic spices and a sous-chef to master how to make soup, you’ve been lied to! It shouldn’t be intimidating or require a massive grocery haul; it should be about making something beautiful with what you already have in your pantry.
I promise to strip away all that unnecessary kitchen hype and get down to the real, hands-on basics. I’m going to walk you through my tried-and-true methods, focusing on the simple techniques that actually build deep, soulful flavor without the stress. We aren’t just following a recipe here; we are learning the fundamental skills so you can eventually toss the cookbook aside and trust your own instincts. Let’s roll up our sleeves and get cooking!
Table of Contents
Choosing Your Foundation Stock vs Broth for Soup
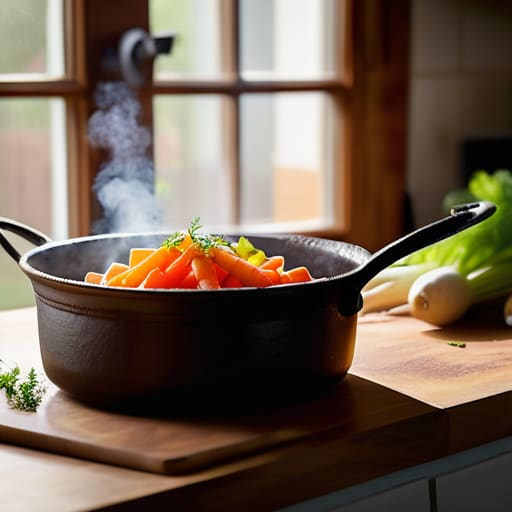
Now, before we start chopping away at our veggies, we need to talk about the most important part of any recipe: the liquid foundation. I often get asked about stock vs broth for soup, and honestly, it’s a bit like choosing between a sturdy oak table and a lightweight pine one—both have their place, but they serve totally different purposes! Stock is usually made by simmering bones, which gives you that deep, rich body and a velvety mouthfeel that’s just heavenly in a hearty stew. It’s the heavy lifter of your soup base ingredients.
Broth, on the other hand, is typically made from meat or vegetables and is much lighter and more delicate. If you’re aiming for a clear, bright consommé or a light seasonal vegetable soup, broth is your best friend. It won’t overwhelm the other flavors, allowing your fresh herbs to really shine. Personally, I love using a high-quality stock when I want something comforting and substantial, but I’ll pivot to a light broth if I’m craving something a bit more refreshing. Choosing the right one sets the entire tone for your masterpiece!
Discovering the Magic of Essential Soup Seasonings
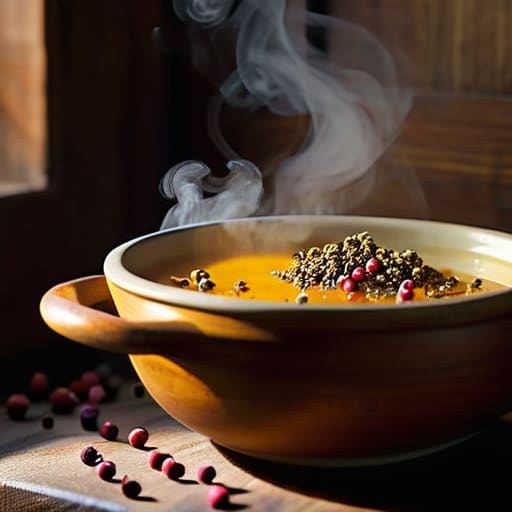
Once you’ve got your liquid gold—whether you went with stock or broth—it’s time for the real fun to begin: building those deep, soul-warming layers of flavor. Think of your seasonings as the finishing touches on a piece of furniture; they’re what turn a basic structure into a masterpiece. I always start with the basics, like dried thyme, bay leaves, or a pinch of smoked paprika, but don’t be afraid to get a little experimental! Using essential soup seasonings is all about finding that perfect balance between earthy, bright, and savory.
If you’re feeling a bit adventurous, try adding a splash of soy sauce or a squeeze of lemon juice right at the end. It might sound strange, but that little hit of acidity or umami can completely transform your bowl. I’ve learned through years of trial and error that patience is your best friend here. When you utilize slow simmering techniques for flavor, you’re giving those spices time to truly marry with the liquid, creating a cohesive taste that feels intentional rather than just a collection of ingredients. Let’s make it delicious!
My Secret Sauce: 5 Pro-Tips for Soup Perfection
- Don’t rush the sauté! I know it’s tempting to just toss everything in the pot, but taking those extra five minutes to slowly soften your onions, carrots, and celery creates a much deeper, more soulful flavor base.
- Keep a little extra liquid on standby. Whether it’s more broth or even just some water, soup tends to soak up liquid as it simmers, and you don’t want to end up with a thick stew when you were dreaming of a cozy, light broth.
- Embrace the power of acidity. If your soup tastes a little “flat” even after all that seasoning, don’t reach for more salt—try a tiny squeeze of lemon juice or a splash of apple cider vinegar. It’s like turning on a lightbulb in a dark room!
- Layer your textures for the ultimate mouthfeel. I love adding something crunchy, like toasted croutons or fresh radish slices, right at the end so you get that satisfying contrast against the soft, simmered veggies.
- Let it rest before you dive in. Just like a good piece of furniture needs time to cure, soup often tastes even better after sitting for a few minutes (or even a few hours!) as the flavors really get to know each other.
Quick Tips for Your Next Soup Session
Don’t be afraid to experiment with your base; whether you choose a rich, homemade stock or a lighter broth, it’s the foundation that really holds your flavors together!
Think of seasonings as your toolkit—start with the basics like salt and pepper, but don’t hesitate to add a little extra magic with herbs or spices to make the flavor truly pop.
Remember, there’s no such thing as a “perfect” recipe—the best soups are the ones made with patience and a little bit of your own creative flair!
The Heart of the Kitchen
“Making soup isn’t just about following a recipe; it’s like restoring a piece of vintage furniture—you start with a solid foundation, add a little patience, and let the flavors develop their own unique character until you’ve created something truly soulful.”
Emily Carter
Bringing It All Together
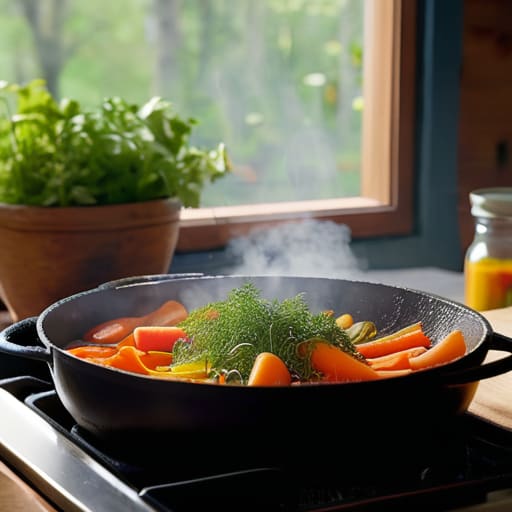
Now that we’ve walked through the basics, you’re totally ready to dive into your first pot of soup! Just remember the core essentials we talked about: starting with a solid foundation—whether you choose a rich stock or a lighter broth—and layering in those essential seasonings to really make the flavors sing. It might feel a little overwhelming when you’re staring at a pile of vegetables and a heavy pot, but once you start layering those flavors, you’ll realize that soup is one of the most forgiving and forgivingly delicious things you can ever make. Don’t be afraid to experiment with your ratios; that’s where the real magic happens!
At the end of the day, I want you to remember that cooking is a lot like restoring a piece of vintage furniture—it’s all about the process and the love you pour into it. There’s something so incredibly soul-warming about sitting down to a bowl of something you built from scratch with your own two hands. Whether your first attempt is a masterpiece or just a “learning experience,” I am so proud of you for getting in the kitchen and trying something new. So, grab your favorite ladle, turn up some music, and let’s make something delicious together!
Frequently Asked Questions
I've always wondered, is there a trick to keeping my veggies from turning into mush while the soup simmers?
Oh, I have been there! There is nothing worse than a soup that looks more like baby food than a hearty meal. My biggest tip? Timing is everything! Think of your veggies like different layers of a project. Start with your “hard” veggies like carrots and potatoes first, then wait to add the delicate stuff like zucchini or spinach until the very last few minutes. It keeps that perfect texture we’re all looking for!
What's the best way to thicken up a soup if it feels a little too watery toward the end?
We’ve all been there—you’ve poured your heart into a pot of soup, only to realize it’s looking a little more like flavored water than a hearty meal! Don’t panic; it’s an easy fix. My favorite trick is making a quick roux or whisking in a little cornstarch slurry. If you want to keep things extra creamy, try mashing some of the beans or veggies directly into the broth. You’ve got this!
If I accidentally over-salt my broth, can I actually fix it, or is the batch a lost cause?
Oh, don’t panic! We have all been there—I once accidentally dumped way too much sea salt into a batch of vegetable stock while distracted by a new hammer I’d just bought. It is definitely not a lost cause! If it’s just a little salty, try adding a peeled, halved potato to simmer in the liquid; it acts like a little sponge for salt. Or, simply dilute it with more unsalted broth or water. You’ve got this!
