
I was sitting on my living room floor last Tuesday, surrounded by a mountain of “lost causes”—a pair of jeans with a blown-out knee and my favorite linen shirt with a fraying hem—feeling that familiar pang of guilt. We’ve been conditioned to think that once a seam pops or a fabric thins, it’s time to head straight to the thrift store or the landfill, but I’m here to tell you that’s a total myth. Learning how to mend clothes isn’t about being a master seamstress; it’s actually about extending the life of the pieces you already love and finding creative ways to make them even more unique.
In this guide, I’m stripping away all the intimidating jargon to give you the real, no-nonsense techniques I learned growing up in my family’s hardware store. We’re going to walk through everything from simple invisible stitches to those trendy, decorative repairs that turn a flaw into a beautiful design feature. Whether you’re a total beginner or just looking to sharpen your skills, I promise you’ll walk away with the confidence to stop tossing your favorites and start transforming them instead. Let’s get to work!
Table of Contents
- Step-by-Step Instructions
- Mastering Needle and Thread Basics for Your First Project
- Beautiful Visible Mending Techniques to Showcase Your Unique Style
- Pro Tips from My Toolkit: Making Your Mends Last a Lifetime
- Quick Tips to Keep Your Mending Journey Going
- ## A Little Love in Every Stitch
- Your New Stitching Journey Starts Now
- Frequently Asked Questions
Guide Overview
Tools & Supplies
- Hand sewing needles (various sizes)
- Fabric scissors (sharp blades for clean cuts)
- Seam ripper (to remove old, faulty stitching)
- All-purpose thread (assorted colors)
- Sewing kit (small variety of needles and pins)
- Iron (to press seams flat)
Step-by-Step Instructions
- 1. First things first, let’s gather our supplies! You don’t need a massive sewing machine to get started—in fact, sometimes a simple hand-sewing kit is all you need. Grab a few needles, some high-quality thread that matches your fabric (or a contrasting color if you want to make the mend a feature!), and a pair of sharp fabric scissors. I always keep a small tin of these essentials in my craft room, right next to my favorite vintage hammer collection!
- 2. Before you even touch a needle to the fabric, you need to prep the area. Turn your garment inside out and find the damaged spot. If there are any loose threads or frayed edges, use your scissors to snip them clean. This prevents the hole from growing larger while you’re working and gives you a nice, tidy surface to start your repair.
- 3. Now, let’s get that thread ready. Cut a length of thread about the length of your arm—any longer and you’ll end up with a tangled mess, which is a total headache! Thread your needle and pull it through to the back of the fabric. I highly recommend double-knotting the end of your thread to give it that extra bit of security so your hard work doesn’t come undone after the first wash.
- 4. If you’re dealing with a small tear or a hole, let’s try the “running stitch” or a “whip stitch.” For a running stitch, simply weave your needle in and out of the fabric in a straight line along the edges of the tear. If the fabric is a bit more delicate, you might want to use a tiny scrap of matching fabric underneath the hole to act as a support patch. It’s like giving your clothes a little extra backbone!
- 5. For those pesky holes in jeans or thicker cotton, I love using a “darning” technique. Think of it like weaving a tiny little rug over the hole. You’ll sew vertical lines across the gap first, and then go back through those threads horizontally. It takes a little bit of patience and practice, but once you get the rhythm down, it’s incredibly meditative and looks so much better than a patch!
- 6. Once you feel like the hole is securely closed and the fabric feels sturdy again, don’t just pull the thread away! You need to secure your work by tying off the end. Loop your needle through the last stitch a couple of times and pull it tight to create a knot. Trim the excess thread, and you’re all set.
- 7. Finally, give your project a little “quality control” check. Turn the garment right-side out and gently tug on the mended area to make sure everything holds firm. If it feels good, you’ve officially transformed something broken into something beautiful! Take a moment to celebrate that win—you’re one step closer to mastering your own home crafts.
Mastering Needle and Thread Basics for Your First Project
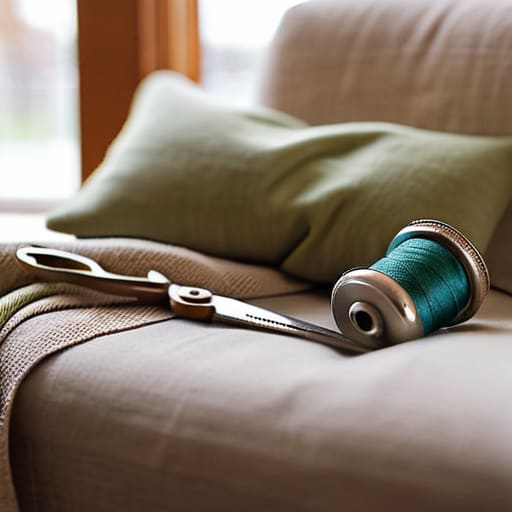
Before we dive into the actual stitching, let’s talk about setting yourself up for success. I always tell my readers that you don’t need a massive, expensive machine to do great work; sometimes, the most soulful repairs happen right in your lap. To get started, you really only need a few sewing kit essentials—think high-quality needles, a variety of thread colors, and a sharp pair of small scissors. I actually keep a little tin by my favorite armchair filled with my go-to supplies, and honestly, having everything within arm’s reach makes the whole process feel so much more relaxing and intuitive.
As you begin practicing your needle and thread basics, try to find a spot with plenty of natural light. It makes a world of difference when you’re trying to navigate tiny fibers! If you’re feeling a bit nervous, don’t be afraid to experiment with visible mending techniques. Instead of trying to hide your stitches, embrace them! Using a contrasting thread color can turn a simple repair into a beautiful, intentional design element that tells a story about the life of your garment.
Beautiful Visible Mending Techniques to Showcase Your Unique Style
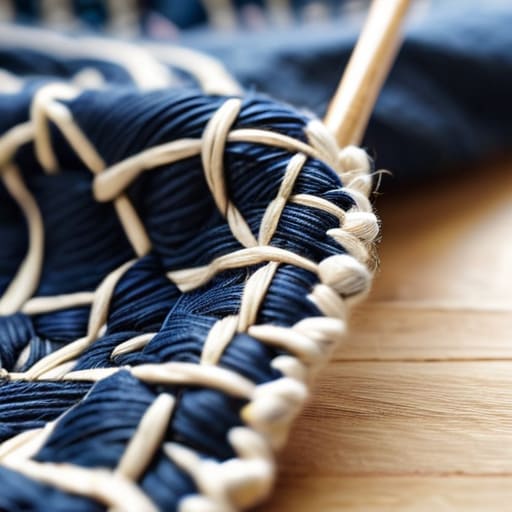
Now, here is where we really get to play! Once you’ve mastered those needle and thread basics, you can stop trying to hide your repairs and start celebrating them. I’ve always loved the idea that a mend doesn’t have to be a secret; it can be a piece of art. One of my absolute favorite visible mending techniques is Sashiko stitching. It’s a Japanese inspired style that uses simple running stitches to create beautiful, geometric patterns over a patch. Instead of just fixing a gap, you’re essentially adding a custom embroidery element that makes your garment look like a high-end boutique find.
If you’re working on a pair of well-loved jeans, try experimenting with fabric patch application using a contrasting color. I love taking a scrap of vintage floral cotton and stitching it behind a hole in my denim. It adds such a lovely, personal touch that tells a story. Whether you are repairing denim holes or following a darning socks tutorial to save your favorite cozy pair, remember that there are no mistakes here—only opportunities to add character. Let your creativity run wild and make your repairs your own!
Pro Tips from My Toolkit: Making Your Mends Last a Lifetime
- Don’t be afraid to size up your thread! Sometimes, using a slightly thicker embroidery floss instead of standard all-purpose thread can make your repair feel more intentional and much sturdier.
- Always do a “stress test” before you put the garment back in your closet. Give the fabric a gentle tug in a few different directions to make sure your stitches are holding firm and won’t pop the moment you sit down.
- Match your needle to your fabric’s personality. I’ve learned the hard way that using a heavy denim needle on a delicate silk blouse is a recipe for disaster—always pick a needle that feels “right” for the weight of the material.
- Think about the direction of the grain. When you’re stitching over a tear, try to follow the natural lines of the fabric weave; it helps the mend lay flat and prevents that awkward, puckered look we all want to avoid.
- Keep a “mending kit” handy rather than hunting through a junk drawer. Having your favorite scissors, a few essential needles, and a curated stash of colorful threads all in one little tin makes it so much easier to jump into a project the moment inspiration strikes!
Quick Tips to Keep Your Mending Journey Going
Don’t let a little tear discourage you; remember that every stitch is a chance to learn a new skill and add a bit of your own personality to your wardrobe!
Embrace the imperfections—whether you’re going for a seamless fix or a bold, visible mend, the goal is to make your clothes wearable and loved again.
Keep a small “mending kit” handy with your favorite needles and colorful threads so you’re always ready to tackle a quick fix the moment it happens.
## A Little Love in Every Stitch
“I’ve always believed that a tiny tear in your favorite sweater isn’t a flaw—it’s an opportunity. When we mend our clothes, we aren’t just fixing fabric; we’re adding a new chapter to the story of the things we love.”
Emily Carter
Your New Stitching Journey Starts Now
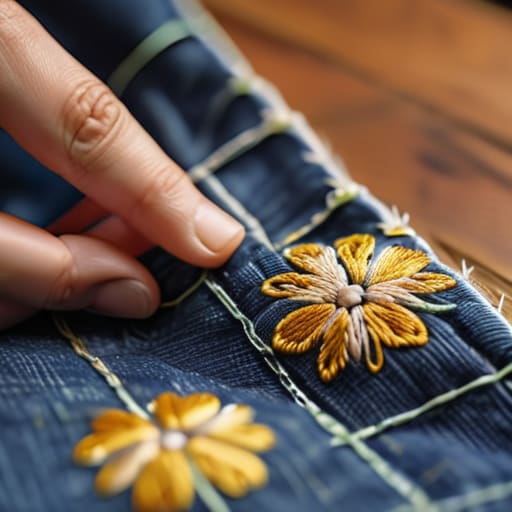
We’ve covered a lot of ground today, from getting comfortable with those fundamental needle and thread basics to experimenting with those gorgeous, eye-catching visible mending styles that turn a flaw into a feature. Whether you’re stitching up a small tear in your favorite denim or using embroidery to hide a stubborn snag, the most important thing is that you’ve taken that first step toward being more intentional with your wardrobe. Remember, it doesn’t have to be perfect to be beautiful; even a slightly wonky stitch adds a layer of personal character that a store-bought patch simply can’t replicate.
As you tuck your sewing kit away and look at your newly revived garments, I hope you feel a little more empowered. There is something so incredibly special about wearing a piece of clothing that you’ve personally cared for and repaired with your own two hands. It’s more than just saving money or being sustainable—it’s about building a deeper connection to the things we own. So, don’t be afraid to make mistakes or try a new pattern next time. Just grab your needle, find a cozy spot with good light, and keep creating something amazing one stitch at a time!
Frequently Asked Questions
What kind of needle and thread should I grab if I'm working with thicker fabrics like denim or heavy canvas?
Oh, you’re diving into the heavy stuff! I love it. For denim or heavy canvas, you definitely can’t use those tiny, flimsy needles meant for silk. You’ll want to grab some heavy-duty “denim needles”—they’re thicker and stronger so they won’t snap mid-stitch. As for the thread, skip the standard all-purpose stuff and reach for a heavy-duty polyester or even a cotton-wrapped polyester thread. It’s much more durable and can actually handle the tension of those tougher fabrics!
I'm a little nervous about making a mistake—is there a way to test my stitching on a scrap piece of fabric first?
Oh, I totally get those nerves! Honestly, even with my design background, I still get a little fluttery before starting a tricky stitch. And yes, absolutely—testing on a scrap is my number one rule! Grab an old pillowcase or a leftover fabric remnant and practice your tension there first. It’s the perfect, low-pressure way to get a feel for the rhythm before you touch your favorite sweater. You’ve got this!
How do I know if a piece of clothing is actually beyond saving, or if it's worth the effort to mend?
That is such a great question! I used to agonize over this when I first started. My rule of thumb? Check the “structural integrity.” If the fabric is thinning to the point of being see-through or if a seam is shredded across a major stress point, it might be a lost cause. But if it’s just a hole, a broken zipper, or a pesky tear, that’s a project waiting to happen! If you love it, save it.
