
I still remember being ten years old in my dad’s hardware store, reaching for a specific wrench and feeling that sudden, sinking realization that everything was just out of reach. Fast forward to my first apartment, and I found myself facing that exact same nightmare every single time I needed to grab a sponge or a bottle of cleaner. There is nothing quite as soul-crushing as opening your cabinet only to have a mountain of half-empty spray bottles and tangled cleaning cloths tumble out onto your feet. If you’ve ever felt like you’re losing a battle against your own plumbing, please know you aren’t alone; figuring out how to organize under the sink shouldn’t feel like a professional wrestling match.
I’m not here to sell you on some expensive, aesthetic-only acrylic bin system that will inevitably crack or tip over in a week. Instead, I want to share the real-world, budget-friendly strategies I’ve picked up from years of interior design and my own messy DIY mishaps. We are going to tackle this space using practical, durable solutions that actually work for your lifestyle. I promise to guide you through a step-by-step plan to turn that dark, cluttered void into a functional and beautiful workspace that makes your daily chores a total breeze!
Table of Contents
Simple Kitchen Cabinet Decluttering Tips for Beginners
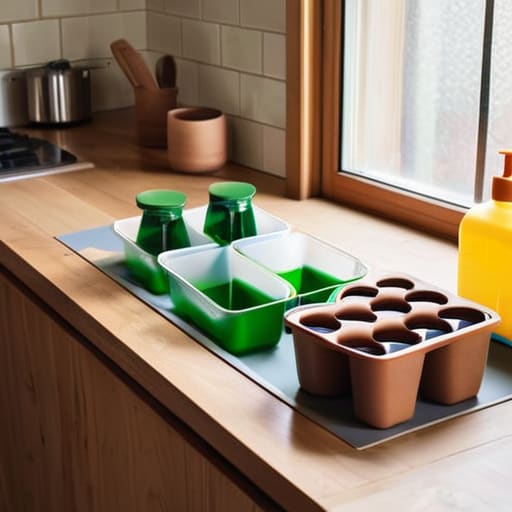
Before we dive into the heavy lifting, we have to face the music: you can’t organize clutter. I know, I know—it’s tempting to just buy some cute bins and call it a day, but trust me, emptying everything out first is the only way to truly see what you’re working with. Start by pulling every single bottle and sponge out from under that sink. Group them into categories like “daily use,” “occasional cleaning,” and “backstock.” As you’re sorting, be honest with yourself. If you’ve got a half-empty bottle of a cleaner you haven’t touched since last Christmas, it’s time to let it go!
Once you’ve cleared the deck, it’s time to focus on maximizing small cabinet space so you aren’t constantly playing a game of Tetris just to find the dish soap. This is where those clever under sink pull out organizers become absolute lifesavers. Instead of digging through a dark abyss at the back of the cabinet, these drawers bring everything right to your fingertips. I always recommend using clear acrylic bins for your cleaning supply storage solutions; it makes it so much easier to see exactly when you’re running low on your favorite multi-surface spray!
Maximizing Small Cabinet Space With Ease
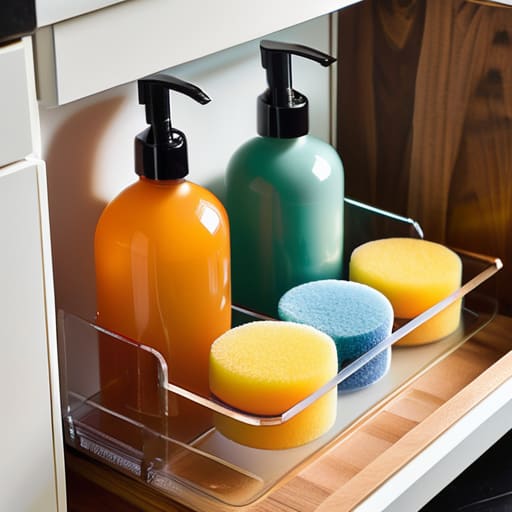
When you’re working with tight quarters, the secret isn’t just about moving things around; it’s about thinking vertically. I used to stare at my cramped cabinets feeling so defeated, but once I started utilizing the “dead air” between shelves, everything changed. One of my favorite tricks for maximizing small cabinet space is installing tiered risers or even small, stackable drawers. This allows you to tuck smaller items like sponges or scrub brushes underneath larger bottles without creating a giant, messy pile that’s impossible to navigate.
If you really want to level up your setup, I can’t recommend under sink pull out organizers enough. They are absolute game-changers! Instead of digging through the dark abyss at the back of the cabinet, these sliding trays bring everything right to you. It makes grabbing your dish soap or a stray cleaning spray feel totally seamless. And hey, if you’re feeling a little extra prepared—like I am—tossing in some waterproof cabinet liners is a smart move. They protect your wood from those inevitable drips and spills, keeping your hard work looking fresh and beautiful for much longer!
My Go-To Secrets for Keeping That Under-Sink Chaos at Bay
- Grab some stackable clear bins so you can actually see what’s hiding in the back; there’s nothing worse than digging through a mountain of cleaning supplies just to find one sponge!
- Utilize a pull-out tiered organizer or a sliding drawer to tackle that “deep cabinet” problem, making it super easy to reach those items tucked way in the rear without a total meltdown.
- Don’t forget the door! I love using adhesive hooks or a small over-the-door organizer to hang spray bottles or scrub brushes, which frees up so much precious floor space.
- Invest in an expandable under-sink shelf designed to fit around your plumbing; it’s a total game-changer for reclaiming that awkward, empty space around the pipes.
- Group your items by “mission”—keep all your dish-washing essentials in one bin and your heavy-duty surface cleaners in another—so you can just grab exactly what you need and go.
Quick Wins to Keep Your Space Beautiful
Remember, you don’t need a massive renovation to make a difference; sometimes just a few well-placed bins and a little bit of sorting can completely change how you feel when you open that cabinet door.
Don’t be afraid to get a little creative with your storage solutions—if a standard organizer doesn’t fit your specific space, look for ways to customize your setup so everything has its own happy little home.
The secret to keeping that under-sink magic alive is a quick “reset” every once in a while, so try to take five minutes once a month to tidy up and make sure everything is still in its right place!
## My Philosophy on Small Spaces
“Don’t let a cluttered cabinet make you feel like you’ve lost control of your kitchen; organizing that messy under-sink space isn’t just about tidying up, it’s about reclaiming a little bit of peace and making your home work for you, one bin at a time.”
Emily Carter
You've Got This: From Chaos to Calm
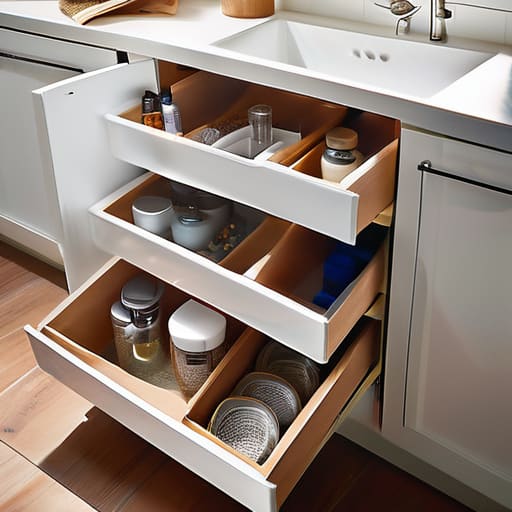
As we wrap up our little under-sink makeover, I hope you feel a lot more confident about tackling that hidden corner of your kitchen. We’ve covered everything from the essential first step of a deep declutter to those clever little hacks like using tiered organizers and pull-out bins to make every inch count. Remember, it’s not just about shoving things into a dark cabinet; it’s about creating a system that actually works for your daily life. Whether you used high-end acrylic dividers or just a few repurposed containers from my family’s old hardware store days, the goal was to turn that messy, frustrating space into something organized and easy to navigate.
If you’re feeling a little overwhelmed by the mess right now, please don’t let it stop you. I know exactly how it feels to stare at a cluttered cabinet and think, “I’ll just do it next weekend,” but I promise you, the feeling of opening that door and seeing everything in its rightful place is so incredibly rewarding. Every big home transformation starts with these small, manageable wins. So, grab a bin, clear a little space on your counter, and let’s get to work. I can’t wait to hear how your project turns out—let’s build something amazing together!
Frequently Asked Questions
What are the best types of waterproof bins to use so I don't ruin my new organization setup if a pipe leaks?
Oh, that is such a smart question! I’ve definitely learned the hard way that a tiny leak can turn a beautiful organization system into a soggy mess overnight. To keep your hard work safe, I highly recommend heavy-duty plastic bins—specifically clear polypropylene. They’re sturdy and water-resistant. If you want even more peace of mind, look for bins with silicone seals or even airtight containers for your cleaning supplies. It’s all about protecting your progress!
I have a really awkward-shaped cabinet with pipes running right through the middle; are there any specific organizers that work well for irregular spaces?
Oh, I feel your pain! Those awkward pipes are the ultimate DIY curveball, but they don’t have to ruin your progress. I’ve found that expandable under-sink organizers are absolute lifesavers here—they slide right around the plumbing. I also swear by clear, stackable bins of varying heights; you can tuck them into those weird little gaps the pipes create. It’s all about playing Tetris with your storage to make that irregular space work for you!
How often should I actually be cleaning out and re-organizing these supplies to make sure things don't just get messy again in a month?
Honestly, I used to fall into the trap of “set it and forget it,” only to find a mountain of spilled soap and rogue sponges a few weeks later! I recommend a quick “reset” every month—just a five-minute check to wipe down surfaces and tidy up. Then, do a deeper dive every six months to toss expired cleaners or empty bottles. It keeps the chaos at bay without feeling like a massive chore!
