
I still remember standing in my parents’ hardware store back in Ohio, staring at a massive bucket of eggshell white and feeling completely intimidated. I used to think that knowing how to paint a room required a professional crew, expensive scaffolding, and a natural talent I just didn’t possess. But here’s the truth: most of the “pro secrets” you see online are actually just unnecessary complications that make the job harder than it needs to be. You don’t need a degree in fine arts or a massive budget to achieve a flawless finish; you just need the right approach and a little bit of grit.
In this guide, I’m stripping away all the fluff and giving you my honest, no-nonsense roadmap to tackling your walls with confidence. We’re going to walk through everything from choosing the perfect sheen to those tiny, crucial prep steps that make or break your project. I promise to share the practical, step-by-step advice I’ve learned from years of design work and DIY mishaps so you can skip the frustration and go straight to the part where you fall in love with your space. Let’s get started!
Table of Contents
- Step-by-Step Instructions
- Gathering Your Essentials an Essential Painting Supplies Checklist
- Protecting Your Sanctuary Protecting Furniture While Painting
- Pro Secrets for a Flawless Finish
- Quick Tips for a Flawless Finish
- ## A Little Encouragement Before You Dip That Brush
- You Did It! Now Time to Soak It All In
- Frequently Asked Questions
Guide Overview
Tools & Supplies
- Paintbrush for cutting in edges
- Roller and tray for large surfaces
- Painter's tape for clean lines
- Drop cloths to protect floors
- Interior paint (1-2 gallons per room)
- Painter's tape (1-2 rolls)
- Sandpaper (medium grit for smoothing)
- Spackle (small tub for hole repair)
Step-by-Step Instructions
- 1. First things first, we need to clear the stage! Grab some old sheets or plastic drop cloths and cover every single inch of your flooring. I can’t tell you how many times I’ve seen a beautiful new color ruined by a tiny splatter on a hardwood floor. Once the floor is safe, move your furniture to the center of the room and cover it with plastic too. It’s much easier to paint when you aren’t constantly playing a game of “dodge the drip” with your sofa!
- 2. Now, let’s talk prep, because this is where the magic actually happens. Grab your painter’s tape and run it along your baseboards, window frames, and the ceiling edge. I know, I know—it feels tedious, but taking those extra few minutes now ensures you get those crisp, professional lines that make a room look truly high-end. Just make sure to press the tape down firmly so the paint doesn’t sneak underneath!
- 3. Before a single drop of color touches the wall, we have to check the surface. Use a damp cloth to wipe away any dust or cobwebs, and if you have any small nicks or holes from old picture frames, grab a little bit of spackle. Once you smooth those out and let them dry, give them a quick sand with a fine-grit sandpaper. You want the walls to feel smooth as silk before we start the fun part.
- 4. It’s time to tackle the edges! Grab your angled brush—this is my absolute favorite tool in my kit—and start “cutting in.” This means painting a border around the edges of the room, the corners, and around your trim where a roller just can’t reach. Don’t try to do the whole room at once; just work in small sections so the paint stays nice and wet when you move on to the rolling phase.
- 5. Now, grab your roller and let’s get to work! Dip your roller into the tray and roll it back and forth until it’s evenly coated, but be careful not to overdo it—you don’t want heavy drips. Use a “W” or “M” motion to spread the paint across the wall, then fill in the gaps. This technique helps you distribute the paint evenly and avoids those annoying streaks that can show up once the paint dries.
- 6. Don’t rush into a second coat! I know the temptation to just keep going is real, but patience is your best friend here. Let the first coat dry completely according to the instructions on your can. Once it’s dry, repeat the rolling process for the second coat. This is the secret to getting that deep, rich color that looks like it was done by a pro.
- 7. Finally, the most satisfying part: the big reveal! Once the paint is completely dry to the touch, gently peel away your painter’s tape while it’s still slightly tacky. If you wait until the paint is bone-dry and hard, the tape might pull some of your beautiful new color with it. Once the tape is off, take a moment to step back, grab a cup of tea, and soak in the transformation you just created!
Gathering Your Essentials an Essential Painting Supplies Checklist
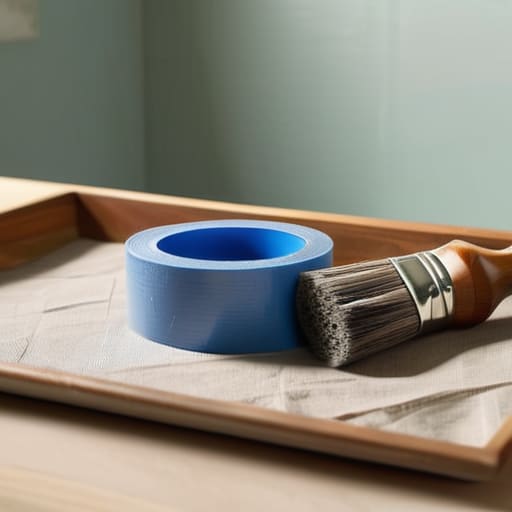
Before you dive into the fun part, let’s make sure your toolkit is ready to go! There is nothing more frustrating than being halfway through a wall and realizing you’ve run out of painter’s tape or, even worse, your roller is looking a little sad. I always tell my readers that a solid essential painting supplies checklist is your best friend. Beyond just the paint, make sure you have high-quality brushes for those tricky corners, a sturdy extension pole, and a good quality tray. If you’re feeling a bit nervous, don’t sweat it—mastering a few basic painting techniques for beginners is much easier when you aren’t constantly hunting for a screwdriver or a rag!
One thing I learned growing up in my dad’s hardware store is that the prep is actually more important than the paint itself. I can’t stress enough how vital protecting furniture while painting is; grab some heavy-duty drop cloths rather than those thin plastic ones that tear easily. Also, take a moment to think about your surface—knowing how to prep walls for painting by sanding down bumps or filling small holes will make the final finish look absolutely professional. Grab your gear, and let’s get to work!
Protecting Your Sanctuary Protecting Furniture While Painting
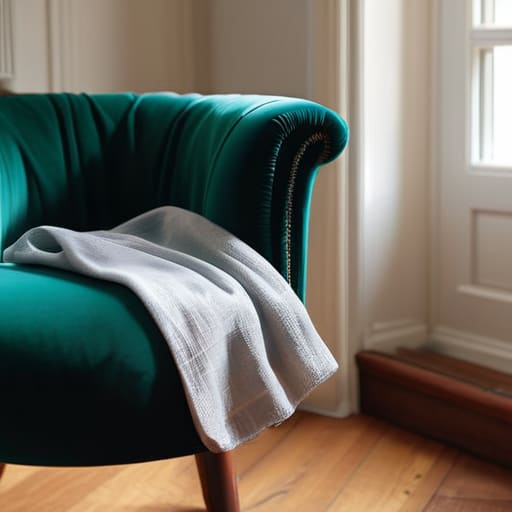
Now, let’s talk about something that always used to make me a little nervous when I first started out: the mess! There is nothing quite as heart-sinking as seeing a tiny droplet of “Midnight Teal” land on your favorite velvet armchair. When it comes to protecting furniture while painting, I’ve learned that being a little “extra” with your prep work is the absolute best way to ensure a stress-free experience. I always recommend moving anything small—like lamps, books, or trinkets—into a completely different room if you can. It makes the process so much smoother!
For the larger pieces like sofas or heavy dressers, don’t just rely on a thin sheet of plastic. I’m a huge fan of using heavy-duty canvas drop cloths because they actually stay in place and absorb any accidental spills rather than letting them pool and slide. If you’re working in a tight space, try grouping your furniture in the center of the room and draping them like little tents. It might feel a bit silly, but trust me, your future self will thank you when you’re sitting on a clean rug, admiring your handiwork!
Pro Secrets for a Flawless Finish
- Don’t skip the prep work! I know, I know—sanding and patching the tiny holes in your walls might feel like a chore, but trust me, it’s the difference between a professional look and a DIY disaster.
- Always start with the edges. Grab your angled brush and “cut in” around the ceiling, baseboards, and corners first. It’s much easier to roll over those slightly thicker lines later than it is to try and paint perfectly straight lines with a big roller!
- Work in small sections to avoid those dreaded lap marks. Instead of trying to rush through a whole wall, work in manageable patches about three feet wide. This keeps your paint “wet on wet,” which helps everything blend together seamlessly.
- Invest in a good quality roller cover. It might be tempting to grab the cheapest option at the hardware store, but a high-quality nap will hold more paint and give you a much smoother texture without all that annoying splattering.
- Remember that two thin coats are always better than one thick, gloopy one. If you try to cover everything in one go, you’ll likely end up with drips and uneven patches. Let that first coat dry completely before you even think about going back in for round two!
Quick Tips for a Flawless Finish
Don’t rush the prep work! I know it’s tempting to dive straight into the fun part with a brush in hand, but taking that extra time to clean your walls and tape off your edges is what makes the difference between a “DIY job” and a professional-looking transformation.
Remember, it’s all about the layers. It’s much better to apply two thin, even coats than to try and heavy-handedly slap on one thick layer that leaves you with drips and uneven textures. Patience is your best friend here!
Trust your instincts and have a little fun with it. If a line isn’t perfectly straight or you realize you picked the wrong shade halfway through, don’t sweat it! Every little hiccup is just part of the learning process, and you’re doing something amazing for your home.
## A Little Encouragement Before You Dip That Brush
“I know that first stroke of paint can feel a little intimidating, but remember: you aren’t just changing a color, you’re breathing new life into your home. Don’t sweat the small drips—just focus on the joy of seeing your vision come to life, one wall at a time!”
Emily Carter
You Did It! Now Time to Soak It All In
Taking a room from bare walls to a finished masterpiece is no small feat, and you should be so incredibly proud of the work you’ve put in today. We’ve covered everything from prepping your surfaces and gathering the right tools to carefully protecting your furniture so you don’t end up with accidental splatters on your favorite rug. It might have felt a little overwhelming when we first started, but by following these steps and taking your time with the details, you’ve ensured that your new color isn’t just going to look good today, but will actually last for years to come.
Now that the rollers are cleaned and the drop cloths are tucked away, I want you to do something very important: just sit back and really look at your space. There is a special kind of magic that happens when you realize that the beautiful atmosphere surrounding you didn’t just come from a store—it came from your own two hands. Every brushstroke was a choice you made to make your home feel more like you. Remember, this is just the beginning of your creative journey, and I cannot wait to see what you tackle next. Happy decorating!
Frequently Asked Questions
I’m a little nervous about the mess—how do I stop paint from getting on my baseboards and ceiling edges?
Oh, I totally get it! I remember being so nervous about my first big project back in Ohio—I was terrified of getting a drip on my baseboards. Honestly, the secret weapon is painter’s tape, but don’t just slap it on! Press the edges down firmly with a putty knife to prevent bleeding. If you’re feeling extra cautious, you can also use a small brush to “cut in” slowly. You’ve got this!
Should I go with a matte finish or something more durable like eggshell, especially if I have kids or pets?
Oh, I get asked this all the time! Honestly, if you’ve got kiddos or furry friends running around, I’d steer clear of matte. It’s gorgeous and hides imperfections like a dream, but it’s a magnet for scuffs and can be a nightmare to wipe down. I usually recommend an eggshell or even a satin finish for high-traffic rooms. You’ll get that lovely, soft glow, but it’s much more forgiving when life happens!
How many coats of paint do I actually need to apply before I can call the job done?
This is such a common question, and honestly, I used to rush through it too! Usually, two coats is the magic number for a professional, even finish. However, if you’re making a big change—like going from a dark navy to a soft cream—you might need a third coat or a good quality primer first. Don’t be tempted to stop early just to save time; patience now means a gorgeous, lasting result later!
