
I was standing in my garage last Saturday, surrounded by a mountain of old foam and scraps of velvet, staring down at a mid-century armchair that looked more “sad” than “vintage.” Most people would tell you that reupholstering is a high-stakes professional skill that requires expensive industrial machinery, but honestly? That is a total myth. If you can use a staple gun and have a little bit of grit, you can master how to reupholster a chair right in your own living room. I learned that lesson the hard way growing up in my family’s hardware store—sometimes the best way to fix something isn’t to buy new, but to reclaim what you already love.
I’m not going to sugarcoat it: there will be moments where you feel like you’ve made a mess of the fabric, but I promise we are going to get through it together! In this guide, I’m stripping away all the fancy designer jargon to give you my no-nonsense, step-by-step approach to a professional finish. We’ll cover everything from choosing the right tension to those tricky corner folds, ensuring you walk away with a piece of furniture that looks like a high-end find rather than a DIY disaster. Let’s get to work!
Table of Contents
- Step-by-Step Instructions
- Choosing Your Dream Fabric and Essential Upholstery Tools and Supplies
- Mastering Staple Gun Techniques for Furniture and Perfecting the Finish
- Emily’s Pro-Tips for a Flawless Finish
- Quick Tips for a Flawless Finish
- My Golden Rule for Upholstery
- You Did It! Now Let's Celebrate
- Frequently Asked Questions
Guide Overview
Tools & Supplies
- Staple gun and staples for securing fabric
- Needle-nose pliers for pulling old staples
- Fabric shears for precise cutting
- Upholstery tack lifter for removing old materials
- Measuring tape for calculating fabric dimensions
- Upholstery fabric (1-3 yards depending on chair size)
- High-density foam padding (1 sheet)
- Batting/Dacron wrap (1 roll)
- Replacement staples (1 box)
Step-by-Step Instructions
- 1. Before we get our hands dirty, we need to perform a little “surgery” on the chair. Grab a staple remover or a flat-head screwdriver and carefully strip away the old fabric, the foam, and any old webbing. I always tell my readers to take photos of everything as you go; seeing exactly how the original maker tucked the fabric into the corners will be a total lifesaver when you’re trying to recreate that professional look later on.
- 2. Once the frame is stripped down to its bare bones, it’s time to inspect the foundation. Check the wooden frame for any wobbles or loose joints, and if you find any, now is the perfect time to add some wood glue and tighten them up. If your old foam is crumbling or looking a bit sad, go ahead and replace it with some fresh, high-density foam—it makes a world of difference in how comfortable the final piece feels.
- 3. Now, let’s talk about the fun part: choosing your fabric! Since I grew up in a hardware store, I have a huge respect for materials that are built to last, so try to find something with a bit of durability, like a heavy linen or a sturdy velvet. Once you have your fabric, lay it out on your workspace and place the chair seat right in the middle, making sure you have plenty of extra material hanging off all sides to account for the curves.
- 4. It’s time to grab one of my favorite tools—your staple gun! Start by pulling the fabric taut (but not so tight that it puckers) and placing a single staple in the center of each side to anchor it. I like to work in a “cross” pattern, moving from the center out toward the corners, to ensure the tension is even all the way around. It might feel a little repetitive, but trust me, this is the secret to a smooth, professional finish.
- 5. When you reach the corners, don’t panic! This is usually where beginners get a little nervous, but it’s actually a bit of a creative puzzle. You’ll want to pull the fabric tight, fold the excess into neat, crisp pleats, and staple them down securely. If you take your time to tuck those corners neatly, your chair is going to look like it came straight out of a high-end boutique rather than your living room floor.
- 6. For the final touch, we need to clean up the edges. If your chair has a decorative trim or a welt, now is the time to carefully attach it to hide any stray staples or uneven fabric edges. Once everything is tucked and stapled, give the whole piece a good once-over with a lint roller to pick up any stray threads. You did it! You’ve just transformed a piece of junk into a stunning focal point for your home.
Choosing Your Dream Fabric and Essential Upholstery Tools and Supplies
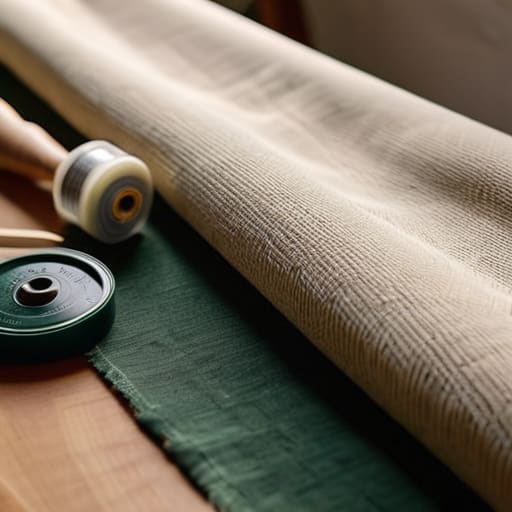
Before we dive into the actual work, let’s talk about the fun part: picking your materials! When it comes to fabric selection for upholstery, I always tell my readers to think about both style and durability. If you’re tackling a high-traffic dining chair, you’ll want something with a high rub count, like a sturdy linen blend or a performance velvet. Don’t forget to grab a little extra yardage than you think you’ll need—it’s much better to have a scrap left over than to run short right at the finish line!
Next, let’s talk gear. You don’t need a professional workshop, but having the right upholstery tools and supplies makes a world of difference. I highly recommend investing in a decent electric staple gun if you have one; it’ll save your hands so much fatigue! Also, if your chair feels a bit “deflated,” this is the perfect time for replacing chair foam and batting. Adding a fresh layer of high-density foam can make an old, tired seat feel brand new again. Trust me, your back (and your guests) will thank you!
Mastering Staple Gun Techniques for Furniture and Perfecting the Finish
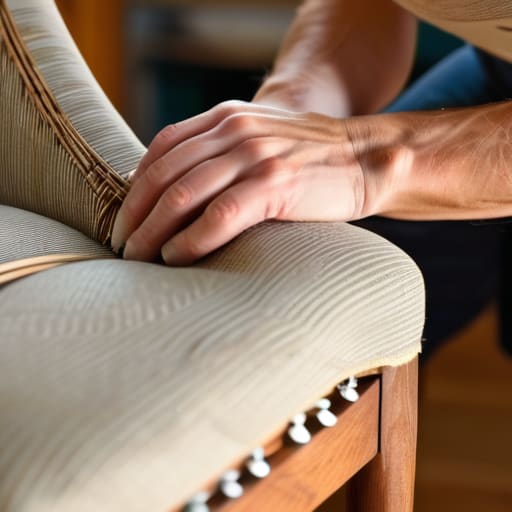
Now, let’s get into the nitty-gritty of actually securing that beautiful new fabric. This is where the magic—and a little bit of muscle—really happens! When you’re working on your staple gun techniques for furniture, the biggest secret I’ve learned from years of tinkering is all about tension. You want to pull the fabric taut, but not so tight that you’re distorting the pattern or creating unsightly puckers. I always recommend starting in the center of each side and working your way toward the corners. Think of it like centering a picture frame; if you don’t get that middle bit right, nothing else will line up perfectly!
As you move toward those tricky corners, take your time. This is the part where most beginners get frustrated, but I promise, patience is your best friend here. If you feel like the fabric is bunching up, just take a breath, smooth it out with your hands, and try again. If you find the padding feels a bit lumpy under your new layer, don’t be afraid of a little extra replacing chair foam and batting to ensure a smooth, professional-looking surface. You’ve got this!
Emily’s Pro-Tips for a Flawless Finish
- Don’t toss that old fabric just yet! Even if it’s ripped or stained, use it as a template to trace your new fabric pieces. It’s the best way to make sure your new pattern lines up perfectly with the chair’s shape.
- Always work from the center outward. When you’re pulling your fabric tight, start with a staple in the middle of each side, then work your way to the corners. This prevents those annoying, unsightly bunches of fabric from forming.
- Give your old foam a little TLC. If the padding feels flat or crumbly, don’t try to wrap new fabric over it—it’ll just look lumpy. Grab some fresh high-density foam or even some batting to give your chair that “brand new” bounce.
- Mind your corners! This is where most DIYers get tripped up. Instead of just bunching the fabric, try to fold the excess neatly into a “hospital corner” style. It keeps everything looking crisp and professional rather than messy.
- Take a breather if you get frustrated. I know it’s tempting to power through, but if you find yourself fighting with a stubborn piece of fabric, step away for ten minutes. A fresh set of eyes (and hands!) will make a huge difference in getting those lines straight.
Quick Tips for a Flawless Finish
Don’t rush the process—the secret to a professional-looking chair is all in the tension, so take your time pulling that fabric taut before you reach for the staple gun!
Always keep your old fabric as a template; it’s your best friend when it comes to measuring and making sure your new, beautiful material fits perfectly.
Remember that mistakes are just part of the learning curve, so if a staple goes wonky, don’t sweat it—just pull it out and try again!
My Golden Rule for Upholstery
“Don’t let a little bit of fraying fabric or a tricky corner scare you off; reupholstering isn’t about being perfect on the first try, it’s about the magic of seeing a piece of history breathe again because you had the heart to try.”
Emily Carter
You Did It! Now Let's Celebrate
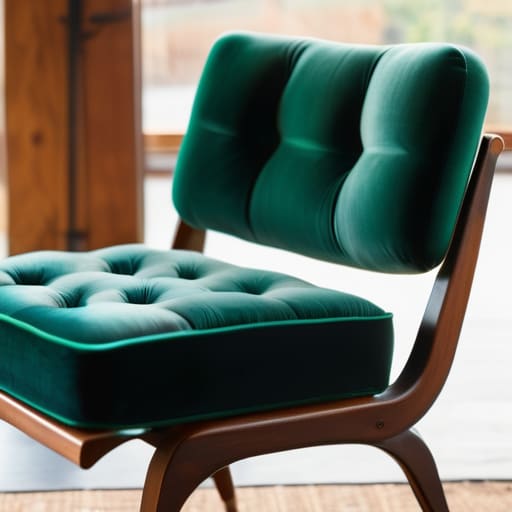
Take a second to step back and really look at what you just accomplished! From the initial moment you stripped away that old, tired fabric to the final, satisfying click of the staple gun, you have navigated the entire process of giving a piece of furniture a brand-new identity. We covered everything from selecting the perfect, durable fabric to mastering those tricky tension points that make a chair look professional. It might have felt a little overwhelming when you first saw all those tools spread out on the floor, but by following these steps, you’ve successfully transformed a forgotten relic into a stunning centerpiece. You didn’t just fix a chair; you mastered a skill that stays with you forever.
I know there might be a few tiny imperfections here or there, but please don’t let that dim your excitement. Honestly, those little quirks are just proof that you made this with your own two hands, and that is exactly where the magic lies. Every time you sit down in that chair, I want you to feel a sense of pride knowing that you had the courage to try something new. Remember, the world of DIY isn’t about being perfect; it’s about the joy of the process and the confidence that grows with every project. I am so incredibly proud of you for taking this leap. Now, go grab a cup of coffee, relax in your new creation, and get ready for your next big adventure!
Frequently Asked Questions
I found a gorgeous vintage velvet online, but will it be too thick to work with using a standard staple gun?
Oh, velvet is such a dream! I’m a sucker for it. To answer your question: yes, a standard manual staple gun might give you a bit of a workout with thick velvet. It can be tough to get those staples to sink in evenly, which might leave your finish looking a little bumpy. If you can, I’d highly recommend renting or investing in an electric or pneumatic stapler. It’ll make the process so much smoother!
Do I really need to replace the old foam padding, or can I just wrap it in new batting to save some money?
That is such a great question! Honestly, if the old foam is still springy and hasn’t crumbled into tiny orange bits when you squeeze it, you can totally get away with just adding a fresh layer of batting. It’s a fantastic way to save a few bucks! But, if the foam feels flat or dusty, I’d highly recommend replacing it. It makes a world of difference in how comfortable your new masterpiece feels!
What’s the best way to handle those tricky, tight corners where the fabric always seems to bunch up?
Oh, those corners can be such a headache! I used to get so frustrated with the bunching, too. My secret? Take a breath and don’t rush it. Instead of trying to pull everything at once, start by making small, tiny pleats. Use your fingers to guide the fabric into neat folds toward the center of the corner before you hit it with the staple gun. It takes a little extra patience, but it makes all the difference!
