
Have you ever been scrolling through Pinterest, staring at those gorgeous, high-end accent pieces, and thought, there is no way I can afford that? I’ve been there more times than I can count! Growing up in my family’s hardware store in Ohio, I learned early on that you don’t need a massive budget to create a stunning home; you just need a little bit of vision and the right tools. Instead of heading straight to a big-box retailer when you want a change, I want to encourage you to look at what you already own. Finding creative upcycling furniture ideas is honestly one of the most rewarding ways to inject your own personality into a room while saving a piece of history from the landfill.
In this post, I’m pulling back the curtain on five of my absolute favorite ways to transform “junk” into total showstoppers. We aren’t just talking about a quick coat of paint here; I’m going to walk you through specific, actionable projects that will elevate your space from basic to breathtaking. Whether you’re a seasoned DIYer or you’ve never even picked up a screwdriver, these tips will give you the confidence to create something truly special. Let’s get to work!
Table of Contents
The Statement Side Table Transformation
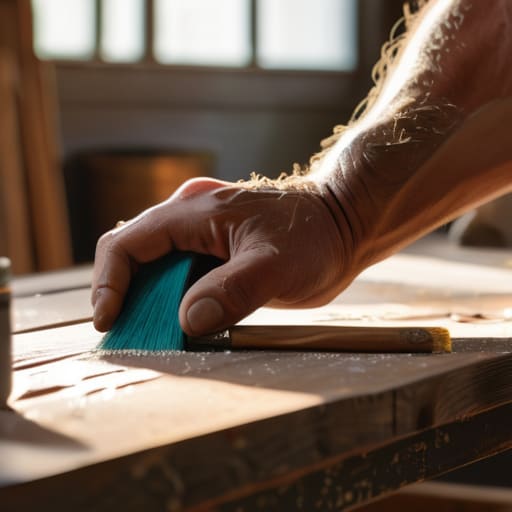
We’ve all been there—stumbling upon a tiny, wobbly end table at a garage sale that looks like it’s seen better decades. Instead of walking past, I want you to see the hidden potential in those simple lines. A basic wooden side table is the perfect canvas for a bold color splash or even a funky stencil pattern that adds some personality to your living room nook.
Chic Bookshelf Reimagined
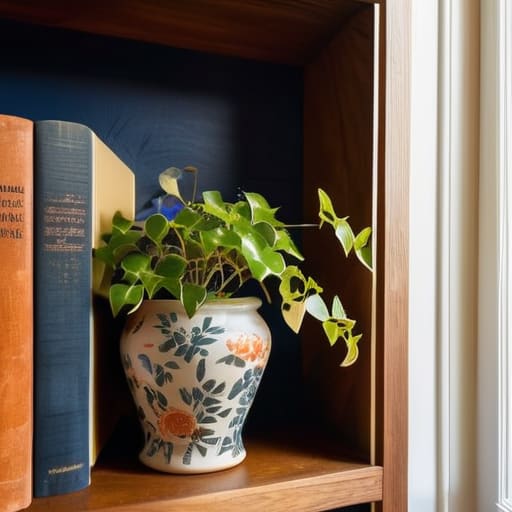
If you have an old, clunky bookshelf taking up space, don’t toss it just yet! With a little bit of creativity, we can turn that heavy piece of furniture into a breath of fresh air for your home office or reading corner. I love the idea of painting the back panel of the shelves a contrasting color or even applying some beautiful peel-and-stick wallpaper to create a stunning backdrop for your favorite novels.
The Dreamy Nightstand Upgrade
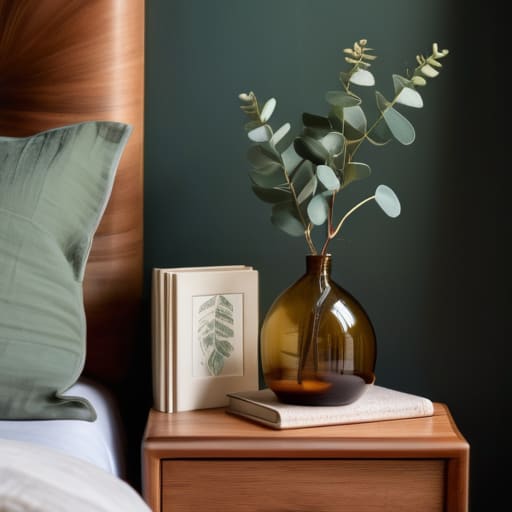
Your bedroom should be your sanctuary, and that starts with the furniture you see right before you drift off to sleep. If your current nightstands are feeling a bit “blah,” let’s give them some love! I often find that a simple change in finish can completely shift the mood of a room. Try a soft, matte sage green or a deep navy to create a calming atmosphere that helps you unwind at the end of a long day.
Giving an Old Chair New Life
Don’t let a single uncomfortable or ugly chair ruin your dining room aesthetic! Often, the frame of a vintage chair is still incredibly sturdy, which is half the battle won. I always tell my friends that upholstery is magic—it’s the fastest way to completely change the look and feel of a piece without needing to rebuild it from scratch.
The Rustic Entryway Console
That entryway is the first thing you see when you walk through the door, so let’s make it count! If you have an old, long table that’s lost its luster, it’s the perfect candidate for a rustic, farmhouse-style makeover. I love using a slightly distressed paint technique to give wood that lived-in, cozy feel that makes a house immediately feel like a home.
My Top Tips for Your Next Project
Don’t be afraid to fail on your first try—even I have a few “oops” pieces in my workshop, and that’s just part of the learning process!
Always prioritize the prep work, because a little extra sanding or cleaning now saves you a massive headache when it’s time to apply that beautiful new finish.
Trust your gut when it comes to color and style; your home should tell your unique story, not just follow whatever is currently trending on Pinterest.
The Heart of Every Project
“Upcycling isn’t just about saving a piece of wood from a landfill; it’s about seeing the soul inside a forgotten relic and having the courage to bring it back to life. Every scratch and dent tells a story—we’re just here to write the next chapter.”
Emily Carter
You’ve Got This!
Whether you decided to tackle a bold new paint job on a vintage dresser, swap out those tired old handles for something more modern, or dive into a full-scale sanding and staining project, I hope these ideas have sparked a little bit of creative fire in you! Upcycling isn’t just about saving a few bucks—though my hardware store upbringing definitely taught me the value of a good deal—it’s about seeing the hidden potential in things others might just toss aside. From simple hardware swaps to more intensive structural transformations, the key is to start with what you have and move at a pace that feels right for you. Remember, there are no mistakes in DIY, only unexpected design opportunities that add character to your home!
As you head into your next project, I want you to remember that the most important tool in your kit isn’t a fancy power drill or a high-end sander; it’s your own curiosity and willingness to try. Don’t let the fear of a “messy” middle stage stop you from starting. Every beautiful piece of furniture I’ve ever restored had a moment where it looked a little rough, but that’s just part of the magic of the process. So, grab your favorite hammer, clear off that workspace, and let’s show the world what you can do. I can’t wait to see how you transform your space one project at a time!
Frequently Asked Questions
I'm a bit nervous about making a mistake—is there a way to test out a new paint color or finish before committing to the whole piece?
Oh, I hear you! That “what if I hate this” feeling is totally normal—I used to get it all the time back when I was doing professional installs. Here’s my favorite trick: grab a piece of scrap wood or even a sturdy piece of heavy cardstock. Paint your sample there! It lets you move the color around your room in different lighting before you ever touch your actual furniture. It’s a total game-changer!
What kind of safety gear should I actually keep in my toolkit to make sure I'm protecting myself while sanding or stripping old finishes?
Oh, I am so glad you asked! Safety is everything when you’re diving into old finishes. Honestly, please don’t skip the gear. I always keep a high-quality N95 respirator or a reusable half-face mask right by my workbench—breathing in old dust or chemical fumes is no joke! Grab some wrap-around safety goggles to protect your eyes from flying grit, and definitely wear some sturdy nitrile gloves when stripping. Stay safe so you can keep creating!
If I find a piece of furniture that has some deep scratches or actual damage, can it still be saved through upcycling, or should I skip it?
Oh, don’t you dare walk away from that piece just yet! Honestly, some of my favorite finds were the ones that looked a little “rough around the edges.” Deep scratches or minor gouges are just character in disguise. With a bit of wood filler, some strategic sanding, and maybe a fresh coat of paint or a gorgeous new stain, you can make those imperfections disappear. If the structure is solid, it’s absolutely worth saving!
