
I still remember standing in my dad’s hardware store back in Ohio, surrounded by the scent of sawdust and old metal, thinking that if I could figure out how to fix a leaky faucet or sand down a vintage dresser, I could definitely handle a kitchen project. But let me tell you, the first time I tried to learn how to bake bread at home, I felt completely out of my element. I was staring at a recipe that required a specialized stone, a temperature-controlled proofing box, and enough patience to outlast a growing redwood tree. It felt less like a cozy hobby and more like a high-stakes chemistry experiment designed to make us all feel unqualified.
I’m here to tell you that we are tossing those intimidating, over-complicated notions straight into the scrap bin. My goal is to strip away the hype and show you that bread making is just another beautiful, tactile craft that anyone can master with a little bit of grit and the right approach. I’m going to walk you through the real-world basics using nothing more than your hands and a few standard kitchen tools. We’re going to focus on the process, embrace the messy parts, and ultimately create something truly delicious together.
Table of Contents
The Magic of the Yeast Fermentation Process
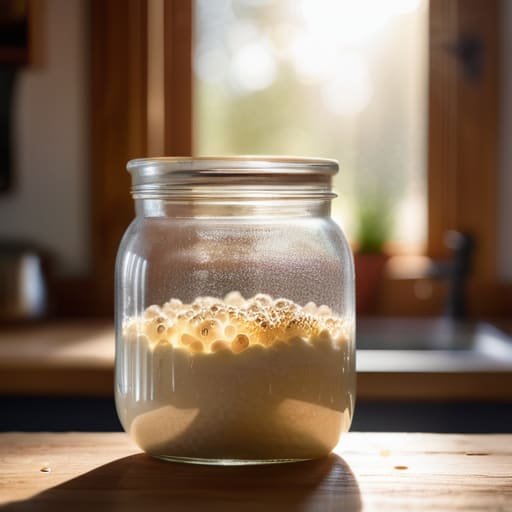
Now, I know what you’re thinking—is all this waiting actually worth it? Honestly, when I first started out in my parents’ hardware store, I thought everything needed to happen fast. But when it comes to bread, patience is your best friend. The yeast fermentation process is where the real magic happens. Think of yeast as a tiny, living ingredient that’s working hard behind the scenes, consuming sugars and releasing those beautiful gases that make your loaf airy instead of a dense brick. It’s a bit like watching a slow-motion transformation right in your own kitchen.
As you navigate bread making for beginners, you’ll start to notice how the dough changes texture and smell during this stage. It goes from a shaggy, sticky mess to something supple and alive. I always tell my readers to trust the process; if you try to rush it, you’ll miss out on that complex, tangy flavor that defines a truly great loaf. It’s not just science; it’s a little bit of kitchen alchemy that turns simple flour and water into something spectacular!
Gathering Your Essential Bread Baking Tools
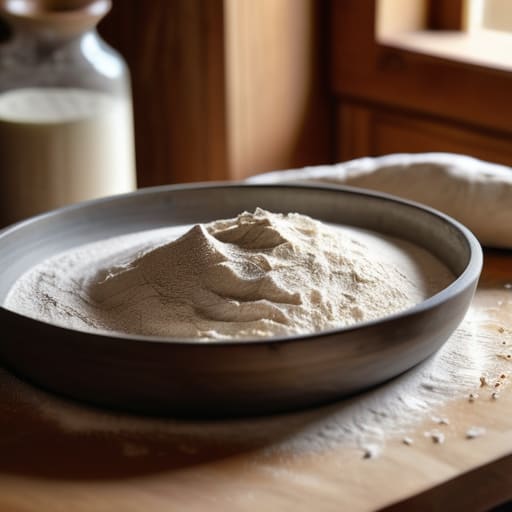
Now, before we get our hands messy, let’s talk about what you’ll actually need on your kitchen counter. Coming from a background in interior design, I’m a bit of a perfectionist when it comes to the “aesthetic” of a workspace, but when it comes to bread making for beginners, functionality is what really matters! You don’t need a professional bakery setup to get started, but having a few reliable pieces of equipment makes the whole process so much more enjoyable.
First up, I always recommend investing in a good digital scale. Measuring flour by volume with a measuring cup is a common mistake that can leave your loaf feeling like a brick, and since we want that perfect airy crumb, precision is key. You’ll also want a sturdy mixing bowl—glass or stainless steel works wonders—and a bench scraper, which is a total game-changer for cleaning up flour and handling sticky dough. If you’re dreaming of making that crusty, artisan bread at home, a Dutch oven is your best friend for trapping steam. Trust me, once you have these essential bread baking tools gathered, you’ll feel so much more prepared to dive in!
My Secret Sauce: 5 Pro-Tips for Bread-Baking Success
- Don’t fear the mess, but do respect the scale! One of the biggest mistakes I see is people trying to eyeball their flour. Since I grew up around my family’s hardware store, I’m a bit obsessed with precision, and bread is no different. Invest in a cheap digital kitchen scale; measuring by weight instead of cups ensures your dough isn’t too dry or too sticky every single time.
- Get to know your yeast like it’s a new friend. If you’re using active dry yeast, make sure you give it a little “bath” in warm water with a pinch of sugar first. If it doesn’t get all bubbly and frothy after about five minutes, it’s not happy, and it won’t help your bread rise. It’s better to find out it’s dead before you’ve mixed in all your expensive flour!
- Patience is your most important ingredient. I know, I know—we all want that warm, crusty loaf right this second—but dough needs time to breathe and expand. Whether you’re doing a quick rise or a slow overnight ferment in the fridge (which I personally love for developing flavor), let the process happen on its own terms. You can’t rush greatness!
- Master the “Windowpane Test.” How do you know if you’ve kneaded your dough enough? Instead of just guessing, take a small piece of dough and gently stretch it between your fingers. If you can stretch it thin enough to see light through it without it tearing, you’ve developed that beautiful gluten structure we’re looking for. It’s a little bit of kitchen science that feels like magic!
- Create a little steam for that bakery-style crust. If you want that gorgeous, crackly exterior that makes your kitchen smell like a professional boulangerie, try placing a shallow pan of hot water on the bottom rack of your oven while it preheats. That burst of steam helps the bread expand fully before the crust sets, giving you that perfect, artisanal look.
My Top Tips for Your First Bake
Don’t let a little mess intimidate you; baking is a hands-on, tactile experience, and a flour-dusted kitchen is just a sign of a job well done!
Patience is your best friend when working with yeast—give your dough the time it needs to rise, and I promise the flavor will be so much more rewarding.
Trust your instincts over the timer, because every kitchen has its own rhythm and temperature, so use your senses to know when your loaf is truly ready.
Finding Your Rhythm in the Dough
“Baking bread is so much like a home renovation project—it’s all about the foundation, a little bit of patience, and that incredible feeling when you finally see something beautiful come to life right under your own hands.”
Emily Carter
You’ve Got This, Baker!
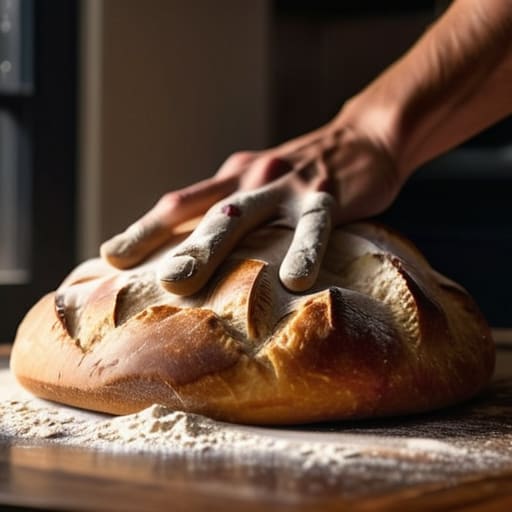
Now that we’ve walked through the science of yeast and gathered all your must-have tools, I want you to take a deep breath and realize how much you’ve already accomplished. Baking bread might seem a little intimidating at first—trust me, I remember my first failed loaf that was basically a brick—but once you understand how those tiny yeast organisms work their magic and ensure your kitchen is stocked with the right gear, you are halfway to success. Remember, it’s all about the rhythm of the process: the feel of the dough, the patience during the rise, and the anticipation of that first golden crust. Just keep focusing on those fundamental steps, and I promise the results will be worth every bit of the effort.
At the end of the day, baking isn’t just about following a recipe to the letter; it’s about the soul you pour into your craft. Just like when I’m sanding down an old vintage dresser or picking out the perfect hammer for a renovation, there is a profound sense of peace that comes from working with your hands. Don’t be discouraged if your first loaf isn’t a masterpiece—every “mistake” is just a lesson that brings you closer to mastery. So, preheat that oven, get a little flour on your apron, and embrace the beautiful mess. I can’t wait to hear how your first homemade loaf turns out!
Frequently Asked Questions
I've tried making bread before but it always comes out like a brick—what am I doing wrong with my dough?
Oh, the dreaded “bread brick”—I have been there more times than I’d like to admit! Trust me, it happens to the best of us. Usually, when my dough turns out heavy and dense, it’s one of two things: either I didn’t let it rise long enough in a warm spot, or I over-worked it during the kneading phase. Think of your dough like a delicate project; it needs patience and gentle handling to really breathe!
Do I really need a fancy stand mixer, or can I just use my hands to knead everything?
Oh, I hear you! Honestly? You absolutely do not need a fancy stand mixer to make incredible bread. While they’re great for saving a little elbow grease, there is something so incredibly therapeutic about kneading dough by hand. It’s like a little workout for your soul! Plus, feeling the texture change from shaggy to smooth under your palms is how you truly connect with your craft. Let’s just roll up our sleeves and dive in!
How do I know if my yeast is actually alive and ready to work, or if I'm just wasting my time?
Oh, I have been there! There is nothing more frustrating than prepping everything only to realize your yeast has gone dormant. To check if your yeast is still active, just perform a quick “bloom test.” Mix your warm water, a pinch of sugar, and the yeast in a small jar. If you see a beautiful, frothy layer of bubbles forming after about ten minutes, you’re golden! If it stays flat? It’s time to grab a fresh packet.
